
How to Place a Headset Hanger Without Blocking Your Chair
Affiliate Disclosure: We may earn a small commission on qualifying Amazon purchases at no extra cost to you. Full disclosure →
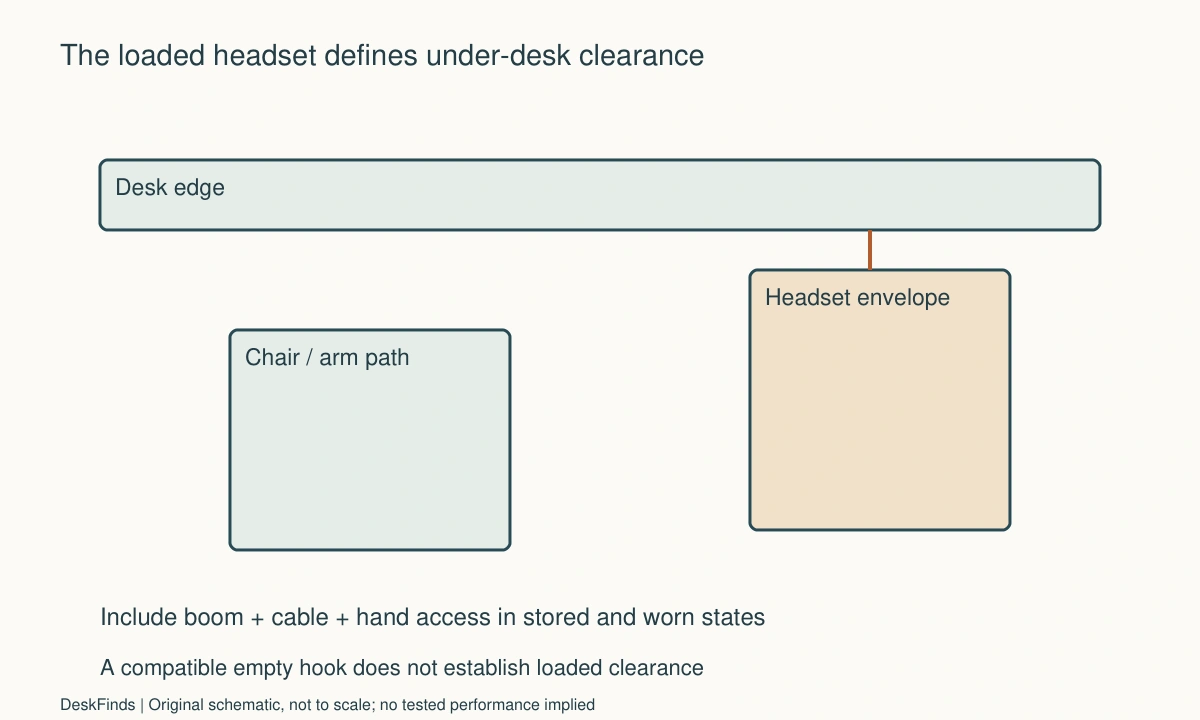
A headset hook can be tiny while the headset hanging from it occupies a large part of the space below the desk. The earcups, microphone boom, cable, and your hand all need clearance. Plan the loaded hanger as part of the chair and knee area rather than choosing by the hook’s dimensions alone.
Quick answer: Verify the hanger’s mounting method and surface compatibility, then outline the actual headset in its stored position. Check knee clearance, chair arms, drawers, cable slack, and the movement needed to retrieve it. Use only the documented mounting arrangement and supported contact surface. If an under-desk location conflicts with ordinary movement, compare a suitable desktop stand or another supported location.
Choose the storage action you want
Decide whether the headset stays connected, charges while stored, or travels with you. A wired headset needs a route that does not pull it off the support when the chair moves. A wireless model may need access to a charging connection or compatible base, which changes the storage footprint.
List the headset’s moving features, including an adjustable headband and microphone boom. Use the storage position recommended by its manufacturer. Do not bend a boom or compress ear cushions simply to fit a narrow space. A hanger should accommodate the device’s intended storage, not force the device into the hanger’s shape.
Keep audio connection choices separate from storage. The USB sharing switch guide is relevant if the headset moves between computers. A hook holding it under the desk does not tell you which host owns its microphone or speakers.
Check the mounting surface and method
Identify whether the hanger clamps, screws, adheres, or uses another documented attachment. Check desktop thickness, edge shape, underside obstructions, and the surface material. A clamp’s opening range does not establish that it is suitable for a hollow, glass, curved, or fragile surface.
The Brainwavz Claw is a model-specific example of a clamp-mounted hanger with a stated thickness range. That specification is useful for understanding what to ask, not for concluding that every clamp or desk is compatible. Read both the accessory and furniture requirements before installation.
Do not add screws or permanent adhesive to rented furniture without authorization. Even where attachment is permitted, use the specified method and hardware. If compatibility is unknown, a suitable freestanding alternative can be preferable to an installation experiment. A product labeled removable does not guarantee that every finish will remain unaffected.
Measure the loaded headset envelope
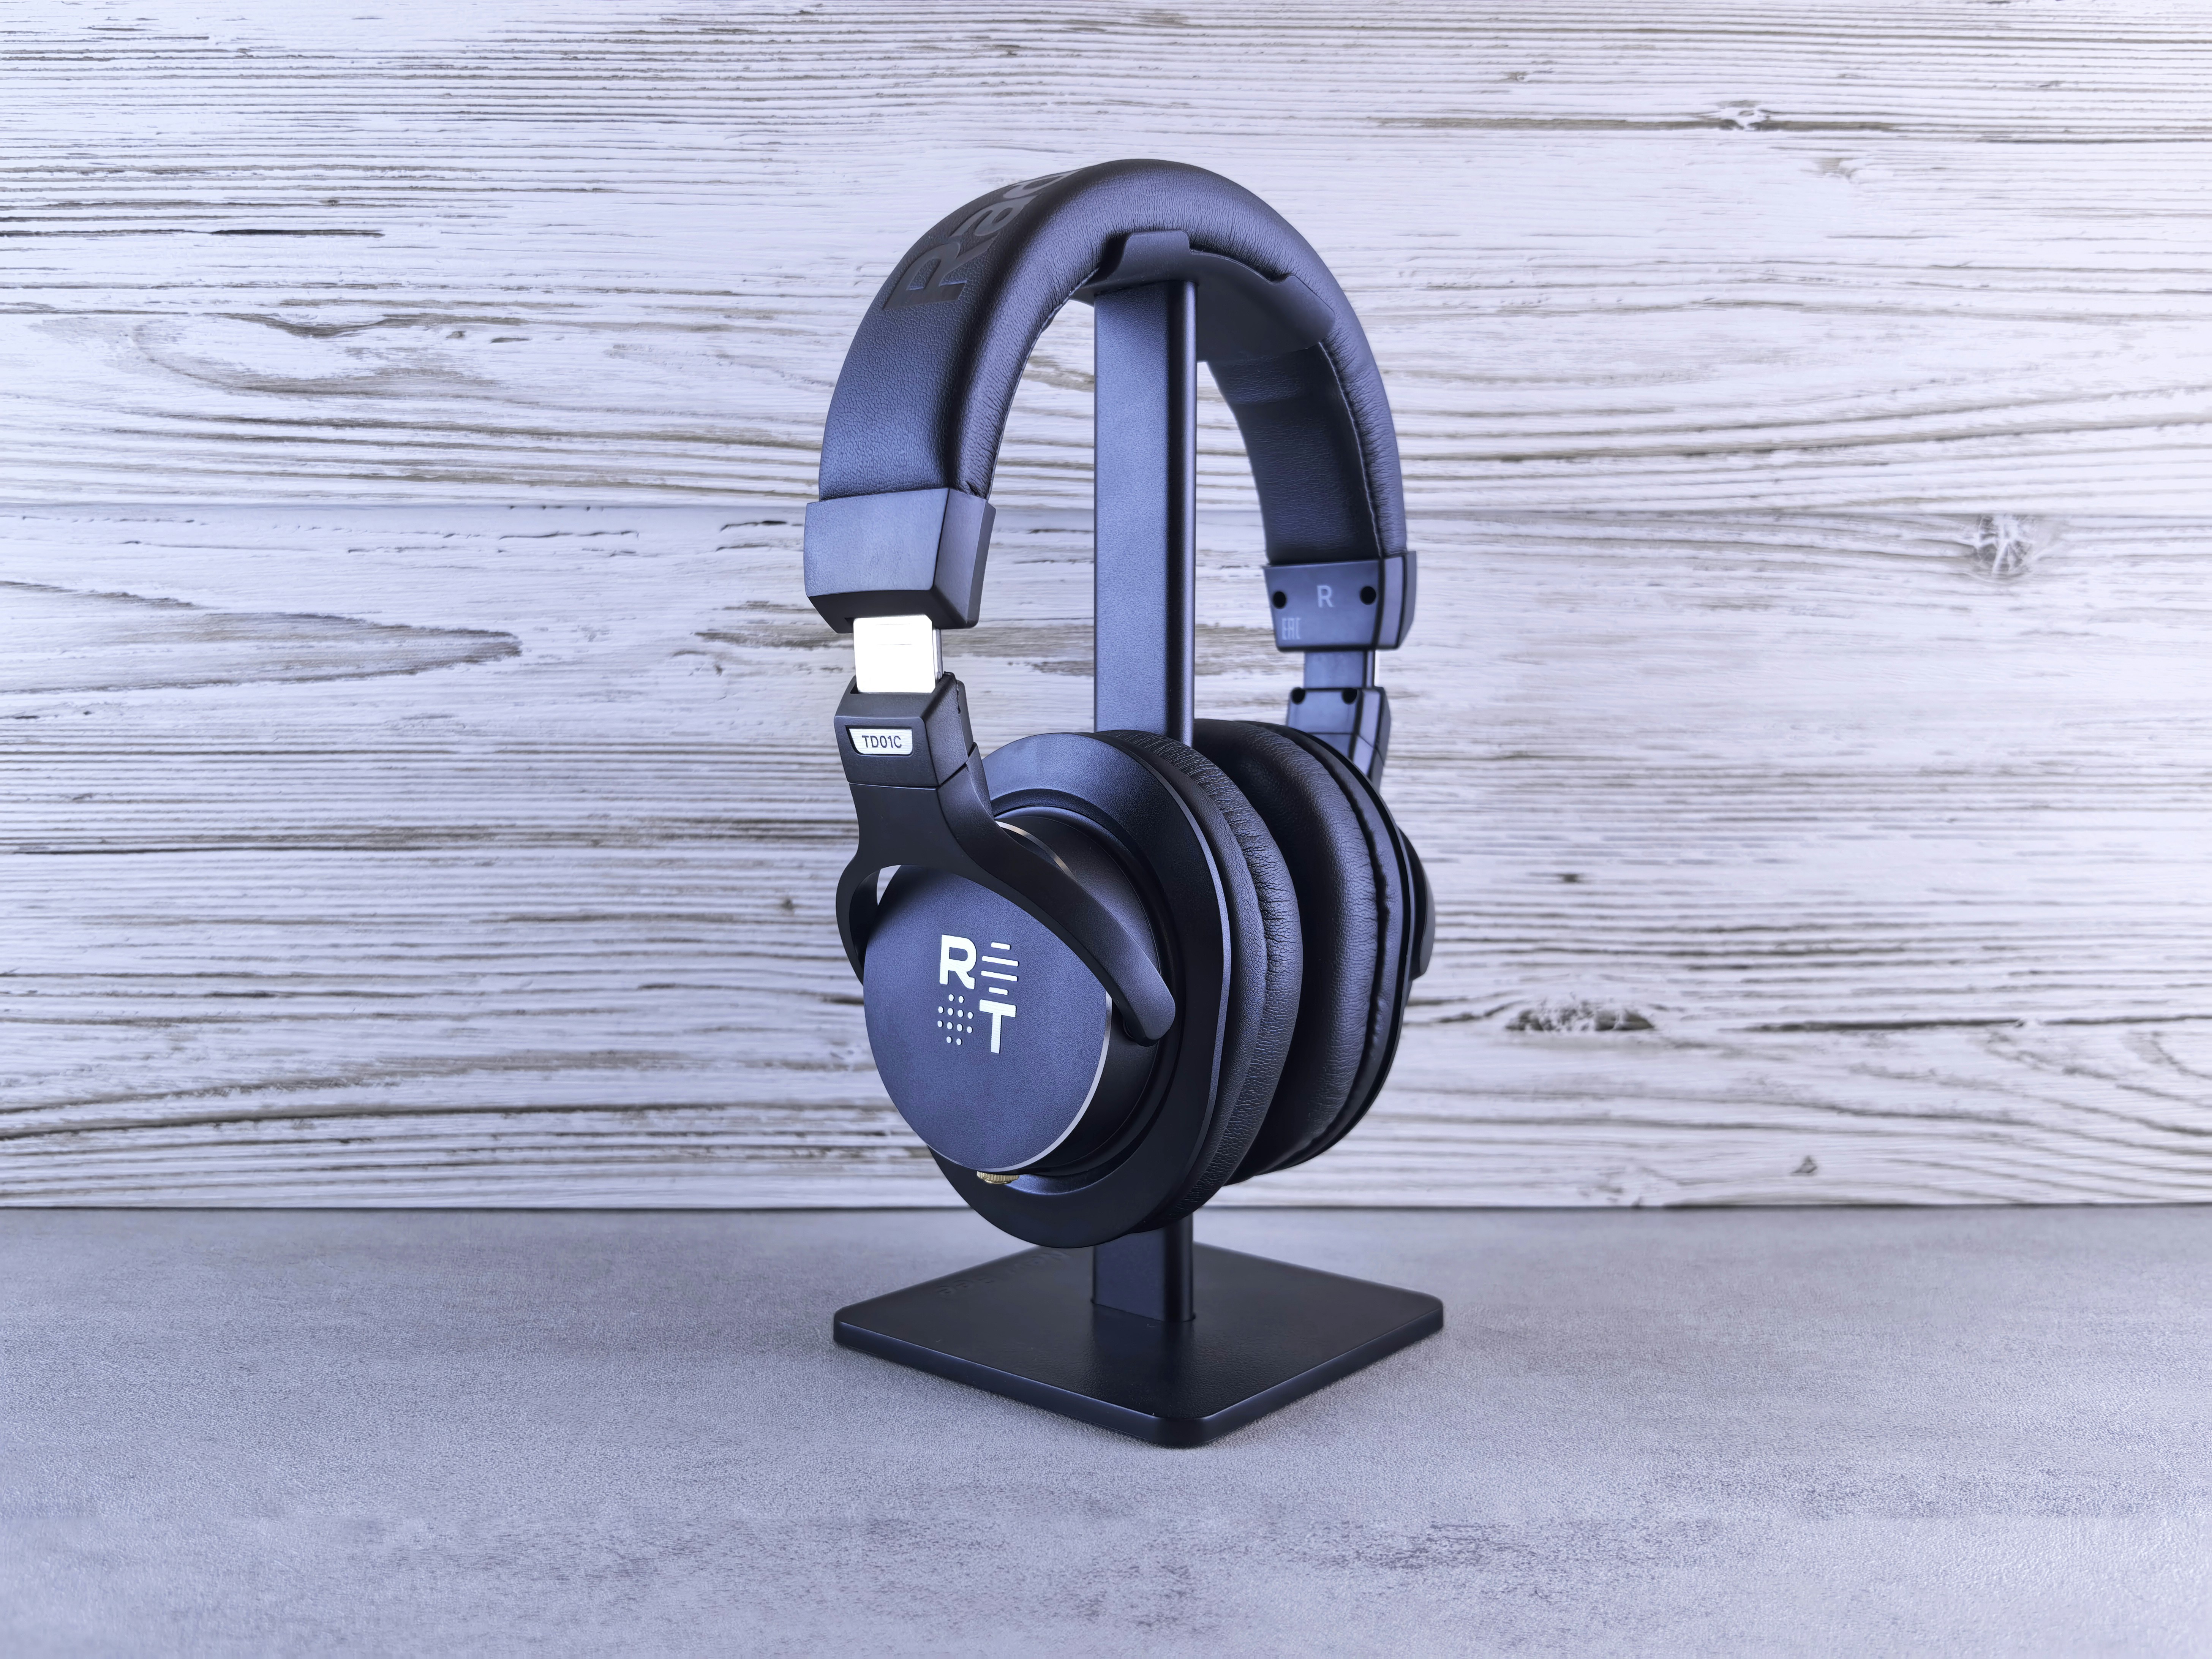
Hang the actual headset only using a supported arrangement, or use a safe outline before purchase. Measure the lowest point, widest earcup span, boom projection, and cable exit. Include the hand space needed to place and remove it without catching the band or lead.
A hook under the front edge can place the headset directly in the knee route. A side-mounted hanger can conflict with a chair arm or the path used to stand. Do not judge clearance while the chair is empty and centered; include the ordinary approach, turn, and exit.
If the desk also has a converter, use the standing converter fit guide to consider both desk states. A headset stored safely at one height may enter a different movement region when another part of the workstation changes position.
Check chair arms, drawers, and neighboring furniture
Move the chair only through its ordinary range while observing the planned storage area. Include armrests at the settings you use and any under-desk drawer or cabinet. A hanger that clears your knees may still be struck by the chair when you push in at the end of the day.
Check the drawer’s complete opening route and a nearby door if relevant. Do not use the headset as a bumper that tells you when a drawer is too far open. If the loaded envelope overlaps another object’s intended movement, choose another location rather than accepting repeated contact.
The chair mat and door clearance guide illustrates the same need to map ordinary movement at floor level. For headset storage, focus on the actual height and side projection of the loaded device rather than borrowing a generic clearance number.
Give the cable somewhere to go
For a connected headset, trace the cable from its host or interface to the hanger and then to the wearing position. Both states matter. A lead can be relaxed while stored but become taut when you put the headset on, or hang into the caster route after you take it off.
Use the headset manufacturer’s cable and storage guidance. Do not wrap the lead tightly around the headband or a small hook unless that method is supported. Keep connectors accessible and avoid making the cable carry the device’s weight. If a cable-management feature is included, confirm how it is intended to be used.
For a USB connection that behaves unreliably, see the webcam and microphone connection check. A tidy storage route may reduce accidental snags, but it does not diagnose power, software, or host-selection problems.
Compare under-desk and desktop storage
Under-desk storage can preserve surface area when the loaded headset remains clear of people and moving furniture. Its drawbacks can include hidden retrieval, dust, cable loops, or a location too close to the knees. Evaluate those practical conditions rather than treating hidden storage as inherently better.
A suitable desktop stand makes the headset visible and accessible but needs a stable supported base and working footprint. Include charging cables or a microphone boom in that outline. A stand that looks small without the headset can occupy more useful desk area once loaded.
For broader desk organization, use desk organizer types explained. Keep the headset’s storage requirements distinct from stationery: a narrow pen compartment is not a substitute for a compatible headband support, and an adhesive cable clip is not automatically a headset hanger.

Worked example: the chair arm hit the stored headset
Imagine a hypothetical user with a compact desk and a clamp-on hanger near the front right corner. The hook itself clears the knees, and the user initially considers the placement successful. The headset’s earcups, however, extend farther inward than the hook, and the chair arm meets them when the chair is pushed in.
The user sketches the full loaded envelope and repeats the ordinary approach and exit with a safe planning outline. Moving the hook farther back would avoid the chair arm but make retrieval awkward and bring the headset near a drawer. The first alternative solves one conflict while creating another.
A side location and a suitable desktop stand are then compared. Each includes the connected cable in storage and wearing states. The user also checks the desk material and clamp instructions, rather than assuming that moving the clamp anywhere along the edge is permitted.
The final hypothetical choice is the arrangement that leaves the headset clear during normal movement and reachable without pulling its cable. It may be visible on the desktop. The example does not rank products or claim measured durability; it demonstrates why the headset, not the empty hook, defines the practical clearance requirement.
Make retrieval deliberate and simple
Place the headset where you can see or reliably feel the intended support without reaching through loose cables. If one-hand retrieval is important, check that the product is designed for the action and that ordinary handling does not shift it. Do not deliberately yank the headset to test the mount.
If the hanger swivels or folds, read the supported positions and whether the loaded device may move with it. A folded empty hook can reduce projection, but it does not solve the space occupied by a headset currently hanging there. Compare both loaded and empty states honestly.
Keep the mounting hardware and care instructions available. If the accessory loosens, shifts, or damages a surface, stop and follow the relevant support guidance. Repeated tightening beyond instructions or adding arbitrary adhesive is not a substitute for a compatible installation.
Six checks for the chosen location
Attachment compatibility
Record the accessory model, mounting method, desk material, and edge dimensions. Include underside braces or a beveled edge. A stated clamp range is only one part of compatibility. If the desk maker prohibits that attachment or the surface is uncertain, choose another supported method instead of treating the headset’s low weight as permission.
Loaded dimensions
Measure the headset as stored, including earcups, boom, band, and cable exit. Add the hand route used to remove it. The empty hanger’s width and projection are not the storage footprint. If a case or charging base is also used, compare that complete state rather than assuming every storage mode occupies the same space.
Chair and body movement
Check ordinary sitting, turning, standing, and chair parking with the planned envelope. Include armrest settings and the route used by another person. Do not accept regular contact as harmless because the headset is padded. A storage location should avoid competing with the chair’s intended movement rather than depending on careful avoidance every time.
Neighboring mechanisms
Trace drawers, cabinet doors, and any adjustable workstation components through their supported ranges. Keep the headset and lead out of those paths. A location that works when everything is closed may fail during routine access. If two routes overlap, revise the placement instead of using the headset as a reminder to stop a drawer early.
Connected and worn states
Check the cable while the headset is stored and while it is worn in the normal seated position. Leave a relaxed supported route without a loop in the caster or foot area. Identify which host or interface supplies the connection. Storage convenience should not obscure the steps needed to switch devices or disconnect according to the instructions.
Empty-state reset
Check where the hook projects when the headset is in use or packed away. Use folding or swiveling features only as documented. Keep the end-of-session routine clear: return the headset to its intended support, arrange the cable appropriately, and park the chair without contact. A good hanger location works across the whole routine, including when it is empty.

Compare loaded storage with the empty accessory
Evaluate the hanger with the headset’s full shape, not just its maximum load or clamp opening. A broad earcup or long boom can determine whether it clears the chair. A desktop stand can have the opposite tradeoff: a larger base but less intrusion into the knee area. Compare both completed storage states with the actual headset.
Include retrieval and wearing as separate states. A location can be easy to store on yet awkward to lift from, especially when a cable remains connected. If the lead must be rerouted every time the headset is worn, count that handling in the decision. The best storage location should support the repeated transition rather than only the final parked position.
Do not interpret soft padding as permission for regular contact with the chair or furniture. Padding may serve a documented contact purpose, but it does not make collision a useful clearance strategy. Choose a supported location outside the ordinary movement envelope instead of relying on the user to avoid the headset each time.
A second scenario: charging added another cable state
Consider a hypothetical user with a wireless headset that charges through a cable while stored. A hook under the side edge keeps the headset off the desktop. The initial plan checks the loaded headset but not the charging plug and lead, which hang farther down than expected.
The user outlines storage without charging, storage while charging, and wearing during a call. The documented charging connection is checked for access and a relaxed route. The cable is not used to support the headset, and the plug is not forced against the hanger or desktop edge. Any manufacturer guidance about charging and storage remains part of the plan.
The chair’s ordinary approach and exit reveal that the charging loop would enter a movement area. The user compares another supported hanger location with a suitable desktop stand or charging arrangement. A cable-management feature is used only if it is intended for the lead and does not create a sharp bend or tension.
The revised hypothetical routine includes connecting the charger when appropriate and placing the unused lead in a defined supported location after removal. The headset remains accessible without reaching blindly around a drawer. The user does not assume that all wireless headsets may charge in the same orientation or that any stand advertised for headphones supports a particular charging base.
This example shows why wireless does not always mean cable-free storage. The active use state may have no moving lead, while the parked state still needs a charging route. A good fit check includes both without making unsupported claims about battery care or a product’s electrical behavior.
Ask what the support contacts
Check whether the headset rests on a band, yoke, or another surface specified by its maker and the hanger instructions. A wide contact saddle and a narrow hook can have different intended uses. Do not assume any point on the headset is suitable merely because it can be hung there.
If the accessory includes a swivel or fold mechanism, ask which positions are supported when loaded. The fact that an empty arm rotates does not establish that it should be swung with the headset attached. Keep the motion clear of cables and furniture, and use the documented sequence rather than treating the mechanism as a way to squeeze past an obstruction.
For adhesive products, read preparation, surface, cure, load, and removal conditions where specified. Do not transfer the performance claim to another finish or substitute a different adhesive. For clamps, check the furniture’s suitability and the permitted tightening method. For screws, verify authorization and compatible installation before making permanent changes.
If none of the mounting methods is confirmed for the desk, a suitable freestanding option can be a complete answer. It may use visible surface area but avoid uncertain furniture attachment. Compare the actual loaded footprint and task access instead of assuming that hidden storage is always the more space-efficient choice.
Sources and scope
- Brainwavz Claw documentation - Specific clamp-hanger example; desk compatibility and loaded clearance remain separate checks.
Editorial note: This is a research-based planning guide, not a hands-on product review. All worked scenarios are hypothetical. Measurements and compatibility must be confirmed for the exact equipment. Photography supplies context, not proof of a tested arrangement.
Photos are illustrative and come from free-license libraries such as Unsplash; diagrams are original to DeskFinds.