
How to Organize a Shared Dorm Closet Without Mixing Belongings

Affiliate Disclosure: We may earn a small commission on qualifying Amazon purchases at no extra cost to you. Full disclosure →
A shared closet needs boundaries people can recognize and a routine they can maintain. Dividing the rail in half may still leave one person blocking drawers, shoes mixing on the floor, and laundry entering someone else’s clean storage. The system should cover access and return, not just initial sorting.
Quick answer: Agree on personal and shared zones, allocate the actual rail, shelf, floor, and retrieval space, and choose containers only after that map is clear. Label ownership where useful, keep laundry separate, and set a simple handover or reset rule. Do not overload rails or hang organizers without checking the furniture and product instructions.
Agree on what is shared
List genuinely shared items separately from personal clothing and supplies. A common hanger box, cleaning accessory, or spare linen group needs an agreed place. Do not let shared become a label for anything with no owner or destination.
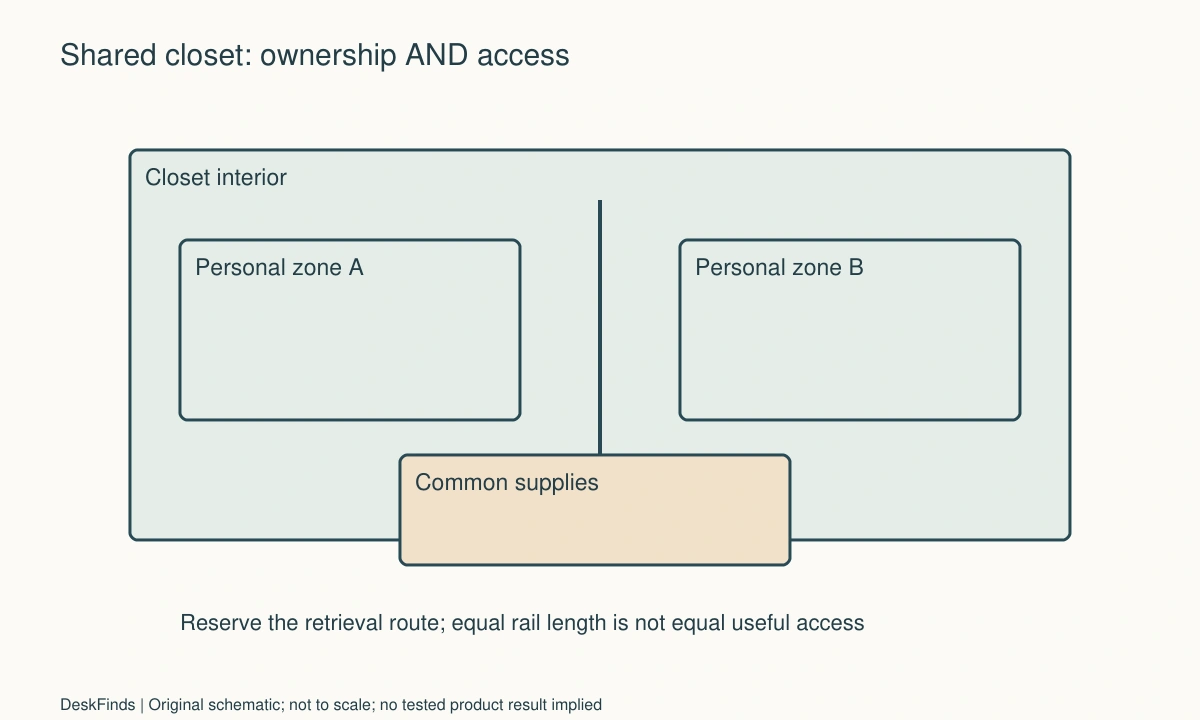
Discuss access needs, schedules, and any privacy concern respectfully. Equal width is not always equal usable access if one side sits behind a door or contains fixed shelving. Make the arrangement explicit rather than expecting the other person to infer it.
Measure usable zones
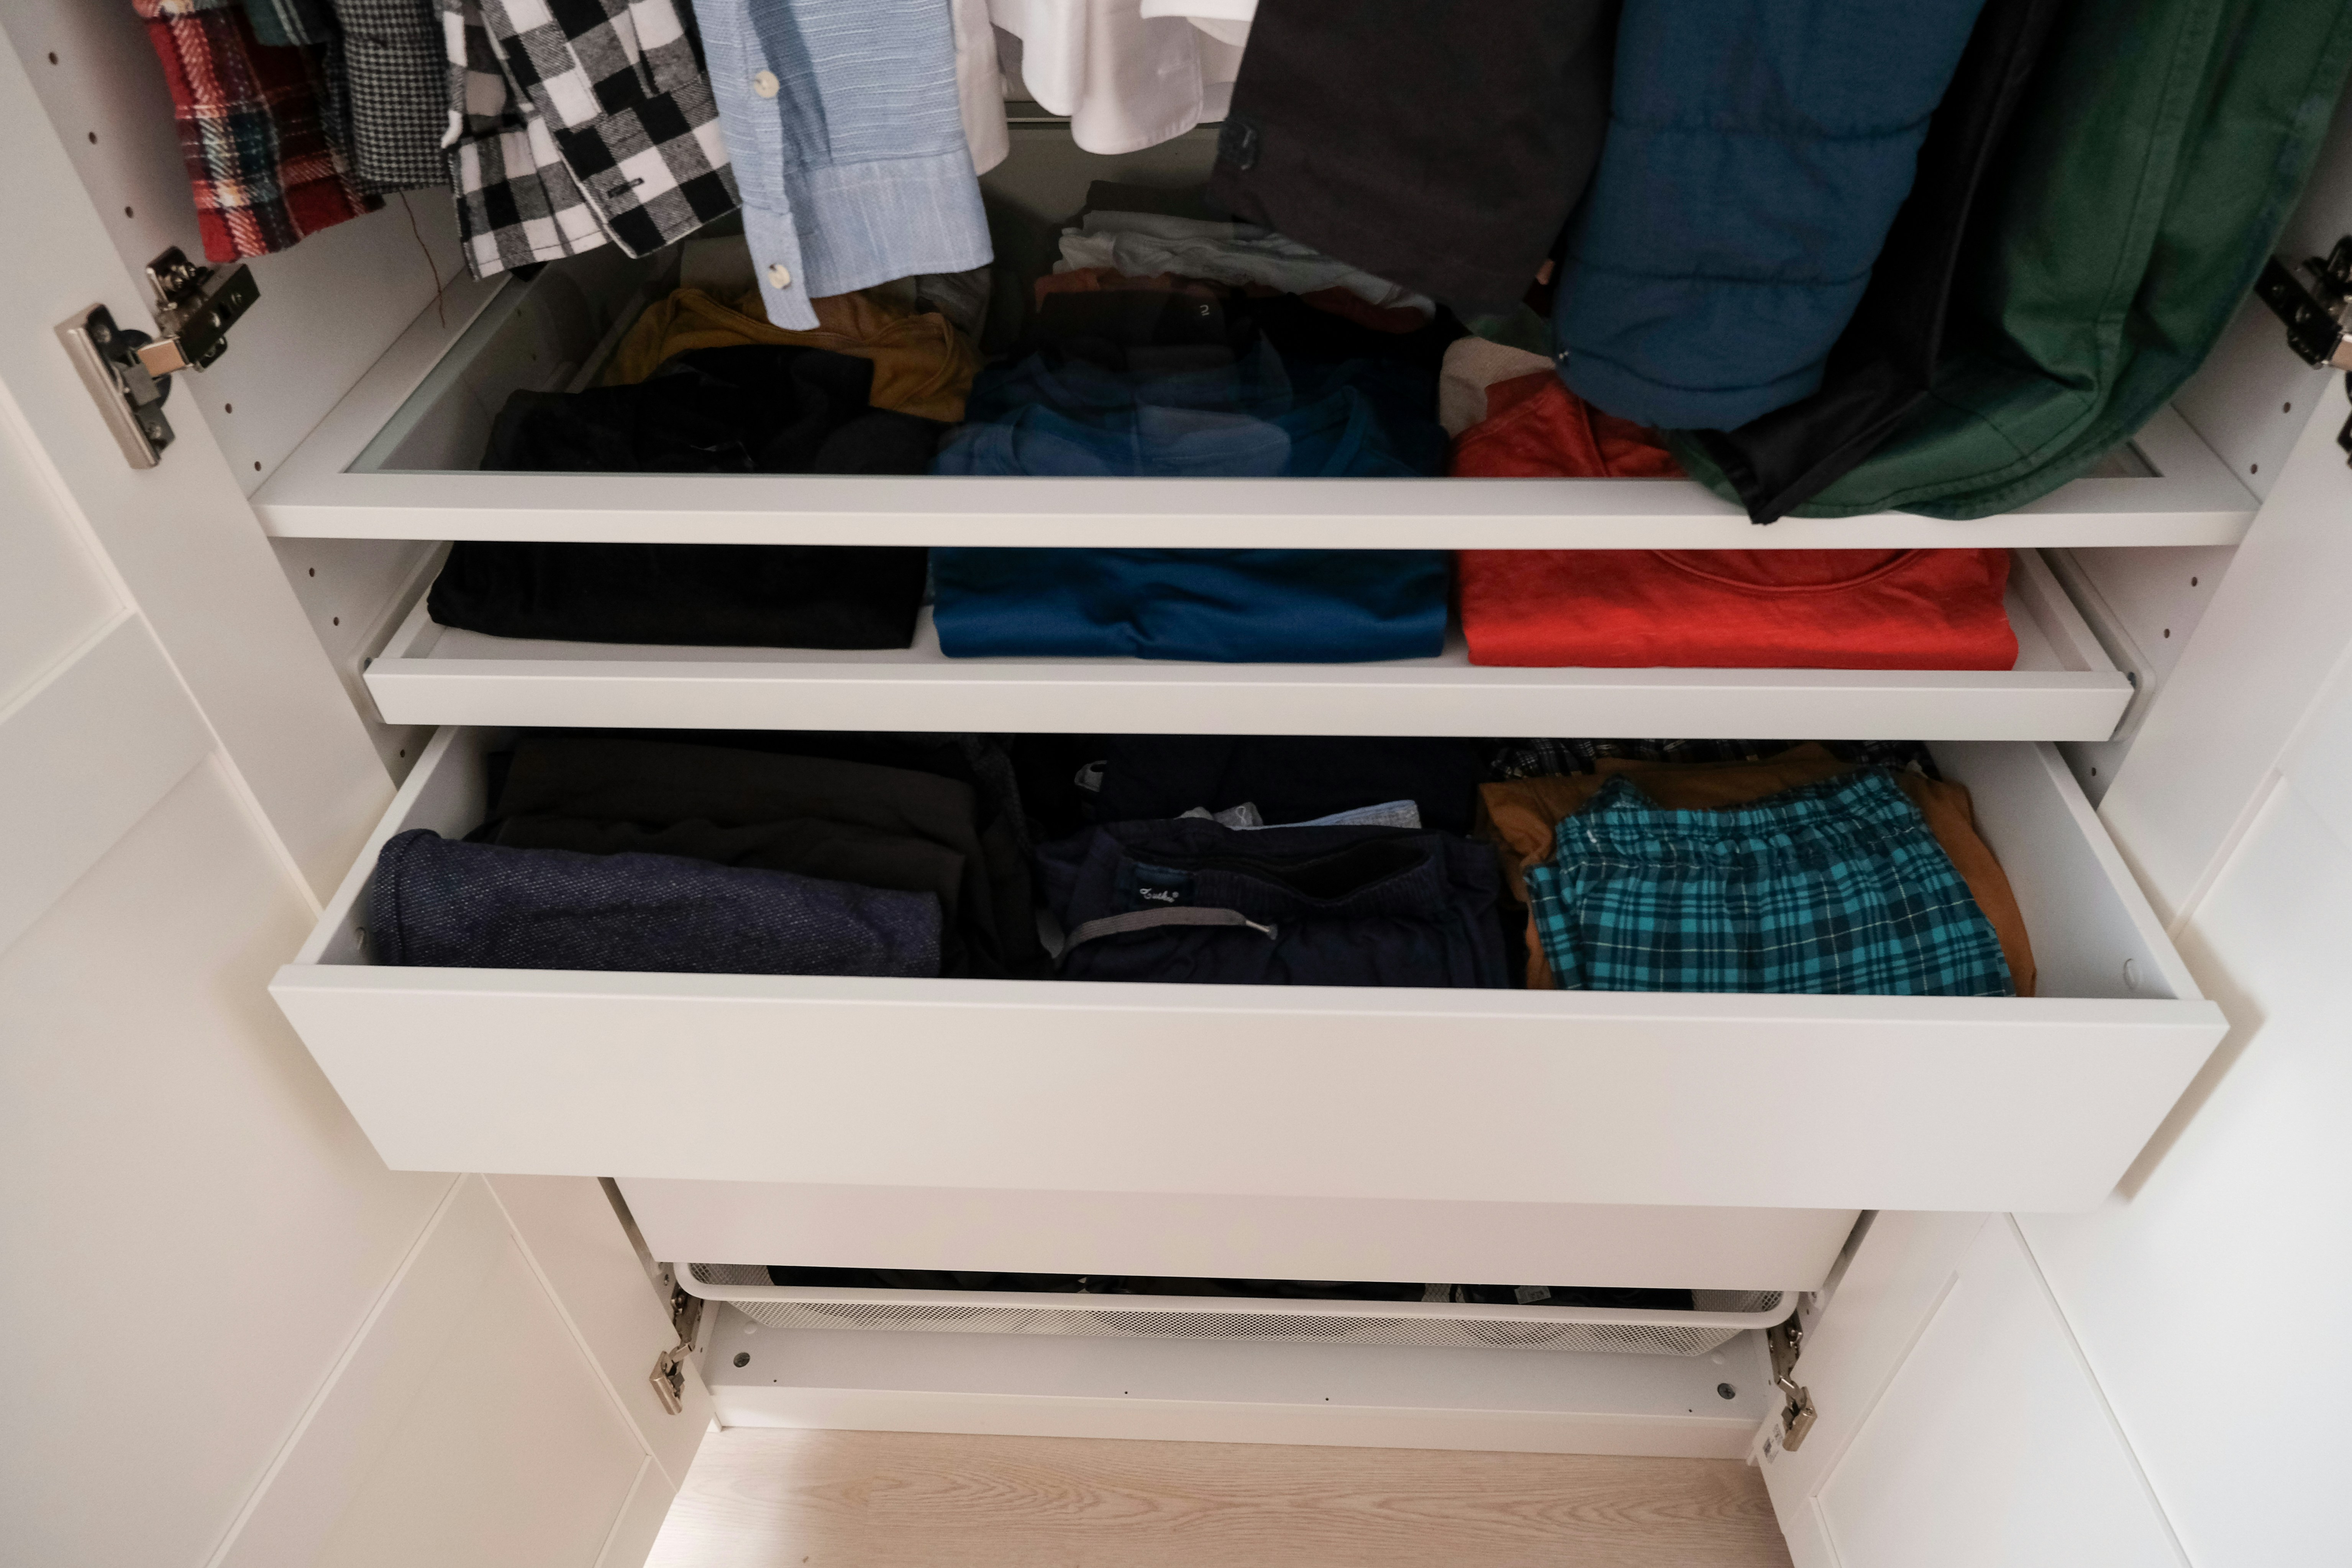
Record rail length, shelf openings, floor area, doors, and any internal drawers. Mark the places needed to stand and retrieve items. A hanging organizer can fit the rail while blocking the shelf behind it.
Check furniture limits and dorm rules before adding hardware. A clothes rail is not automatically intended for heavy stacks of books or a bag organizer filled with equipment. Retain required anchoring and do not modify supplied furniture without permission.
Allocate by function and frequency
Keep daily clothing and supplies easy to reach for their owner. Reserve less accessible areas for suitable low-frequency items. Decide whether one person uses a higher shelf and how they safely access it.
Do not use an office chair as a step. If a zone cannot be reached appropriately, choose another allocation or suitable permitted access equipment. A storage plan should fit the users rather than assigning unreachable space as if it were equally useful.
Make boundaries visible
Shelf dividers, labeled containers, rail markers, or consistent hanger groups can help when compatible with the furniture. Choose the minimum boundary system that both users understand. A large set of matching bins is unnecessary if a simple agreed division works.
Label the face seen during retrieval. Avoid permanent adhesive on dorm furniture unless permitted and suitable for the finish. A removable label holder or a label on the personal container can preserve the boundary without modifying the closet.
Keep clothing from expanding across the line
Give overflow a defined response. If one zone fills, review contents or use an agreed secondary location rather than silently taking another person’s shelf. A small donation, repair, or seasonal group can help when it has a real endpoint.
Do not create a permanent overflow bag on the floor where doors or feet need space. Storage limits are useful information. They show when the system needs fewer contents or another appropriate destination, not just another hanging organizer.
Separate clean storage and laundry
Choose a hamper that has a real parked place and a usable carrying route. Keep damp items out of closed clean storage and follow garment and hamper care instructions. A shared closet may not be the best location for every laundry state.
If each person does laundry separately, ownership should remain clear during sorting and return. See hamper planning for a narrow bedroom. The container’s capacity matters less than whether it supports the actual wash schedule and route.
For another storage destination, use suitcase storage planning.
Choose hanging organizers carefully
Measure usable compartments and the full loaded drop. A long organizer can obstruct shoes or a drawer below. Its stated width may not include straps or side pockets. Follow loading and attachment instructions.
Keep heavy contents within the supported arrangement. Do not infer rail capacity from organizer capacity or vice versa. An accessory that fits physically still needs suitable support from the furniture it attaches to.

Plan shared-room moves
Keep each person’s containers and labels identifiable when belongings leave the room. Photograph a non-sensitive zone map or retain a sketch. Avoid mixing ownership into one large moving box merely to use remaining space.
Before the next term, reassess the closet rather than assuming the old organizers fit another dorm. Rail height, shelf depth, and door type can change. A flexible set of personal containers often adapts better than a fitted system bought without destination measurements.
Example: equal rail space, unequal shelf access
Imagine two roommates splitting a rail evenly. One side’s hanging organizer blocks a fixed shelf both need. The first plan looks fair from the rail measurement but creates a daily access conflict.
They map all zones and reserve the obstructed shelf for one low-frequency group. Daily shared supplies move to an accessible container. Personal clothing boundaries remain clear, and each roommate receives a usable combination of rail and shelf space rather than identical dimensions in only one area.
They also agree what happens when a zone overflows and where laundry goes. After a week, they remove an unnecessary organizer that consumes more access than it creates. The final system is simpler and easier to maintain than the original matching set.
Make the reset small
| Routine | Agreed result |
|---|---|
| Put clothing away | Return to the owner’s marked zone |
| Add new belongings | Review capacity before expanding |
| Finish laundry | Separate clean returns from unwashed items |
| Use shared supplies | Return to one common location |
| Prepare to move | Keep ownership and container identity clear |
For another storage format, compare stackable bins with usable access. A shared closet succeeds when both people can retrieve and return belongings without negotiation every time. Boundaries should support that routine rather than become a complicated labeling project.
Make a shared-space agreement small enough to maintain
Begin with a non-sensitive sketch rather than a detailed inventory of another person’s belongings. Mark personal zones, common supplies, laundry, and the places required for access. A short map can be updated when a shelf or organizer moves without making storage feel like a complicated administrative system. Both people should understand what belongs where and how to handle a boundary that no longer works.
Discuss practical differences openly. One person may have long garments, another more folded items, and one may need easier access to a particular shelf. Equal rail length does not guarantee equal useful storage. Compare combinations of rail, shelf, and floor space while preserving each person’s daily retrieval. Avoid assigning a blocked or unreachable area simply because its nominal dimensions make the division look symmetrical.
Set an overflow rule before the first zone fills. Options may include reviewing contents, moving an appropriate seasonal group, or agreeing on a temporary location with an endpoint. Do not let a temporary bag become permanent storage across another person’s access path. A clear response reduces repeated negotiation and makes it easier to notice when the room genuinely needs fewer contents rather than more containers.
Keep shared supplies truly shared and limited. A common box should have one recognizable destination and an agreed purpose. Personal toiletries, documents, electronics, and clothing may have different privacy or care requirements. Putting them together in a common overflow basket can create confusion that labels alone cannot resolve. Choose ownership and access rules before choosing the matching storage product.
Check accessories with the furniture. A hanging organizer changes rail loading and can block a shelf; bins add weight to a storage unit; over-door systems change the door’s usable motion. Read the applicable instructions and dorm rules. A product fitting a compartment is not proof that the supplied furniture is intended to support its loaded use.
Review the arrangement after the first normal week and after a major schedule or season change. Ask which retrieval actions remain inconvenient and which labels are ignored. Remove unnecessary structure when a simpler boundary works. The goal is a predictable shared routine, not a perfectly styled closet that requires frequent corrections from one roommate to the other.

Worked layout: an organizer consumes the common shelf
Imagine two roommates dividing a closet rail in half. One adds a long hanging organizer for folded clothes. It fits the rail length, but blocks the common shelf behind it and reaches into the shoe area below. The initial division appeared equal while the access was not.
They draw the rail, shelf, floor, doors, and internal drawers as separate zones. The common items are grouped in one accessible container rather than left behind the organizer. The long organizer is compared with a shorter supported option and another allocation of folded storage.
The roommates check rail and organizer requirements before loading. One person’s books do not enter the hanging compartments simply because there is room. The intended support and furniture rules remain part of the arrangement, independent of ownership boundaries.
Daily items receive the easiest appropriate access. A low-frequency seasonal group goes to another suitable location, while each person’s laundry has a defined destination. Damp items are handled through an appropriate drying and care process rather than placed in closed clean storage.
They label personal containers and the common box in the direction seen when opening the closet. The labels are on their own belongings or another permitted surface, not permanently attached to dorm furniture without permission. Each person can recognize the boundary without asking where every small item belongs.
After a week, one zone begins overflowing. They use the agreed review rule rather than silently expanding onto the other person’s shelf. An unused organizer is removed, and the remaining system becomes easier to reach. The allocation changes because the actual routine supplied better information than the empty closet.
At move-out, the same personal container identity keeps belongings separate. The roommates retain the map only as a record, not as proof the accessories fit the next residence. The new closet will need its own measurements and support checks. A successful shared system is both clear now and flexible enough to change without creating another ownership dispute.
Keep changes negotiable and measurable
When a shared zone becomes inconvenient, describe the blocked action rather than blaming a person’s belongings. For example, the shelf cannot be reached while this organizer hangs here identifies a layout issue that can be tested. It is more useful than a broad complaint that one half looks untidy.
Compare two concrete alternatives with the same contents. Shortening an organizer, moving a common box, or reallocating a shelf solves different access problems. Measure each proposed arrangement and check the loaded support rather than choosing the one that looks most symmetrical. The goal is a fair usable combination, not identical dimensions in every category.
Keep private documents and valuable or sensitive belongings in appropriate storage. A shared closet boundary helps ownership but is not a security system. A color label cannot replace controlled access where that is required. Discuss any special need without assuming the other person’s open container is available as spare common storage.
For move-out, agree how shared supplies are divided or removed. Personal labels and container identity can reduce accidental mixing, while a short list of common objects prevents them being forgotten. Do not preserve a storage arrangement by leaving unidentified items for the next occupant.
At the next residence, use the old map as a checklist of questions rather than a ready-made layout. Door type, rail support, shelf dimensions, and permitted installation may change. A successful organizer from the previous term can be inappropriate in the new furniture even when the room seems similar.
Review only as much as the routine needs. A brief reset after laundry or a periodic overflow check may be enough. Avoid creating a system that requires daily supervision from one roommate. The best shared organization is clear enough that each person can retrieve and return belongings independently while respecting the agreed common space.
For keeping collection separate from clean clothes, see narrow-room hamper planning.
Your practical comparison worksheet
Use the following checks with the actual people, objects, and room in your plan. Record a measured value, an observed task result, or the exact product information that answers each point. Keep unresolved details separate from confirmed ones. A result about one feature should not silently establish another: physical fit, ordinary use, support, and care may require different evidence. Work through the checks before ordering, then repeat the relevant actions with the delivered item while the return terms apply. The worksheet is a planning aid rather than a product test or approval for an improvised installation.
1. Ownership
Identify personal contents and genuinely common supplies without treating unidentified overflow as automatically shared.
Give common items a defined purpose and destination. A shared box should not become a way to mix belongings whose care or privacy requirements differ.
2. Usable zones
Map rail, shelves, floor, doors, and internal pull-outs with the space needed to stand and retrieve items.
Compare useful access rather than one equal width. A zone hidden behind an organizer can be less valuable even if its dimensions look generous.
3. Daily access
Place each person’s ordinary clothing and supplies where they can be retrieved appropriately for that user.
Do not assign unreachable storage as a fair share or use an office chair as a step. Choose suitable permitted access or a different allocation.
4. Visible boundaries
Choose a minimal clear system such as labeled personal containers, compatible dividers, or agreed hanger groups.
Use permitted surfaces and suitable label methods. A boundary should help ordinary return rather than become a complicated decorative labeling project.
5. Furniture support
Check loaded organizers, rails, shelves, hooks, and required anchoring against exact product and residence instructions.
An accessory’s capacity does not establish the supporting furniture’s capacity. Keep heavy objects and modifications out of an assumed fit calculation.
6. Laundry route
Define ownership during collection, washing, drying, and clean return, including the hamper’s parked and carried states.
Keep wet or damp items handled appropriately and avoid letting a laundry bag occupy the only access route to shared clean storage.
7. Overflow rule
Agree what happens when a personal zone fills and give any temporary location an actual review point or endpoint.
Review contents or use another suitable destination before expanding across a roommate’s area. More containers do not automatically create more usable access.
8. Review and move
Reassess the map after normal use and preserve container ownership during packing without assuming the next closet matches.
Keep the system flexible. A successful current arrangement is not permission to load or modify different furniture in a future residence.
Sources and scope
- IKEA SKUBB storage case - Example of a model-specific textile organizer. Shared ownership and zone rules here are original practical planning.
Editorial note: This is a research-based planning guide, not a hands-on product review. Worked examples are hypothetical. Follow the exact product instructions and resolve compatibility, installation, and care questions before relying on the arrangement.