
Can You Put a Projector on the Corner of a Small Desk?
Affiliate Disclosure: We may earn a small commission on qualifying Amazon purchases at no extra cost to you. Full disclosure →
A projector can physically fit on a desk corner while being unable to produce the image you want from that location. Lens position, distance to the surface, permitted adjustments, operating clearance, and the path through the room all matter. Choose the image location first and work backward to a supported projector position.
Quick answer: Use the exact projector’s placement chart or calculator and instructions to check the lens-to-surface geometry and intended image size. Confirm whether optical lens shift, zoom, digital correction, or other adjustments are actually available and appropriate. Keep the unit supported and its required clearance unobstructed. A corner position is suitable only when the complete image, equipment, cables, and room use work within the product’s conditions.
Define the image surface and task
Choose the wall or compatible screen and the image area needed for the actual task. Reading small spreadsheet text, showing a diagram, and watching video can require different practical results. A very large picture is not automatically a readable working display.
Check the intended surface’s suitability and surroundings. Include trim, shelves, doors, windows, and anything that must remain accessible. Do not assume a reflective whiteboard or textured wall behaves like a suitable projection screen. If a dedicated surface is needed, include its installation and deployed footprint in the plan.
For ordinary room-light roles, see task and ambient lighting. The projector’s image needs to be evaluated in the room state you can actually maintain, rather than only in an unusually dark demonstration condition.
Measure from the documented lens reference
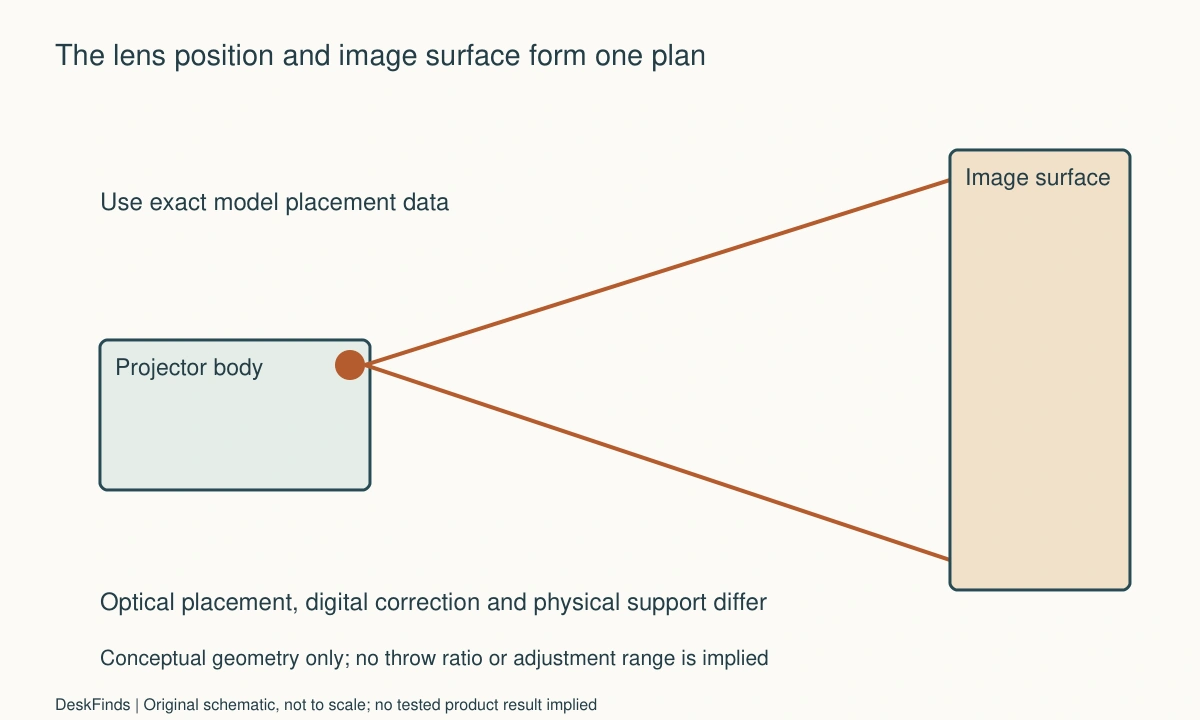
Use the exact model’s placement information and the required reference points. The projector enclosure’s front edge may not be the relevant distance origin. Account for its lens location within the body and the intended image surface, not just the desk’s distance from the wall.
A throw relationship can help interpret a manufacturer chart, but use the model’s actual range and instructions. Do not borrow another projector’s throw ratio or assume all compact products create the same image at the same distance. Include the desired image size and any documented zoom conditions.
Mark the candidate lens position on a room sketch. A desk corner can place it to one side of the desired image center. That offset needs a supported solution; it should not be ignored because the body fits neatly beside the laptop.
Separate lens shift from digital correction
Check which features the exact model provides. Optical lens shift, optical zoom, digital zoom, keystone correction, and other image adjustments are different functions. A product may provide some and not others, with model-specific ranges and combinations.
Epson’s LS11000 guidance illustrates a model-specific preference for supported lens shift rather than keystone in certain placement situations. It is not evidence that every small projector has lens shift or the same adjustment range. Consult the selected projector’s own manual before choosing an off-center location.
Do not assume digital correction is a free substitute for arbitrary placement. Check the manufacturer’s stated effects and restrictions, then judge the content you actually need to read. A rectangular-looking image can still be a poor fit for fine text or the available surface.
Keep the unit supported and clear
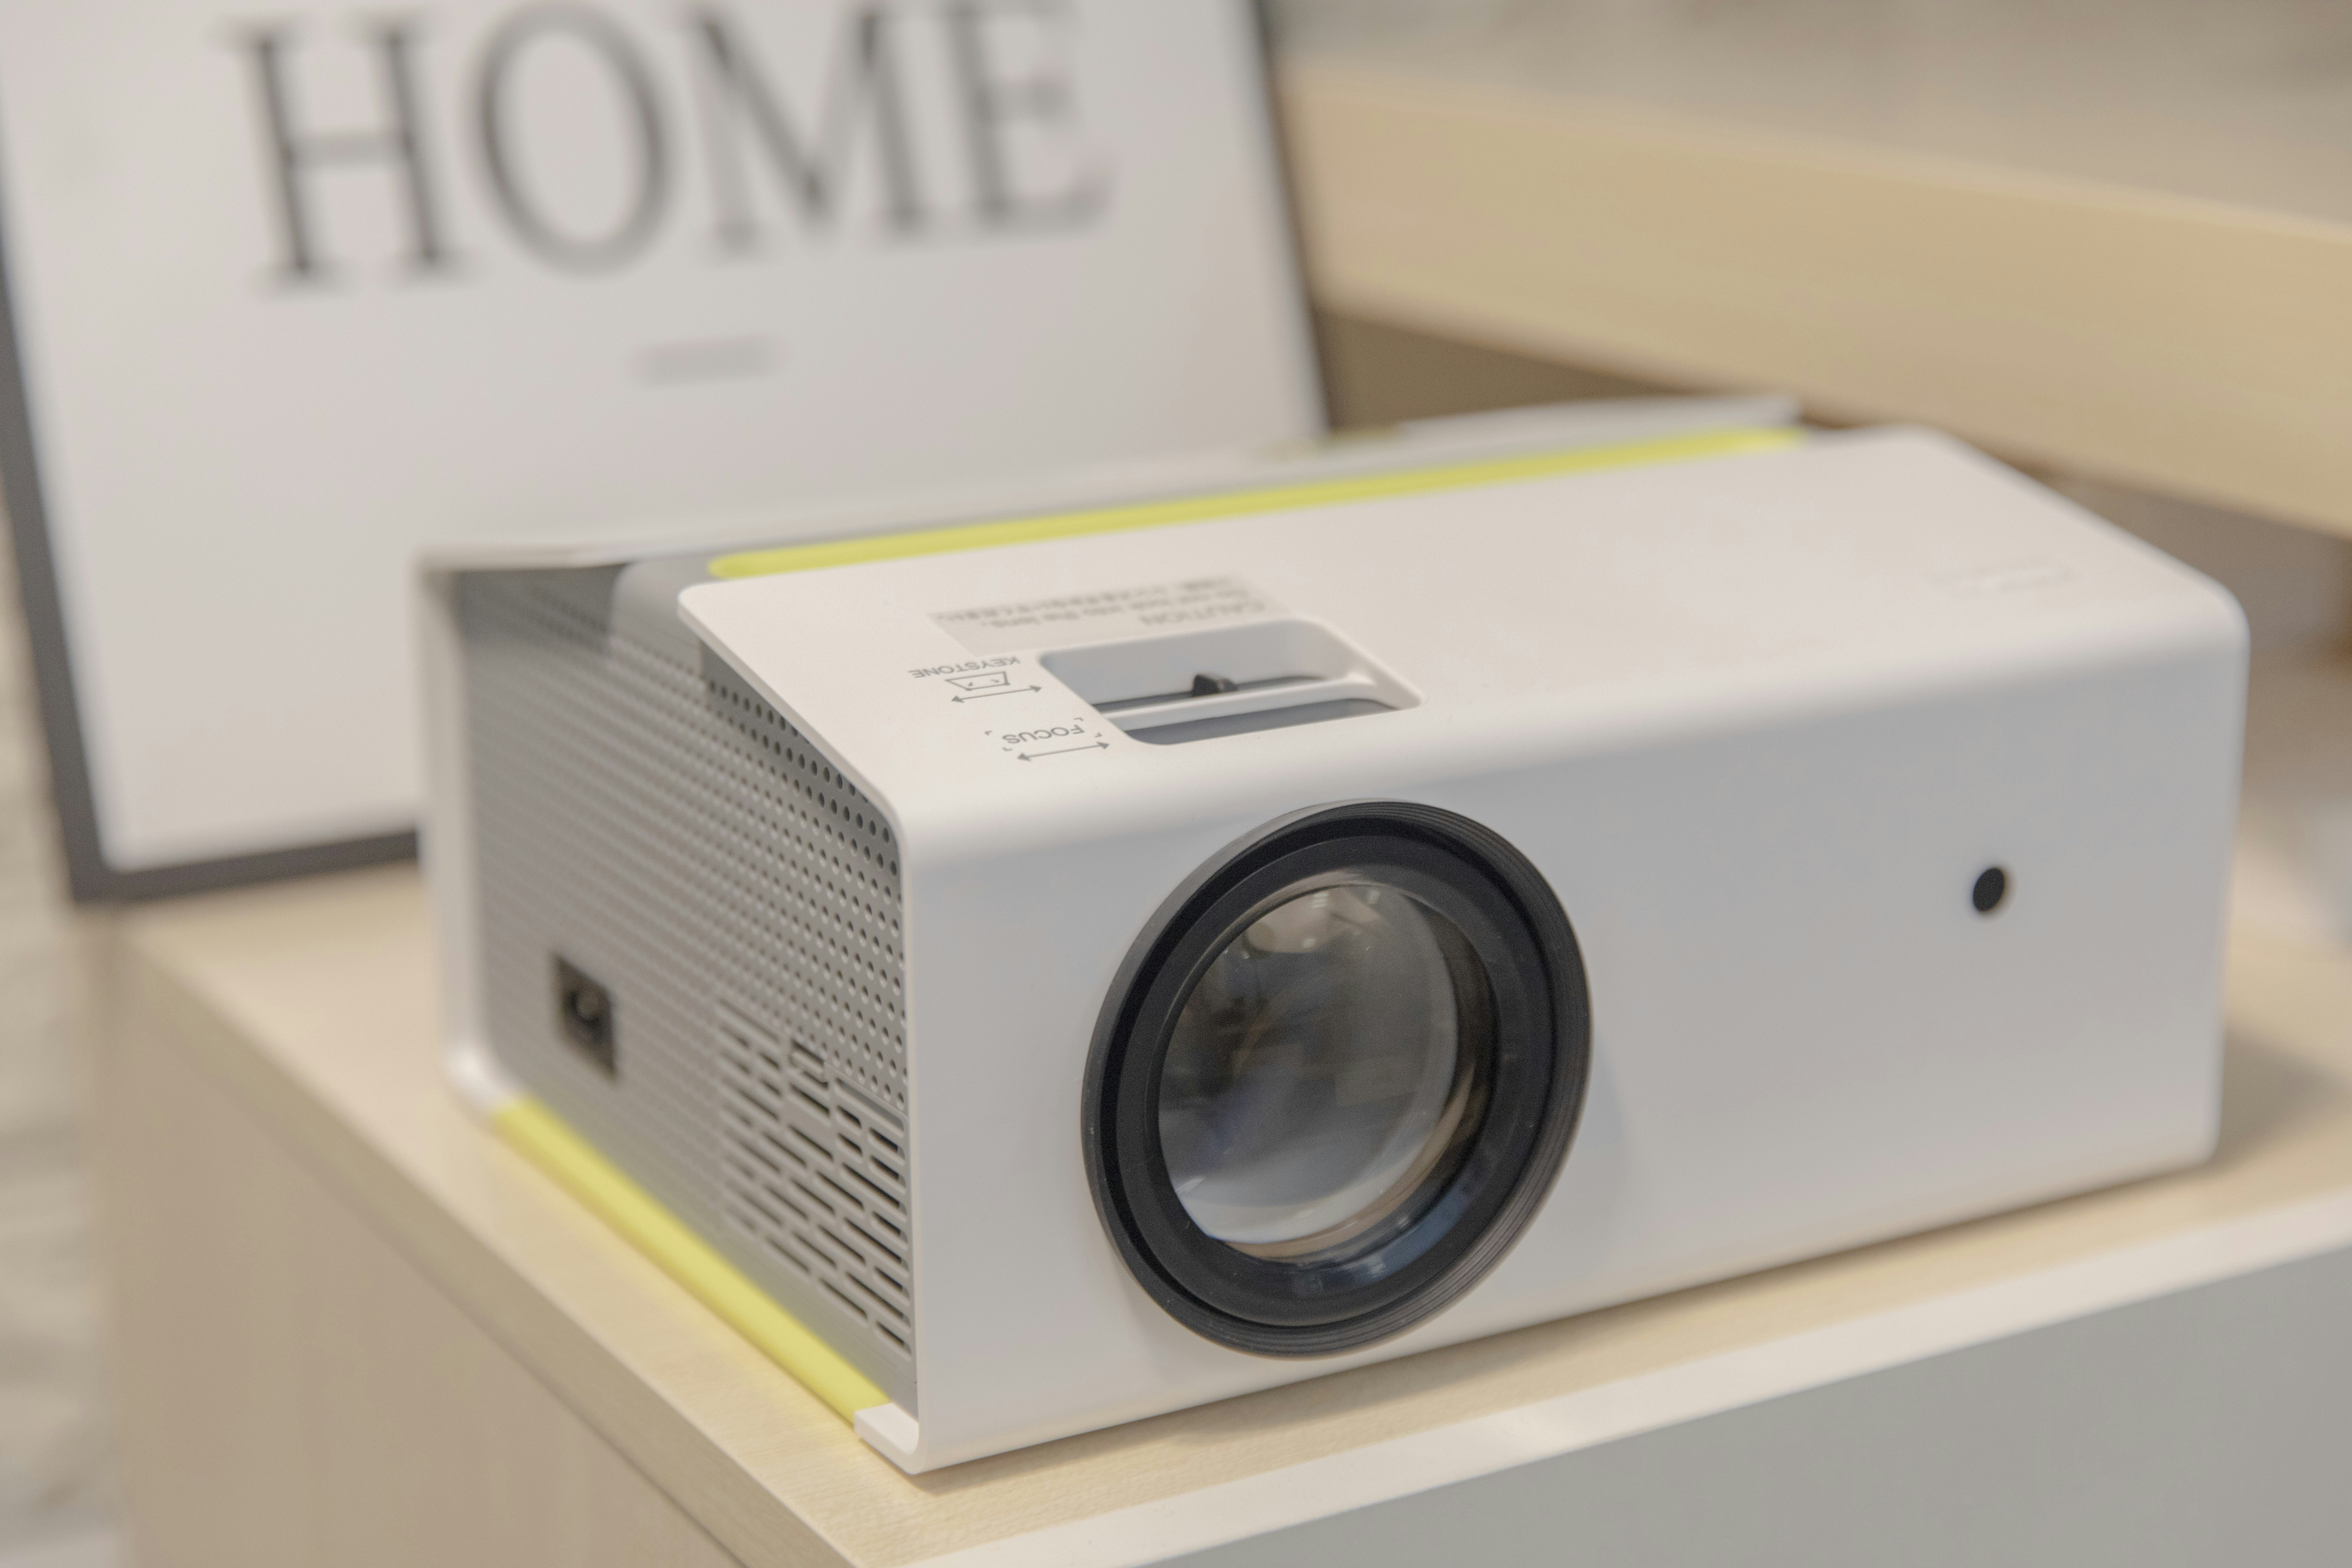
Use the projector only on a suitable surface and in a documented orientation. Include feet, required clearance, intake and exhaust locations, and any adjustment mechanism. Do not prop the unit on an unstable stack or use a phone-camera mount as an assumed projector support.
The overhead mount planning guide illustrates why attachment and load are device-specific. A mount that holds a small phone or camera does not thereby support a projector or its operating conditions. Use an approved support for the actual product if mounting is considered.
Keep papers, fabrics, drinks, and loose objects away as instructed. A corner used for notebooks later in the day may not remain a clear operating location. The plan should work in the ordinary room state without relying on an empty-desk photo.
Trace the image path and people routes
Include where people sit, stand, walk, and reach storage. A projector on a low side corner can put the path to a wardrobe or door through the image beam. Do not look into the lens or use a person’s position as a way to check beam alignment; follow the projector’s safety instructions.
Check the space for controls, remote use, and ordinary focus or adjustment actions. A unit wedged behind a monitor may be difficult to operate or service. If its position must change for every task, include the supported shutdown, handling, and reset process.
The desk and window layout guide covers another room-light planning problem. For projection, compare the actual daylight and room-light conditions separately from whether the lens geometry can reach the surface.
Verify the signal and power route
Identify the actual video source, supported output, projector input, and any adapter. A matching connector is not the whole compatibility check. Include resolution and other modes required for the task, along with any software or managed-device restrictions.
The dock ports chart helps organize interfaces if a laptop dock is involved. Do not assume every USB-C port carries video or that a charger-only socket provides a display path. Confirm the complete chain with the host and projector documentation.
Route power and signal leads without tension, pinching, or crossing required walking routes. A nearby clamp-on power station has its own electrical and mounting requirements. Neat cable grouping does not authorize an unsupported power arrangement.
Worked example: the corner was too far off the intended center
Imagine a hypothetical user who wants a projector beside a laptop on the right corner of a desk. The enclosure fits and the power cable reaches. The first plan does not check the lens position relative to the intended image center on the wall.
The user consults the model’s actual placement chart and adjustment features. The desired off-center geometry is compared with supported lens shift or correction where provided. No feature is assumed from another projector’s marketing description, and the desk is not used to tilt the unit through an undocumented arrangement.
A more central supported position, another suitable screen location, and a different display method are compared. Each includes operating clearance and people routes. If fine text is essential, the corrected image is assessed through ordinary supported use rather than accepted solely because its outline appears rectangular.
The hypothetical decision may reject the corner location even though the product body fits. No image-quality benchmark is claimed. The example demonstrates that a projector’s physical footprint and its useful optical placement are separate fit questions.
A second scenario: the image worked only when the room stopped working
Consider a hypothetical small bedroom where a projector can fill a suitable surface from a desk. During a trial, however, accessing a wardrobe interrupts the image path, and controlling room light requires an impractical daily arrangement. The user initially focuses only on the successful picture.
The user adds ordinary room actions to the plan: entering, standing up, reaching storage, and using the desk for another task. Another supported projector or surface position is compared. The projector is not hidden in a tight enclosure to clear the route, and required access is not blocked to preserve the image.
The user also checks whether a smaller image or a conventional monitor serves the actual work more simply. The largest possible picture is not the only success criterion. If projection remains useful for occasional sessions, a documented temporary setup and storage routine may be more appropriate than permanent deployment.
The final hypothetical arrangement respects both presentation and room use. It does not claim that every small room can support projection from any corner. The useful outcome is a supported lens position and a realistic operating state, or a clear reason to choose another display approach.
Compare portability with repeat setup
A compact projector can be easy to store but still need careful placement and controls each time. Include cables, supply, remote, suitable surface, and any documented cool-down or handling procedure. Do not infer that a small unit may be packed immediately after any operating state.
If it moves frequently, retain a private sketch of the supported lens position and useful settings. A planning marker can help only when appropriate for the surface and product; it should not replace the required placement check after the room changes.
When comparing products, ask for the exact image size and placement you need rather than a general promise that the projector suits small rooms. Clear model-specific information is more useful than a long list of adjustment features whose ranges do not cover the proposed corner.
Six checks for the completed projection plan
Image requirement
Name the surface, useful image size, and smallest content that must be read. Include ordinary light conditions and surrounding access. A large diagonal claim is not proof of a usable working image. Check surface suitability separately, and do not assume a white wall or board is equivalent to a compatible projection screen.
Lens geometry
Use the exact model’s placement reference, distance information, and supported zoom range. Mark the lens, not just the enclosure, on the room sketch. If the corner creates an offset, identify a documented way to address it. Do not borrow another projector’s throw or shift specification to make the plan appear possible.
Adjustment method
Distinguish available optical and digital functions and their restrictions. Follow the selected model’s guidance and evaluate the actual content. A corrected rectangle is not the only acceptance point. If the required placement exceeds supported adjustment, revise the location or product rather than stacking improvised supports or assuming another software setting will create missing capability.
Operating support
Keep the complete unit supported in an intended orientation with required clearance and reachable controls. Include plugs, feet, and neighboring objects. Do not use an unrelated camera support or a tight decorative enclosure as an assumed solution. The product body fitting the desk is only one part of an appropriate operating arrangement.
Room and cables
Trace ordinary people routes and the full power and signal paths. Preserve required entry and storage access without using people to test beam alignment. Follow the projector’s safety and connection instructions. A useful plan serves the room while the image is active, not just during a staged session with everything else temporarily inaccessible.
Reset and service
Follow documented shutdown, handling, packing, and care procedures. Keep the lens position, settings, and cable roles recorded for a temporary setup. Recheck when furniture or the source changes. A compact projector is practical when the image and the complete operating routine can be restored within the product’s supported conditions.
A room drawing that separates body and lens
Imagine a hypothetical desk 500 mm deep with a candidate projector body 240 mm deep. Subtracting leaves 260 mm before adding plugs, operating clearance, controls, and the required lens position. These invented dimensions illustrate a footprint calculation only. They are not a projector specification or a recommended clearance, and the remainder does not establish optical suitability.
Now mark the lens’s actual reference point from the selected product drawing. Its location determines the relevant path to the image surface. A body fitting on the desk can still place the lens outside the range or alignment needed for the intended image. Use the manufacturer’s chart or calculator for that model rather than estimating from the enclosure’s front edge.
Keep the image rectangle on a separate part of the sketch. Include the desired usable content area and obstructions such as trim or a door. The projector location and surface must be evaluated together; neither an empty desk gap nor a large blank wall is enough by itself.
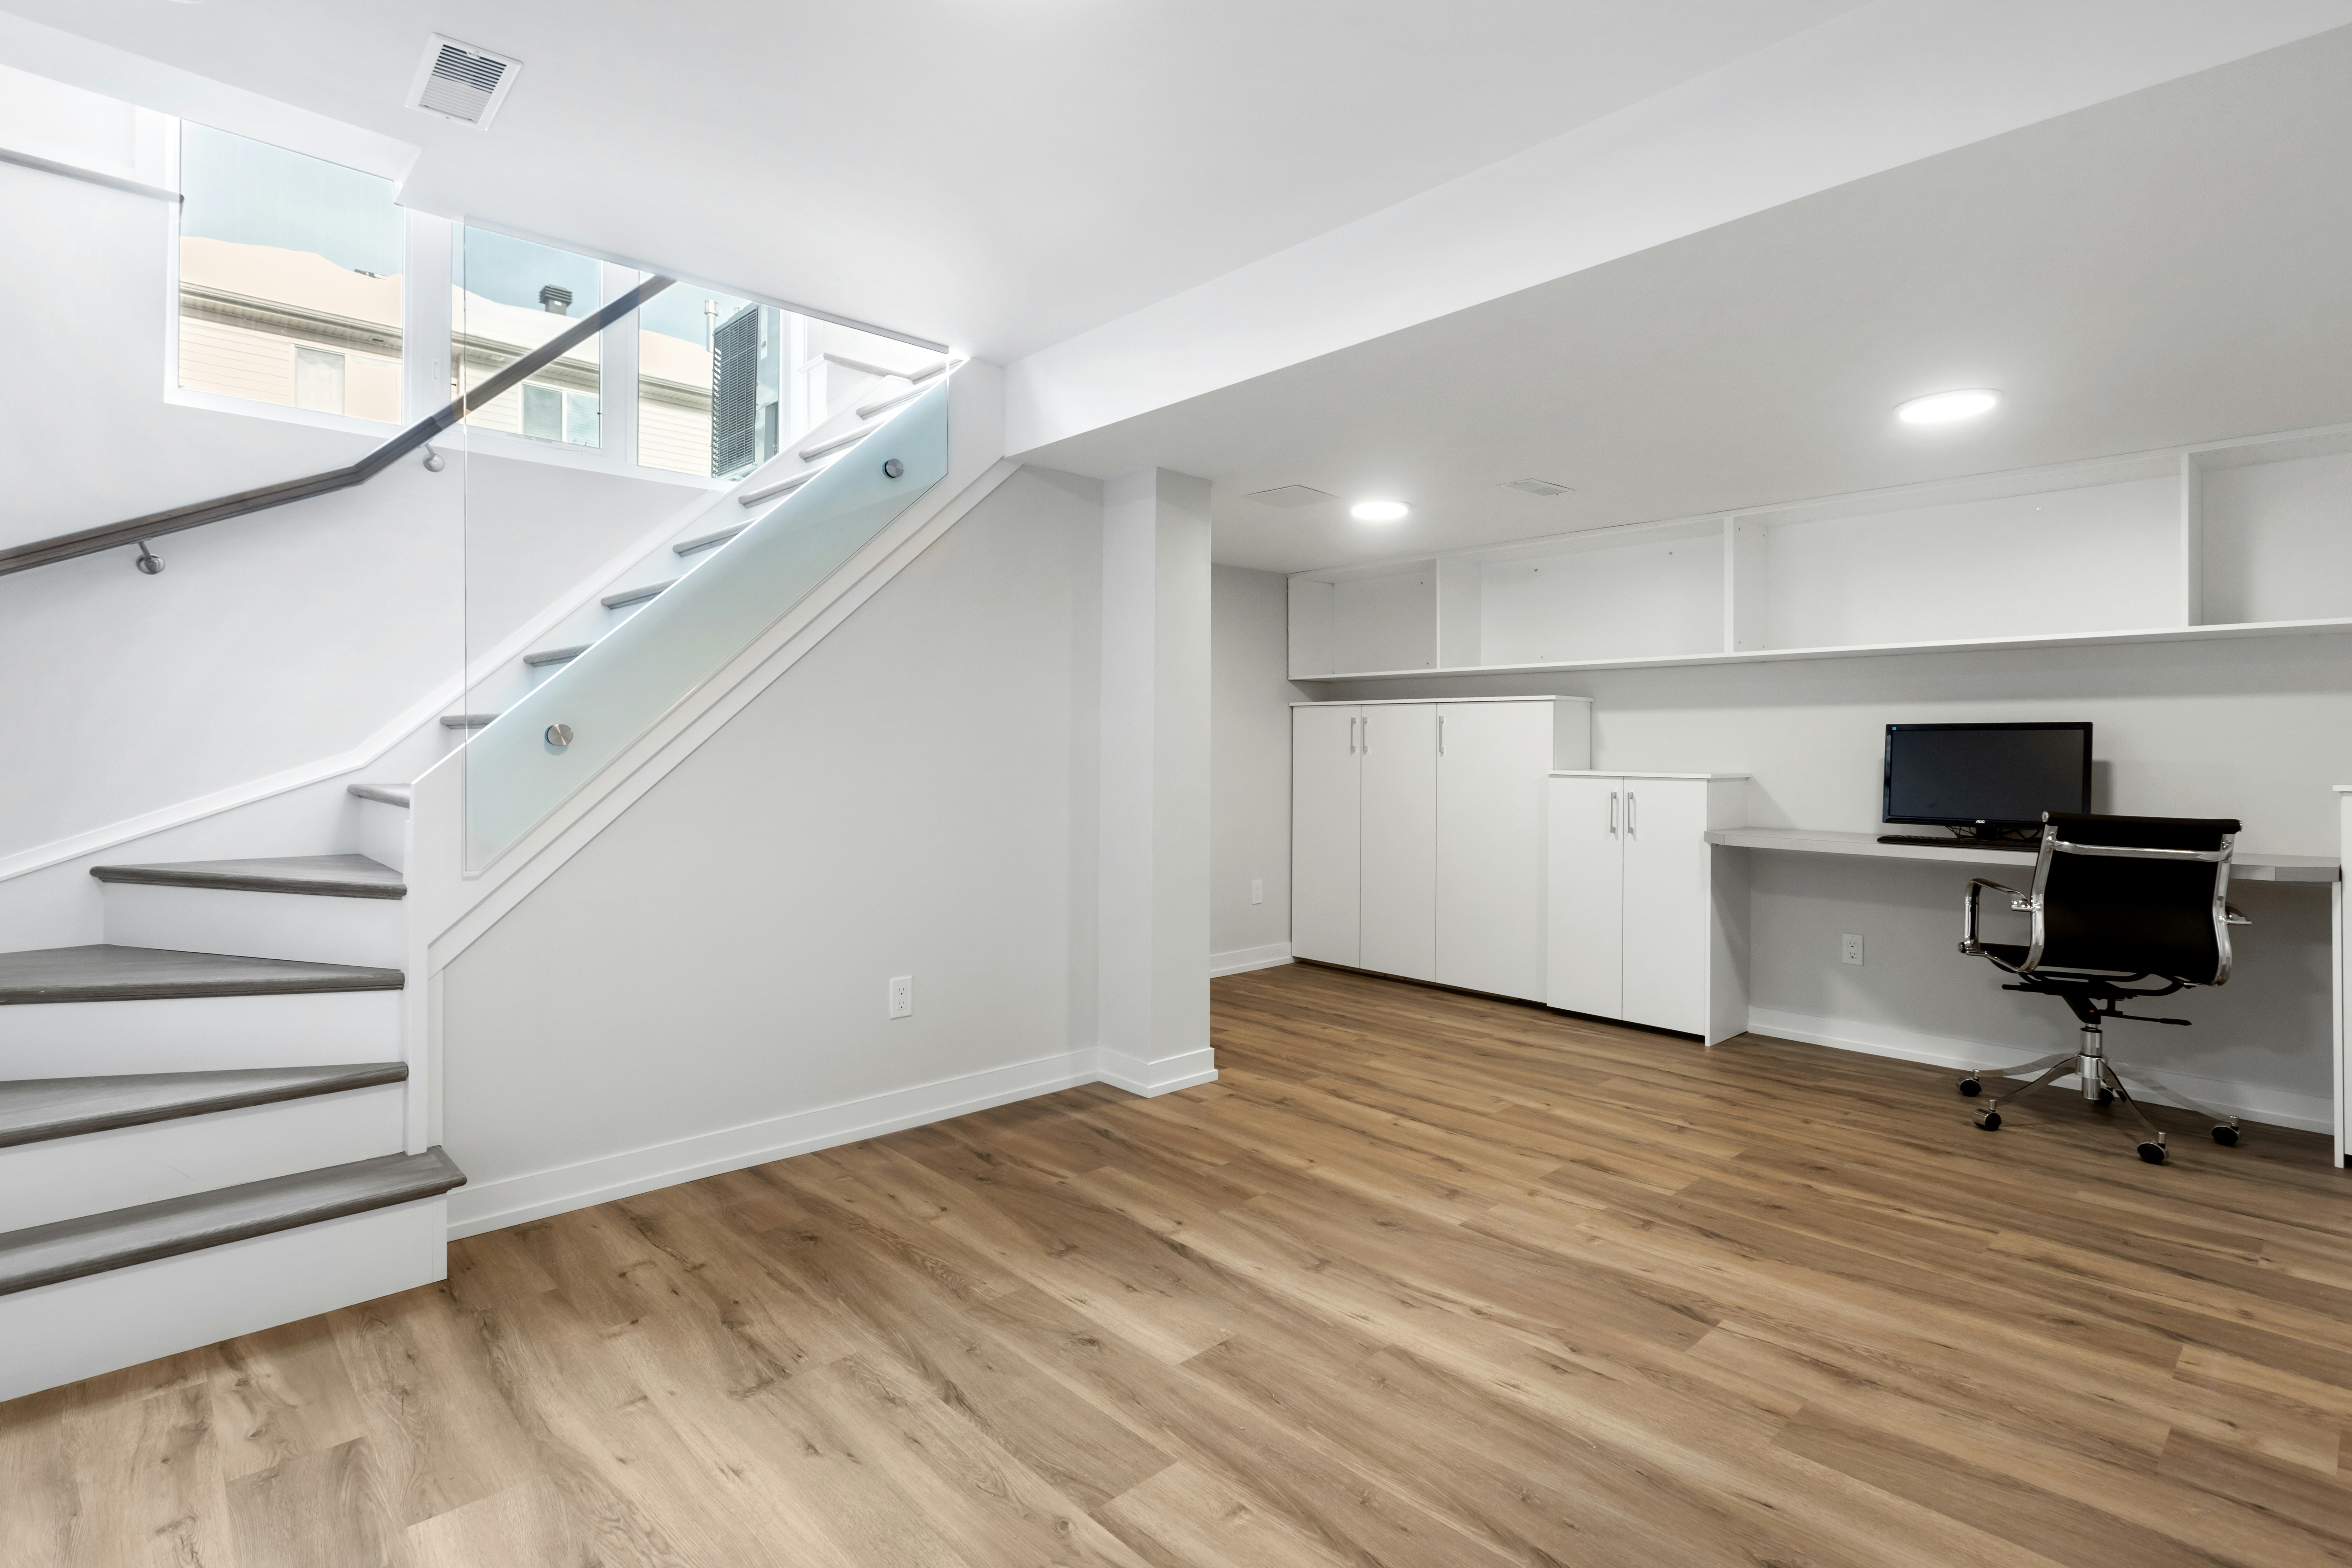
Compare three complete location options
A central supported desktop position may simplify alignment but occupy useful work area. A corner position may preserve that area while requiring a documented adjustment capability. A temporary suitable table or support may serve occasional sessions but add deployment, cable, and storage actions. Compare the complete routine rather than declaring one location inherently more compact.
For each option, record the model-specific geometry, operating clearance, source connection, people routes, and actual room-light state. Keep a failed requirement visible. A good result for video in a dim room does not establish that small text will be readable during a daylight work session.
If a location needs digital correction, understand the selected model’s supported method and consequences. Do not assume it provides the same result as optical placement or that a feature with a similar name on another projector has the same range. The exact task and actual output decide whether the documented option is useful.
Use a harmless content sample
Prepare representative text, a diagram, and any relevant color distinction without private information. The sample is a consistency aid, not a calibration or image-quality certification. Keep it unchanged while comparing supported positions or settings so the observation has a clear reference.
Check the content from the intended viewing position and through the actual source path. A projector menu looking sharp does not prove the laptop signal or shared presentation is configured as expected. Keep source resolution, input selection, and any adapter in the record.
If the smallest necessary labels remain unsuitable, consider another image scale or display method. Do not let a dramatic large picture override the actual reading requirement. An ordinary monitor can be the better complete answer for some small-room work, while projection may remain appropriate for another task.
Questions that prevent an unsuitable purchase
Give the manufacturer or seller the desired image dimensions, lens-to-surface candidate distance, horizontal and vertical offset, surface, room use, and source device. Ask which documented configuration provides the result and which adjustments it relies on. A general answer that the projector suits bedrooms is not a placement calculation.
Also ask about access, support, and handling if the unit will be moved often. Keep the required shutdown or cool-down process model-specific. Do not infer that a portable enclosure may be packed in every operating state or that a camera clamp is a suitable mounting accessory.
Retain the final diagram with the actual product and settings. Recheck it when the desk, screen, source, or room lighting changes. A successful arrangement belongs to that configuration, not to every corner of every small room.
Sources and scope
- Epson LS11000 user guide - Specific placement and image-adjustment example. Lens shift, correction ranges, clearance and handling must come from the selected model.
Editorial note: This is a research-based planning guide, not a hands-on product review. All worked scenarios are hypothetical. Measurements and compatibility must be confirmed for the exact equipment. Photography supplies context, not proof of a tested arrangement.
Photos are illustrative and come from free-license libraries such as Unsplash; diagrams are original to DeskFinds.