
Will a Clamp-On Power Strip Fit Your Desk Edge?
Affiliate Disclosure: We may earn a small commission on qualifying Amazon purchases at no extra cost to you. Full disclosure →
A desk-edge power strip can make sockets easier to reach, but the clamp is only one part of fit. Large adapters, a nearby monitor arm, underside braces, and the supply cord can determine whether the arrangement is practical. Check furniture compatibility and the electrical product’s instructions separately before treating a visible edge as a mounting point.
Quick answer: Verify the exact strip’s permitted desktop thickness, edge shape, surface, mounting orientation, and electrical use. Include the clamp hardware, connected adapters, switches, USB leads, and supply-cord route. Do not assume every edge within the opening range is suitable, or that a clamp accessory changes the strip’s electrical limits. Use the specified product and regional supply arrangement without improvised mounting or connections.
Separate access from electrical function
Write what you need near the desk edge: an occasional charging plug, several permanent supplies, USB charging, or a reachable switch. A power strip, surge protector, and USB charger can provide different functions. A convenient mounting method does not establish all of them.
The power strip and surge protector guide explains the category distinction. Read the actual product ratings and instructions for the connected equipment. Do not infer protection or charging capability from the enclosure, number of sockets, or presence of a clamp.
Choose a product appropriate to the region and use. Follow the manufacturer’s connection and load guidance. If the electrical arrangement is uncertain, resolve it through the relevant official guidance or a qualified professional rather than experimenting with adapters or combinations simply to make the desk layout work.
Measure the exact mounting edge
Record desktop thickness where the clamp contacts, including a bevel, curve, trim, or underside apron. Check whether the furniture permits that method and whether the product requires a particular contact surface. A nominal tabletop thickness can differ from the usable clamping area at the chosen point.
Anker’s clamp-strip documentation illustrates model-specific thickness and edge restrictions. Those details are an example of what to verify, not a universal range for every clamp-on strip. Use the exact product revision and the actual furniture geometry.
Do not add arbitrary blocks, extra adhesive, or substitute hardware to make an unsuitable edge fit. A clamp closing around a surface is not proof that the intended contact and support conditions are met. Compare another supported product or location when the interface remains uncertain.
Include hardware above and below the top
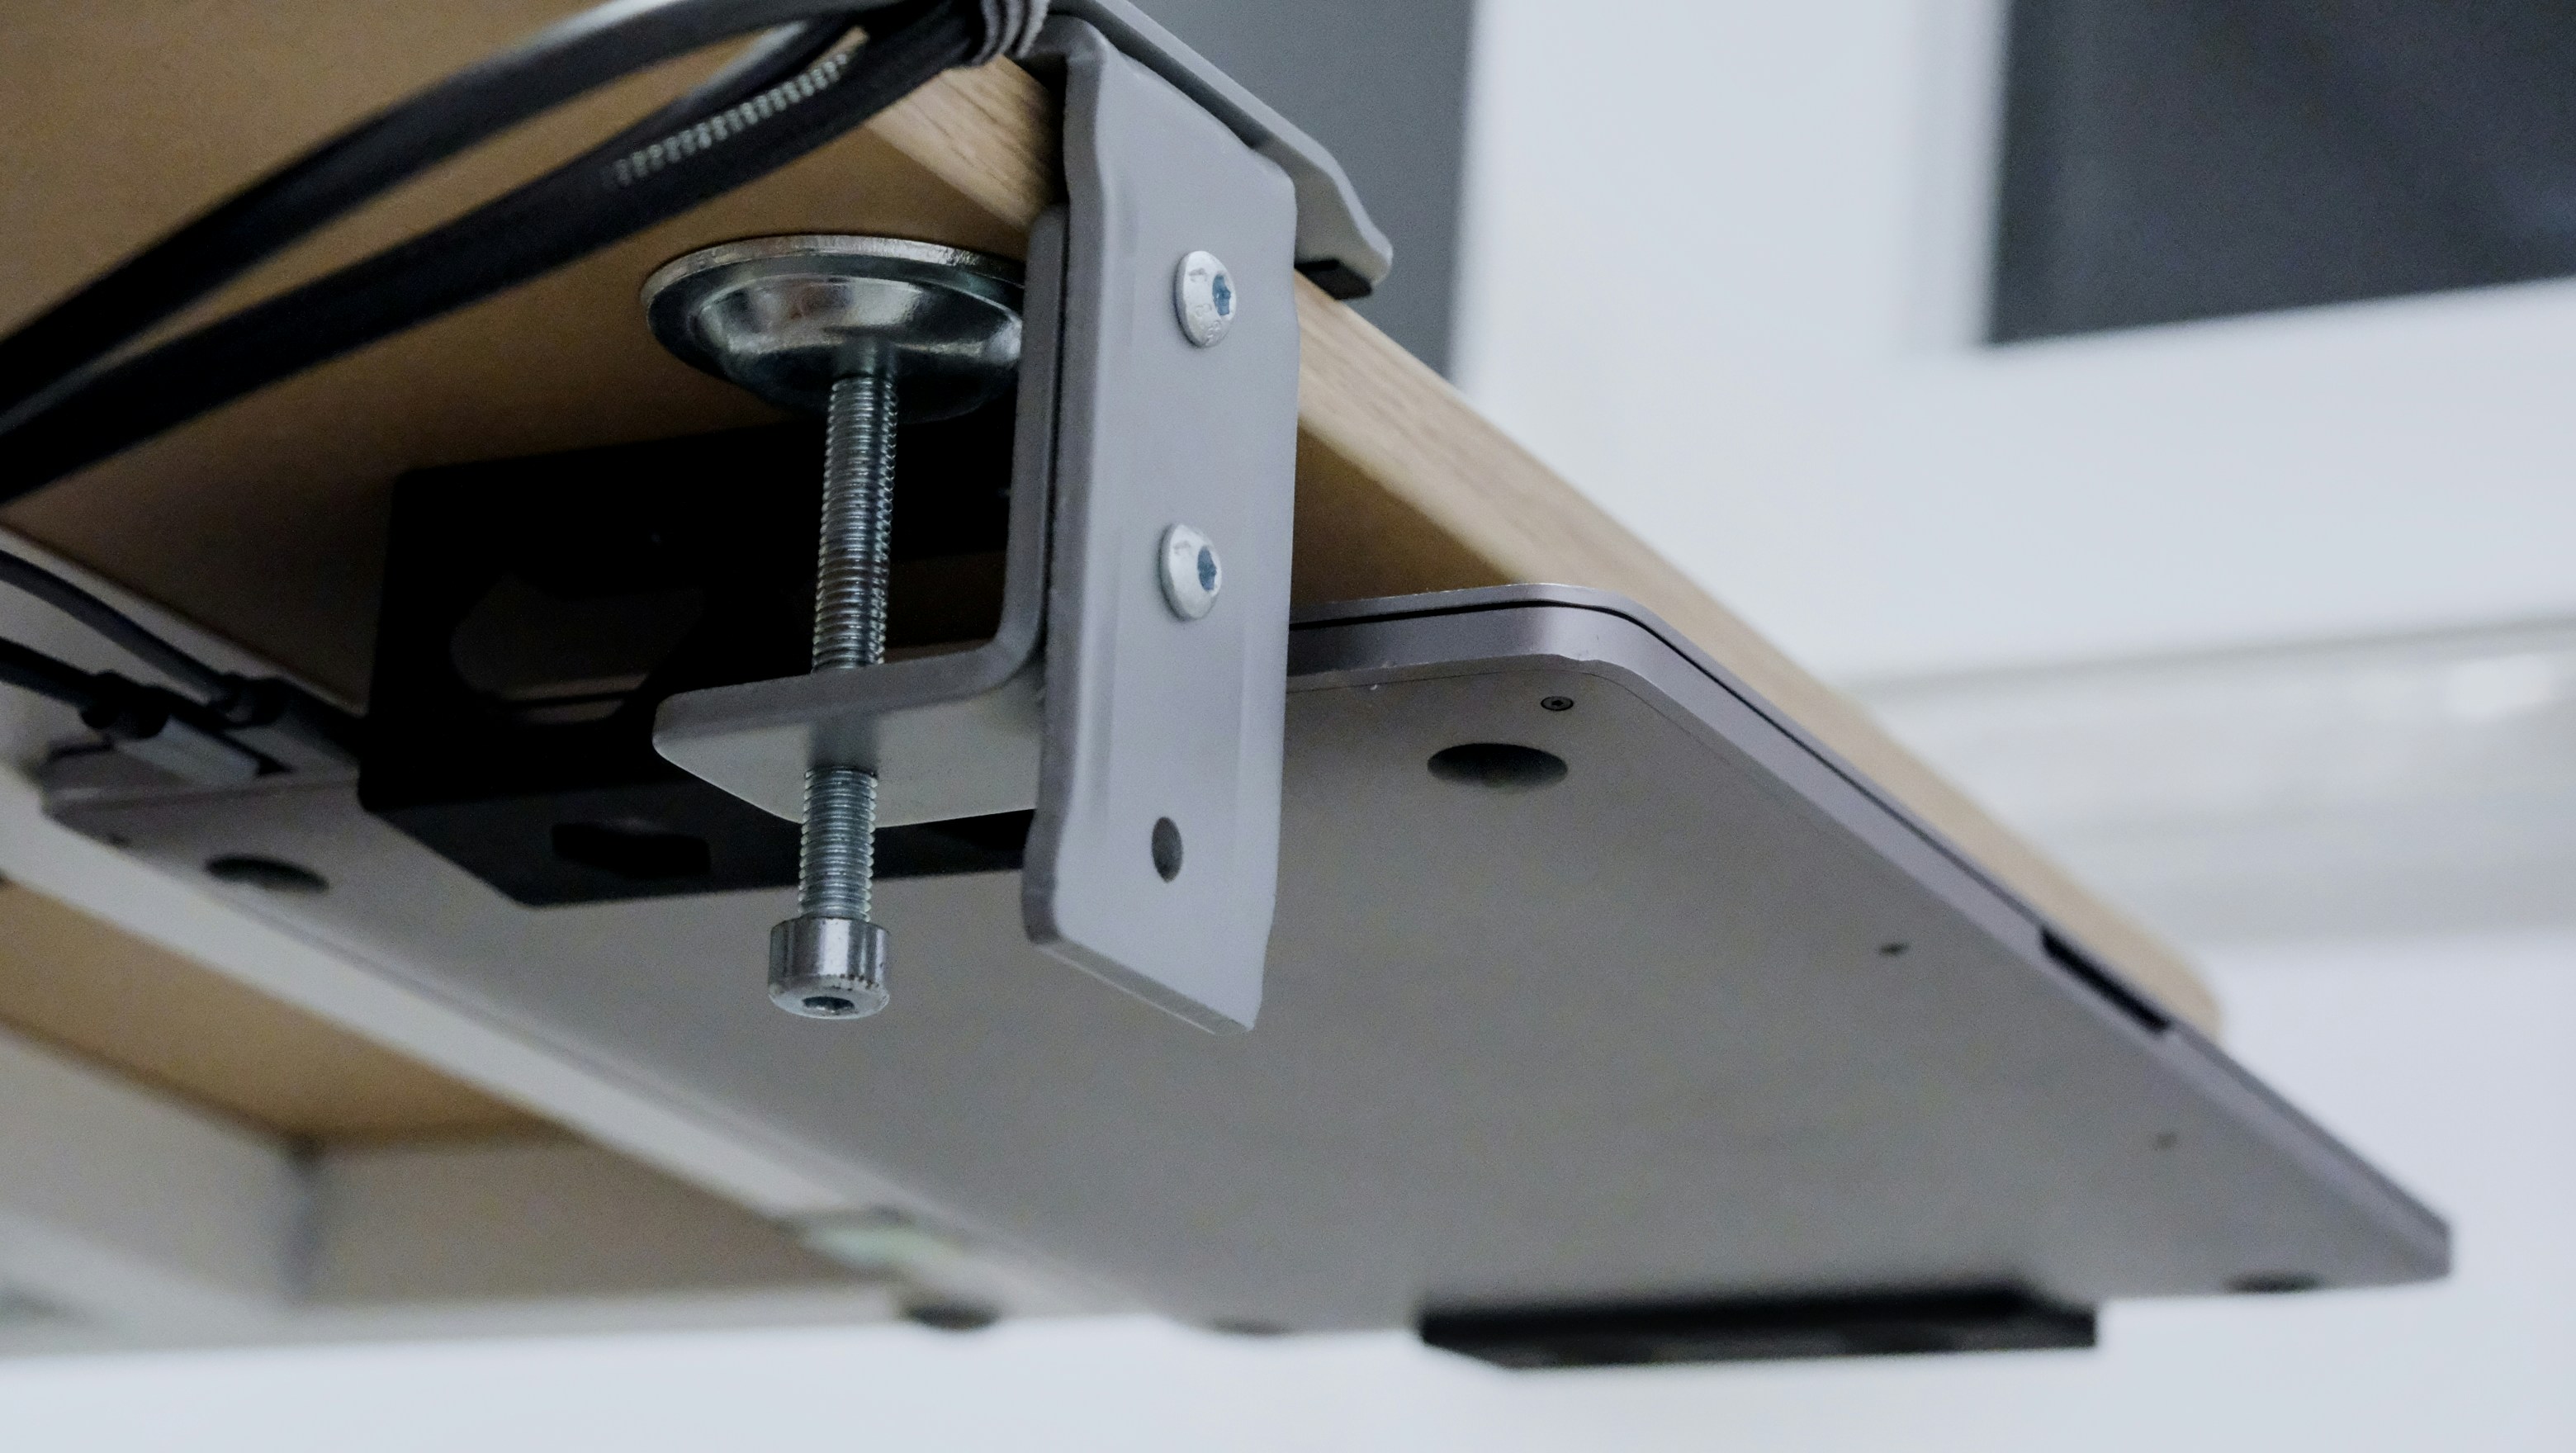
Outline the strip body, clamp screw or lever, pads, and required adjustment access. An underside brace or drawer can block the clamp even when the visible edge looks clear. Leave the hand space needed for installation and any documented removal or adjustment.
Compare other edge-mounted accessories. A lamp, monitor arm, microphone support, fan, or privacy panel may use the same region. Do not stack clamps or treat one accessory as a mounting base for another unless that arrangement is explicitly supported.
The clamp fan clearance guide and desk privacy-panel guide address related edge conflicts. Draw the complete hardware, not only the slim poles visible above the desk.
Add the real adapter and plug envelope
Use the dimensions of the supplies you actually connect. A large brick can cover an adjacent socket or extend into the writing area. Plug orientation matters, as does the space needed to grasp it correctly. Empty socket spacing is not the same as usable connected capacity.
Keep heavy supplies supported as instructed rather than hanging them in an unsuitable way from a socket or lead. Follow the strip and supply makers’ permitted orientations and use conditions. A product that physically accepts an adapter still needs an appropriate electrical and mechanical arrangement.
For the broader geometry, see power strips with large adapters. Avoid buying extra splitters or stacking adapters merely to recover a socket blocked by an unsuitable product layout. Compare a better-supported arrangement instead.
Check switches and everyday USB access
Identify the controls you use and check them with the intended plugs loaded. A switch can become hidden behind an adapter or vulnerable to an accidental press from a sleeve. Choose a location that allows deliberate operation without reaching through other equipment.
If USB charging is needed, read the exact port and simultaneous-output information. A headline total is not automatically the output available to every port. Confirm the actual device and cable requirements rather than assuming a USB-C socket supplies the laptop’s desired charging mode.
Do not treat a power-strip USB port as a data hub unless the product explicitly provides that function. Label roles in your desk plan when similar-looking ports have different jobs. Clear identification can prevent repeated unplugging of the wrong lead during a busy departure.
Trace the supply cord through the room
Check the complete route from the strip to the intended outlet using the manufacturer’s permitted arrangement. Keep cords clear of pinching, sharp edges, walking paths, and moving furniture. Do not select a mounting location first and improvise an unsupported electrical extension afterward.
If the desk changes height, include the full supported movement and the outlet end. A cord can be relaxed while seated and taut when raised. The standing-desk cable guide covers the general movement plan; the strip’s own instructions still govern its connection and operation.
Keep the product accessible for the actions its instructions require. A strip mounted neatly at the back should not make it impossible to identify supplies or respond to a warning. Do not cover it or place it inside an improvised enclosure simply to hide the connected plugs.
Worked example: an underside brace blocked installation
Imagine a hypothetical buyer with a desk whose nominal thickness lies within a clamp strip’s published range. The buyer nearly orders from that measurement alone. A drawing of the underside reveals a rear brace close to the edge, leaving insufficient space for the clamp’s intended hardware and hand access.
The buyer measures another permitted location and compares its complete connected footprint. Moving the strip to the side could solve the brace conflict but place large adapters near the mouse or chair route. Those consequences are included rather than treating the first successful clamp position as the final answer.
A different documented mounting product is also considered. The buyer does not add a block to bridge the brace or partially engage the clamp. Furniture compatibility and the strip’s electrical suitability remain independent checks throughout the comparison.
The hypothetical result is a completed arrangement with a clear cord route and accessible controls. It does not claim a structural or electrical test. The example demonstrates why tabletop thickness can be correct while the actual mounting point is still unsuitable.

A second scenario: the charging specification was misunderstood
Consider a hypothetical worker who wants one desk-edge unit for a laptop and several smaller devices. The strip has USB ports and a prominent total-power claim. The worker initially assumes every port can provide the laptop’s required charging behavior while all devices are connected.
The worker reads the model-specific output information and checks the laptop’s own requirements. The supported simultaneous arrangement is recorded rather than calculated by adding unrelated maximum figures. If the unit cannot serve the desired combination, a separate appropriate charger or another documented product is compared.
The physical plan is updated with any separate supply that remains necessary. A one-box appearance is not preserved at the cost of an unsupported charging assumption. The worker also distinguishes USB power from data, so a camera or storage connection is not plugged into a charging-only role by mistake.
The final hypothetical decision is based on actual functions and access. No charging rate is claimed to have been measured, and no universal adapter recommendation is given. The lesson is to verify the complete power arrangement before allowing tidy mounting to dominate the purchase.
Compare mounting convenience with a simpler location
A clamp-on strip can be useful for frequent access when the furniture and connected equipment are suitable. A documented under-desk or surface arrangement may be more appropriate elsewhere. Compare the complete hardware, plugs, controls, supply route, and removal process rather than assuming visible sockets are always the goal.
Do not modify an electrical product or use unapproved mounting accessories to adapt it. Follow installation and care instructions and stop using damaged or abnormal equipment through the appropriate support process. Cable organization is not a repair for an electrical fault.
Retain the exact product and supply information with a simple destination diagram. Revisit the arrangement when a large charger or new device is added. One socket previously usable with a small plug may become inaccessible with another adapter, and the electrical requirements can change as well.
Six checks before relying on the mount
Product function
Identify whether the unit provides distribution, surge protection, USB charging, or another stated function. Check regional suitability and the manufacturer’s electrical limits for the intended equipment. Do not infer capability from the clamp or connector shape. Resolve uncertainty through official guidance rather than trying unsupported adapters or connections to complete the layout.
Furniture interface
Measure the actual edge, material, shape, and underside obstructions. Compare the product and desk instructions, not only the nominal thickness. A clamp range is one condition among several. If the required contact or access is unavailable, choose another supported location or product instead of adding improvised blocks or substitute hardware.
Connected dimensions
Include real plug bodies, large supplies, cable exits, and finger access. Check adjacent sockets and the surrounding work area. An empty strip’s dimensions can conceal a much larger loaded footprint. Avoid treating stacked adapters or splitters as an automatic way to recover capacity lost to a poor physical arrangement.
Control access
Reach switches and frequently used ports with the intended equipment connected. Check that ordinary hand or sleeve movement does not trigger a control accidentally. Keep power and data roles clear when connectors look similar. A convenient unit should support deliberate everyday actions without requiring repeated movement of the monitor or a bundle of supplies.
Cord route
Trace the full supported path to the outlet, including desk travel where relevant. Keep cords out of pinch, walking, and moving-mechanism areas. Do not make the clamp carry tension from an inadequate route. If the location cannot be served through the manufacturer’s permitted electrical arrangement, revise the placement rather than improvising a connection.
Change and care
Keep instructions and model information available, inspect and care for the product as directed, and recheck when equipment changes. Do not cover warnings or modify the enclosure. A suitable desk-edge power setup is one in which furniture fit, connected access, cord routing, and electrical use are all documented rather than inferred from a tidy appearance.
Build a connected-footprint drawing
Suppose a hypothetical strip body is 250 mm long, while one of its intended adapters projects 65 mm beyond the relevant face and the clamp hardware needs a separate underside area. These invented dimensions illustrate why a bare-body listing cannot describe the whole installation. They are not specifications or electrical ratings for a named product.
Draw each actual plug and the hand route used to remove it. A socket can be electrically available yet physically blocked by a neighboring supply. If that happens, compare a product with a suitable documented layout or another permitted arrangement rather than assuming stacked adapters are an appropriate repair.
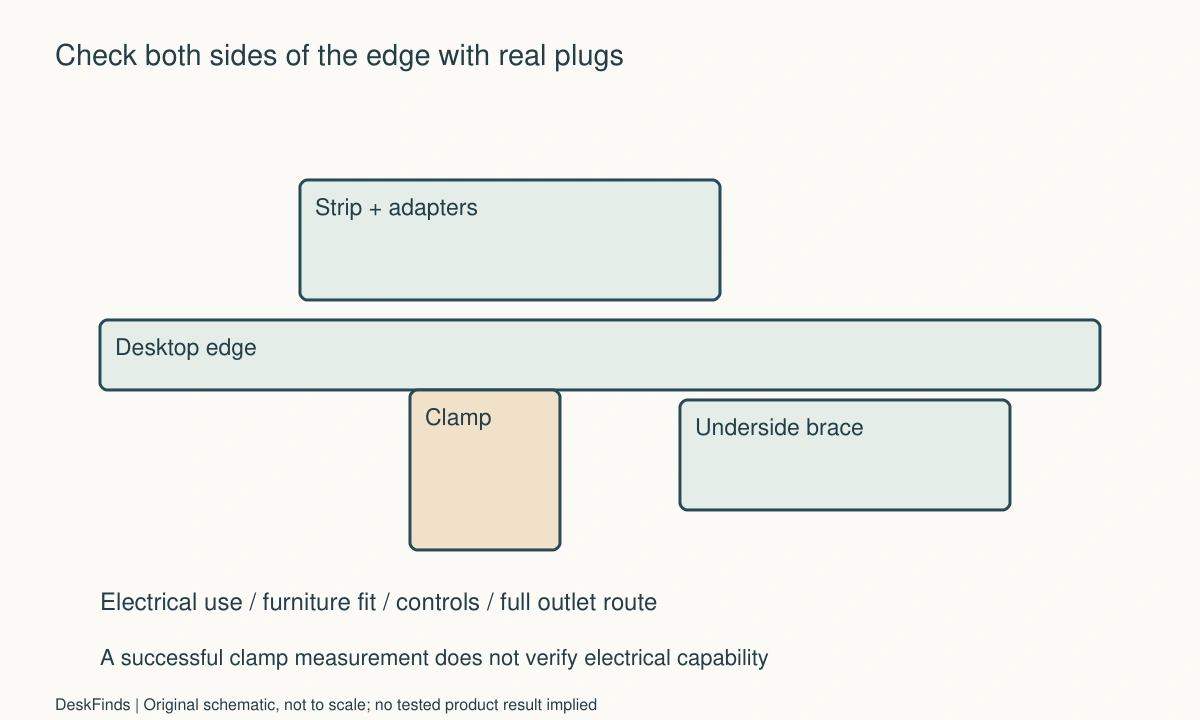
Add the desk edge and other clamps to the same drawing. A strip that fits above the top can still meet a brace or monitor-base screw underneath. Keep the permitted electrical use separate from this geometry: a successful outline does not verify load, protection, regional suitability, or USB charging behavior.
Distinguish everyday and permanent connections
A phone cable used several times daily benefits from accessible ports. A monitor supply that stays connected may not need the same front-edge position. Sort the actual devices by interaction frequency before choosing where the unit belongs. More visible sockets are not automatically a better result.
Check switch operation with the intended adapters loaded. A control hidden by a large brick or vulnerable to an accidental touch can undermine the access benefit. If a master switch affects active equipment, make its role clear and follow the equipment’s shutdown requirements rather than treating it as a general convenience button.
For USB outputs, read simultaneous-use conditions and the actual device requirements. Do not assume that a total headline figure is delivered independently to every port or that a charging socket provides data. Clear role labels can prevent a camera or storage lead from being placed in the wrong kind of connection.
Keep the outlet route part of the location choice
A convenient mounting point is not complete until the documented supply route works. Check the actual outlet position and any desk movement before committing to the clamp location. Do not choose an unsupported extension or adapter combination simply because the installed unit’s lead does not reach.
Preserve access for the actions the product instructions require and keep cords out of pinching and walking routes. If the room cannot provide a suitable route, compare another supported location. Neatness at the desktop should not shift the unresolved problem to the floor or behind furniture.
Do not cover the unit or bundle active equipment inside a sleeve to hide it. Each supply and device keeps its own operating conditions. An organizer is not an electrical repair or permission to ignore warnings, damage, or abnormal behavior.
Prepare a precise purchasing question
Provide the actual desktop material, thickness, edge profile, underside obstruction, intended plugs, and required USB functions. Ask about the exact product revision and regional arrangement. A reply about clamp thickness alone should not be interpreted as confirmation of the entire connected setup.
Keep the supported installation method and electrical limits with the order. If the delivered model or included supply differs, resolve that difference before relying on it. The acceptance statement should describe a documented arrangement on a particular desk, not a universal claim that clamp strips are suitable for all small workstations.
Sources and scope
- Anker clamp-strip compatibility information - Specific edge and product requirements; no universal electrical rating, clamp range or USB output is asserted.
Editorial note: This is a research-based planning guide, not a hands-on product review. All worked scenarios are hypothetical. Measurements and compatibility must be confirmed for the exact equipment. Photography supplies context, not proof of a tested arrangement.
Photos are illustrative and come from free-license libraries such as Unsplash; diagrams are original to DeskFinds.