
How to Fit an Overhead Phone Mount Above a Small Desk
Affiliate Disclosure: We may earn a small commission on qualifying Amazon purchases at no extra cost to you. Full disclosure →
An overhead phone mount can free the area occupied by a tripod, but its arm and clamp still share the desk with your work. The phone must reach the intended capture area through a documented supported arrangement, while the camera sees past the holder and your hands remain clear. Plan the shot and the structure together.
Quick answer: Choose the actual capture area first, then verify the mount’s desk attachment, load, reach, and phone-holder compatibility. Check the lens view, arm clearance, controls, and cable route at the intended position. A long arm does not guarantee usable overhead framing or stability. Do not extend it beyond its limits, stack unsupported adapters, or rely on a tight cable to hold the phone in place.
Define the shot before the mounting point
Place a harmless sample of the page, craft, keyboard, or object you want to show. Include the hand movement used during the demonstration. A static rectangle is not enough when a tool, page, or hand moves beyond it. Decide whether the whole area must remain visible or whether a supported close-up workflow is acceptable.
Open the camera application and mode intended for the task. Preview crop, stabilization, orientation, and selected lens can change practical coverage. A photo mode showing the area does not automatically establish the same frame in video or a meeting application.
For a dedicated page device, compare the document-camera guide. A phone can be useful, but its holder, power, software, and capture routine need independent checking rather than being assumed equivalent.
Verify the desk attachment
Measure the intended edge’s thickness, shape, material, and underside access. Include braces, drawers, and trim. A clamp opening is only one compatibility condition; the furniture must permit that attachment and support the documented assembly.
NEEWER’s desk-mount products illustrate model-specific limits and accessory interfaces. Use the selected model’s instructions for the actual phone, holder, arm, and surface. Do not copy a load rating from another product with a similar-looking clamp or infer that a camera accessory supports every phone arrangement.
Avoid mounting to glass, hollow panels, rounded edges, or other uncertain surfaces without appropriate confirmation. If the edge cannot support the proposed method, compare a suitable freestanding or dedicated-camera arrangement. A small phone does not make every extended arm load trivial.
Check the complete loaded arm
Include the phone, case, holder, ball head, and any documented adapter in the relevant load and interface checks. The assembly’s behavior can change with reach and orientation, so read any conditions attached to the rating. A maximum load figure alone does not describe every possible extension.
Trace the arm through its intended supported positions. Check the monitor, lamp, wall, and your head or hands where relevant. Keep adjustment and locking points accessible. Do not use another object as a stop or support unless the equipment is designed for that arrangement.
If several clamp accessories share the edge, compare their complete hardware and hand access. The desk privacy panel guide addresses another edge competitor. Empty space above the desk can still be occupied by clamps and braces underneath it.
Inspect the phone holder around the camera
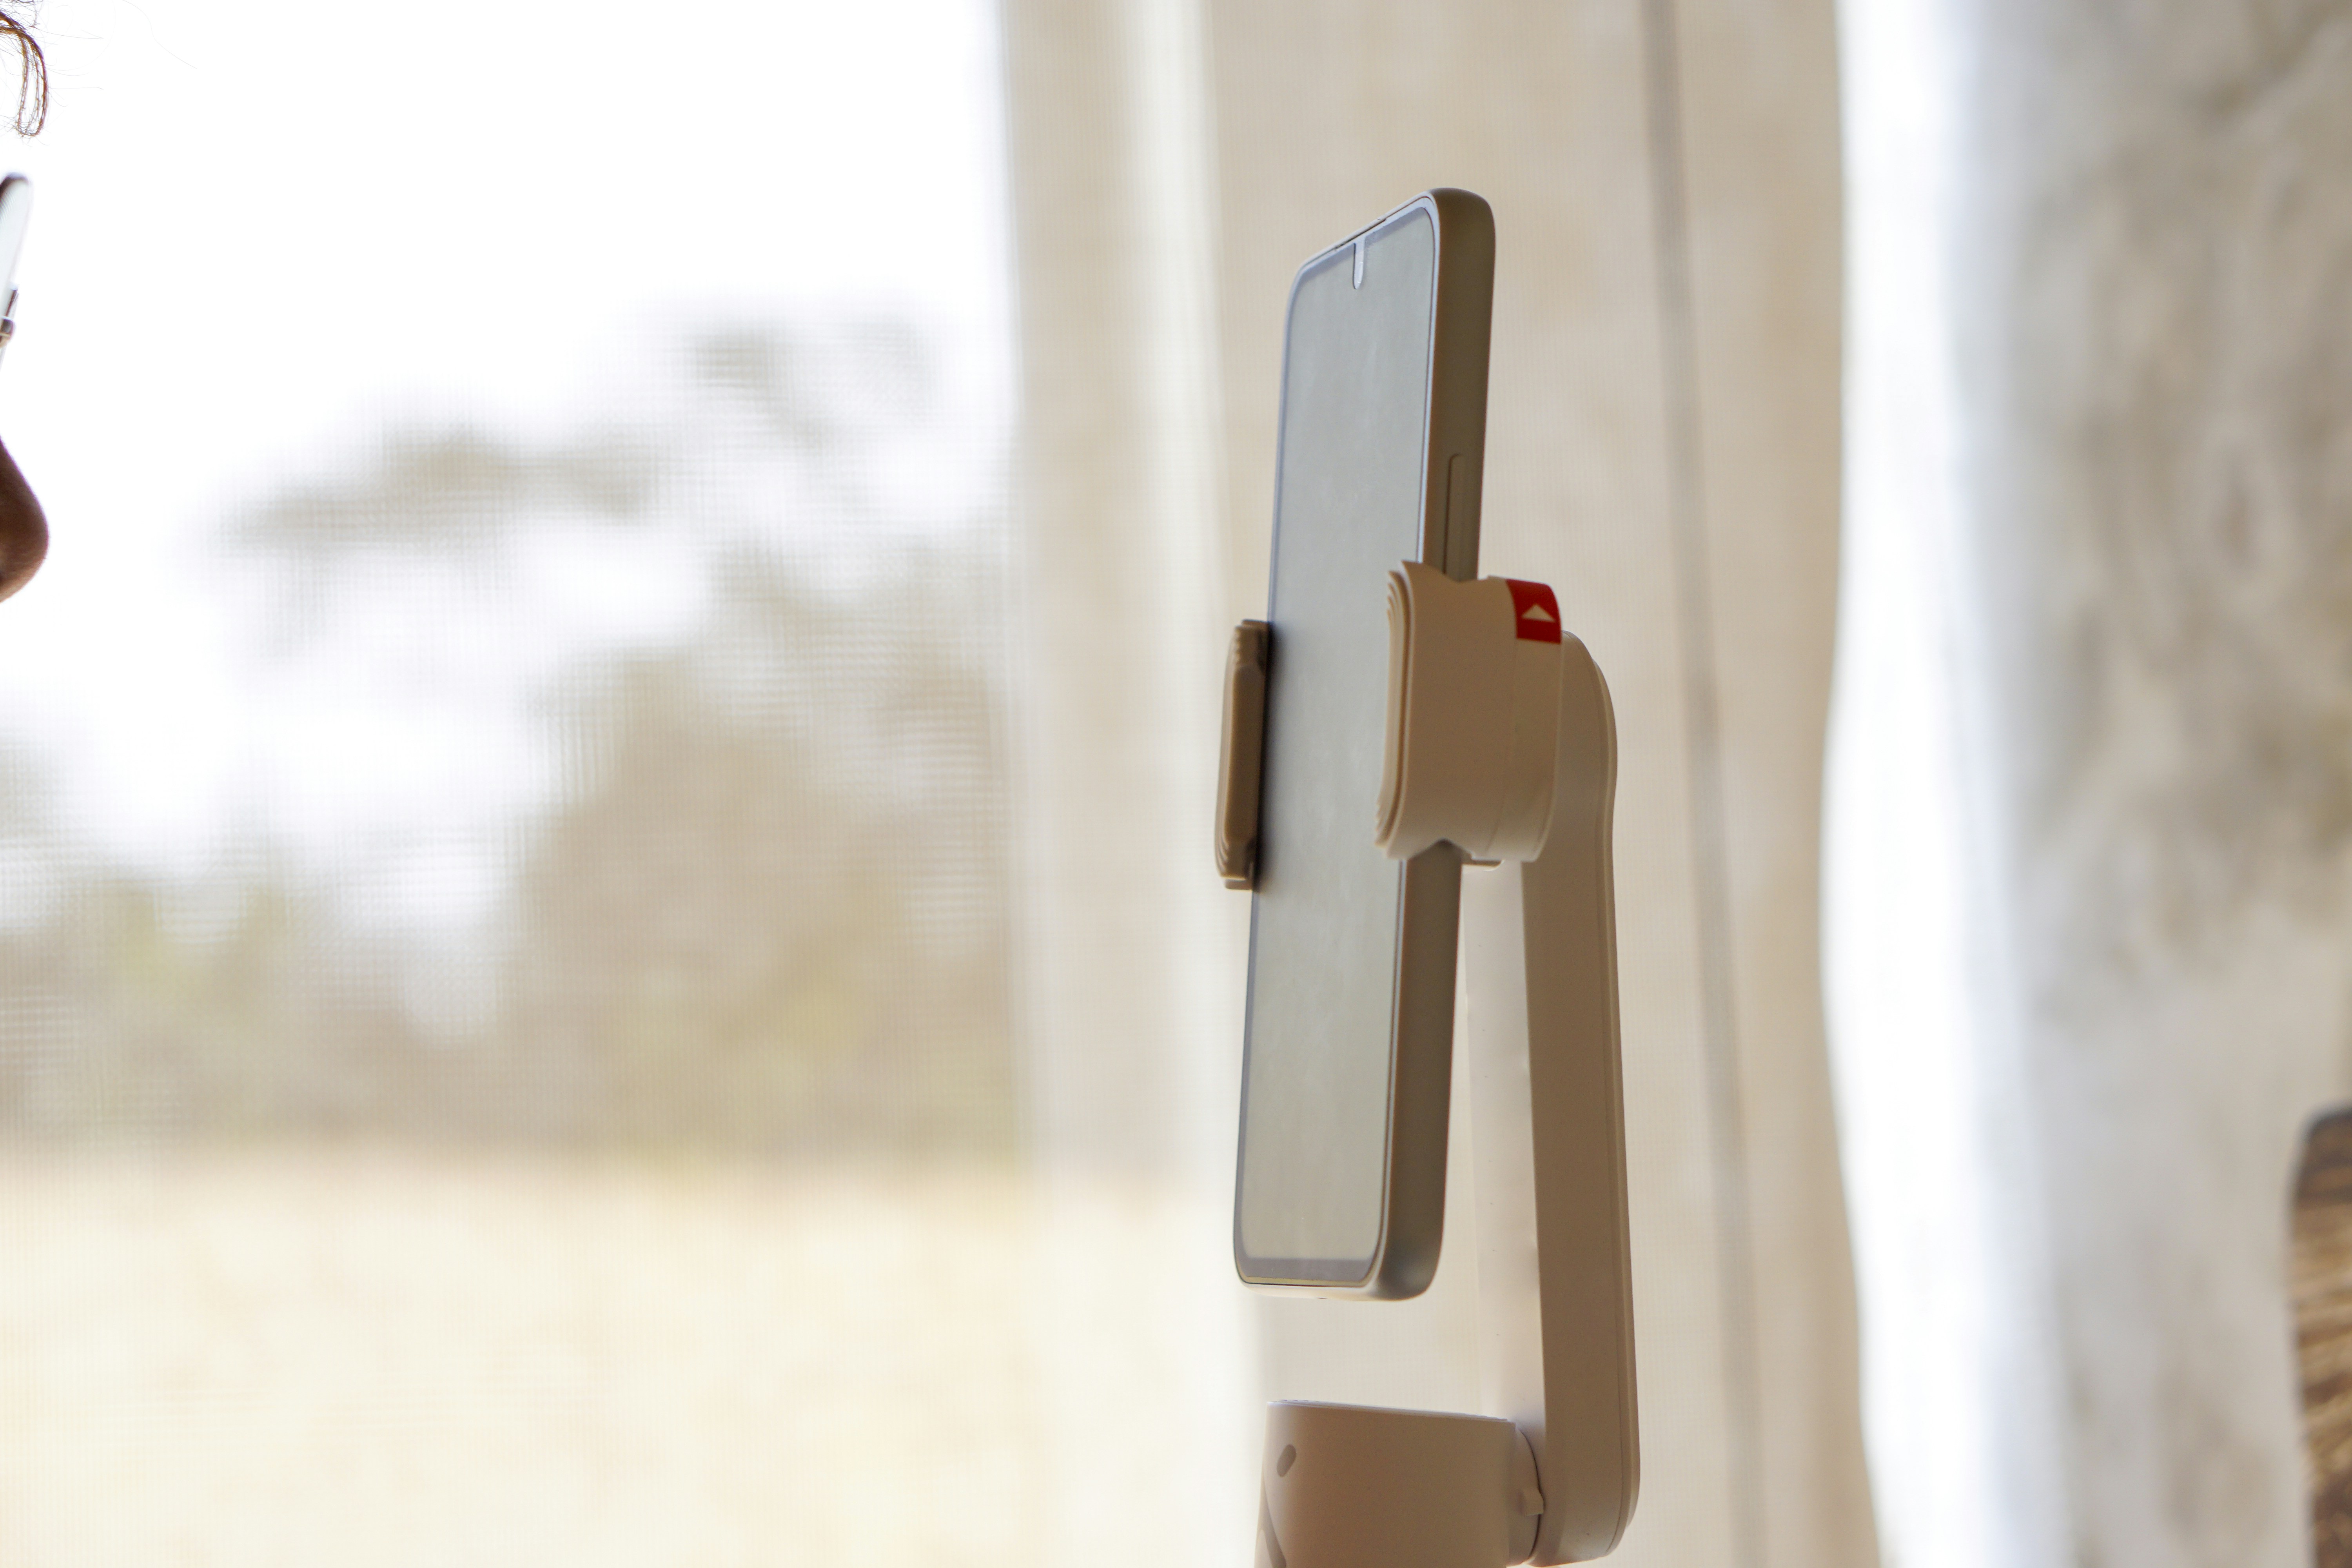
Check the actual phone-and-case dimensions, button positions, and camera module. A holder can grip the device while covering part of the lens view or pressing a control. Use the documented gripping surfaces and do not remove a protective case merely to force a fit unless that handling choice is acceptable and supported.
Open the selected lens view in the loaded position. Look for the holder, arm, cable, or microphone appearing in frame. A phone with several lenses may change the practical issue when the application switches modes. Check the lens and mode you will actually use.
For an ordinary upright phone support, use the landscape phone stand guide. A viewing stand and an overhead holder experience different use conditions, so do not adapt one into the other solely because both accept a phone.
Preserve the working area beneath
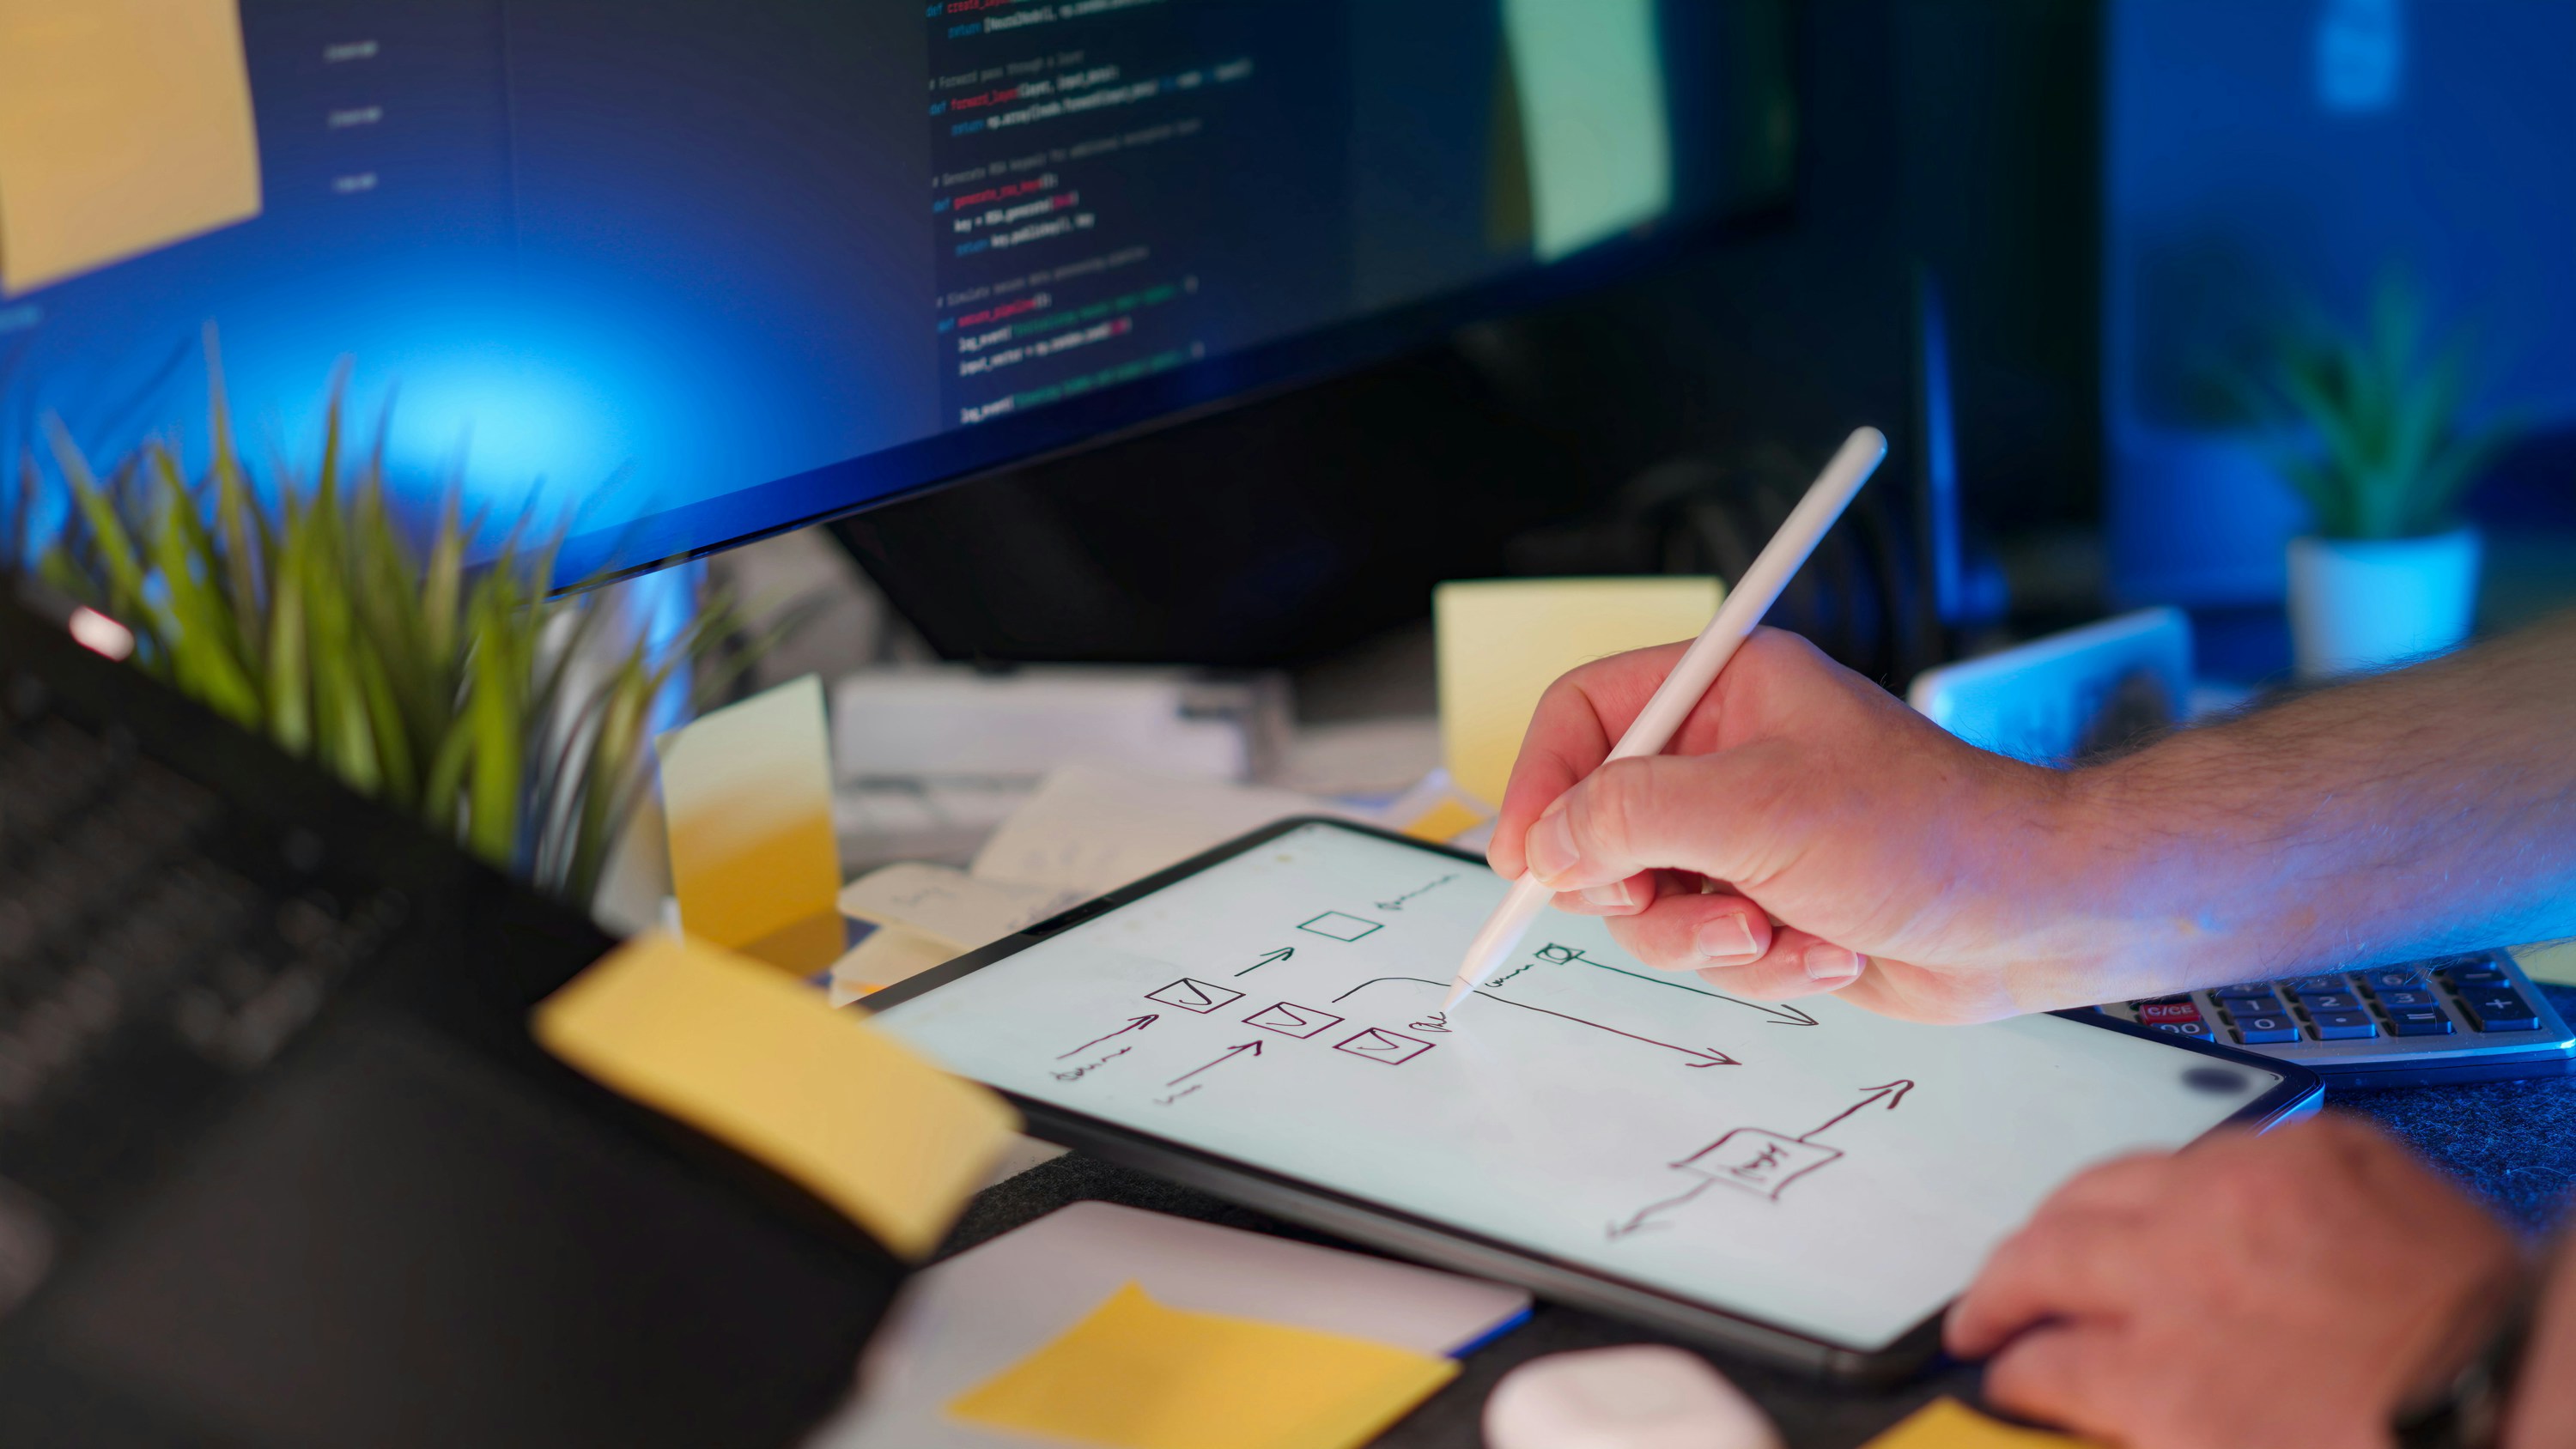
Write, point, or demonstrate using harmless material and ordinary supported movements. The arm should not occupy the route used by a hand, tool, or page. A mount can provide the right camera position while making the actual task difficult below it.
If the keyboard must move, give it a stable supported destination. Keep loose parts and drinks away from the capture area and mounting hardware. A clear filming state can be temporary; it does not need to describe the desk all day, but it should have a repeatable transition.
Check the whole image while working. A hand can cast a shadow or move material outside the frame. Compare supported lighting positions separately from mount geometry so an improvement can be understood. Do not add an improvised light or diffuser to the phone holder as an unverified extra load.
Plan power and control access
If the phone is connected to power, verify the supported charger and cable. Leave a relaxed route through the intended arm movement and keep plugs accessible. A charging lead should not carry the phone’s weight, pull it sideways, or enter the camera view unexpectedly.
Decide how recording starts and stops through the application’s supported controls. Touching the screen may move the image briefly, while a compatible remote or software control may offer another workflow. Do not assume every phone, application, and accessory supports remote operation.
Check notifications, orientation, and storage destination before showing private material. A desk mount does not provide privacy control. For a live call, verify which camera view is shared and whether audio remains on the intended device.
Worked example: nominal reach was not usable framing
Imagine a hypothetical tutor who wants a phone directly above a worksheet. The arm’s maximum reach appears long enough from the rear desk edge. The first sketch omits the phone holder and the camera module’s position within the phone body.
With the complete assembly drawn, the lens is offset from the assumed point and the holder approaches the edge of the intended frame. The tutor checks the documented mount positions and actual video mode before buying additional extensions. The arm is not stretched beyond its stated range to recover the missing coverage.
A different suitable mounting point, another supported holder orientation, and a dedicated document camera are compared. Each includes hand clearance, light, cable, and the final shared view. The decision is about the completed shot, not the longest number in an arm listing.
The hypothetical outcome may use less maximum reach but provide a clearer practical frame. No claim is made that an unnamed mount passed a vibration or load test. The example shows why reach to the phone body and reach to a useful camera view are different measurements.
A second scenario: typing moved the image
Consider a hypothetical creator whose overhead view shifts when ordinary typing or page handling occurs on the shared desk. The creator initially assumes the phone’s camera software is faulty. A private comparison identifies when the visible movement occurs without deliberately striking or stressing the support.
The creator checks the mount’s documented installation, surface suitability, locks, and loaded configuration. If any condition cannot be met, the arrangement is revised or referred to the manufacturer. The creator does not keep tightening beyond instructions or add arbitrary counterweights to suppress movement.
The workflow is also considered. Recording a static demonstration in a separate supported desk state may be practical, while continuous typing during capture may require another suitable support arrangement. A freestanding option has its own base and walking-route needs and should be compared as a complete layout.
The final hypothetical plan records both the support and the task. It does not claim that any clamp guarantees a motionless image on every desk. The useful observation is specific: what ordinary action changes the frame, under which documented assembly, and which supported alternative can be assessed next.
Compare overhead mounting with another capture method
A clamp arm can preserve surface area but needs a suitable edge and loaded reach. A tripod needs floor or desktop space and a clear route around its legs. A dedicated document camera may simplify some adjustments while using another footprint. Choose around the actual capture task rather than treating the least visible support as automatically best.
Include setup and storage. A mount left deployed can interfere with other work, while a removable mount adds handling and a place for the phone holder. Follow the documented removal and storage procedure. Do not leave an unsupported arm extended where it can be struck after the task ends.
Keep product and cable information with a simple private diagram of the working state. If the phone, case, or application changes, repeat the relevant checks. A new camera module or mode can alter framing even when the clamp and desk remain unchanged.
Six checks for an overhead phone arrangement
Capture requirement
Record the page or object area and ordinary hand movement in the intended application and mode. Include the final shared or saved result, not just a still preview from another program. A useful requirement names what must remain visible and readable rather than asking only whether the arm can reach the center of the desk.
Desk and clamp
Check material, thickness, shape, and underside clearance at the actual mounting point. Compare the furniture and mount instructions. Do not infer suitability from the clamp opening alone. If another accessory occupies the same edge, include both complete assemblies rather than assuming their small visible poles leave enough mounting room.
Loaded structure
Identify the phone, case, holder, joints, and documented adapters. Apply the selected product’s limits and adjustment procedure to that assembly. A load rating from another model or position is not transferable. Keep locking controls accessible and avoid unsupported extensions, stacked adapters, or counterweights added simply to make a marginal layout appear stable.
Lens and controls
Check camera-module clearance, button contact, cable exits, and what appears in the selected view. Repeat when changing a relevant lens or mode. A holder gripping the phone is not proof that the intended camera remains unobstructed. Use only the documented gripping method and preserve the phone’s appropriate handling and care.
Task and cable
Perform the ordinary demonstration with harmless material while equipment is supported. Observe hand access, shadows, frame coverage, and a relaxed power route. Do not deliberately stress the mount or use the cable as support. If the task repeatedly conflicts with the structure, compare another documented position or capture method.
Reset and privacy
Stop capture, check the saved or shared result, disconnect where required, and store equipment as instructed. Keep private notifications and material out of exploratory trials. A good overhead setup can be restored after another task without rediscovering the correct holder position, application mode, or cable path each time.
Separate reach to the phone from reach to the lens
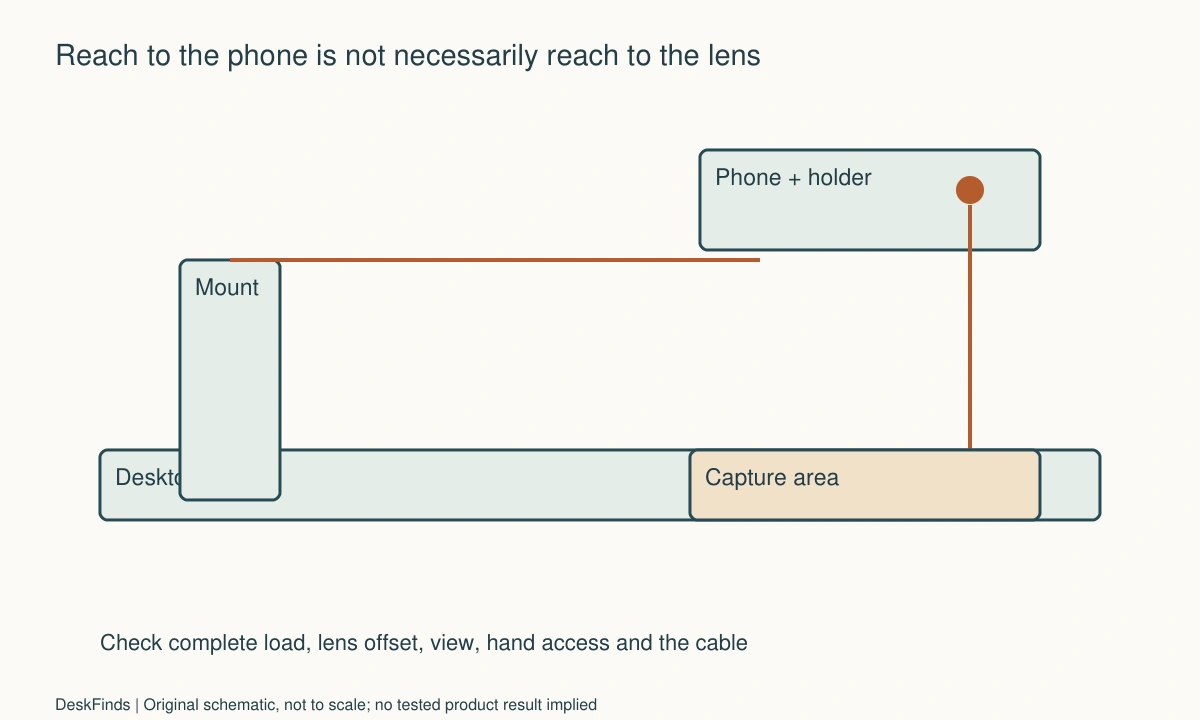
In a hypothetical plan, the center of the desired worksheet area is 420 mm from the desk edge used for mounting. The phone holder’s reference point and the active camera lens may not be the same point. If the lens sits 35 mm away from the assumed point in that orientation, the first reach sketch can be wrong even though the arm appears long enough. These invented values illustrate the geometry and are not specifications for a real phone or mount.
Mark the actual lens and supported holder position, then check the intended application view. Do not simply add an extension to recover the discrepancy. The full loaded structure, documented reach conditions, and available capture mode still govern what can be used.
Also distinguish horizontal reach from camera-to-page height. A mount can place the lens over the center while leaving the desired page coverage unresolved. The useful frame needs both relationships, plus a clear hand route below the assembly. A single maximum-length figure cannot answer all of them.
Make motion observations specific
If the image moves during ordinary work, note the action and configuration: typing, writing, touching the screen, or a normal supported adjustment. Do not deliberately hit the desk or pull the arm to create a dramatic comparison. The goal is to identify the task condition that makes the arrangement unsuitable, not estimate a breaking point.
Check the documented installation and loaded position first. If those are correct but the task remains impractical, compare another appropriate support or workflow. A freestanding arrangement may avoid one surface path while introducing floor footprint and access needs. It should be evaluated as a whole rather than assumed to be universally more stable.
A supported remote control, where available, can reduce one interaction with the phone. It does not solve every source of movement or establish that the mount is compatible. Keep software convenience and structural suitability as separate rows in the record.
Include audio when the overhead view is live
A phone used for the overhead image may introduce another microphone or speaker selection in a call. Check the supported sharing method and intended audio device. The correct picture appearing does not prove the application is using the microphone you expected.
Use harmless material and a private preview or test. If the phone provides image only while another device handles speech, document that arrangement so reconnecting does not silently change ownership. Avoid recording unrelated people or exposing notifications while testing the setup.
For a recorded demonstration, verify the actual saved file before packing the mount. Check framing and audio together if both are required. A successful live preview is not evidence that the recording destination, orientation, or selected sound was correct.
Ask for a complete supported assembly
Send the desk construction and edge dimensions, arm model, phone and case, holder, intended orientation, and capture area. Ask about the loaded position and all required interfaces. A seller reply about a maximum phone width does not establish the desk clamp or extended arm condition.
Keep included and optional parts distinct in the order. A missing compatible holder or support can change both cost and geometry. If the completed assembly cannot be confirmed, compare another documented capture arrangement instead of combining unrelated parts whose individual ratings do not describe their use together.
Sources and scope
- NEEWER DS034 desk mount example - Specific mount, interface and load-documentation example; no limits are transferred to other arms or furniture.
Editorial note: This is a research-based planning guide, not a hands-on product review. All worked scenarios are hypothetical. Measurements and compatibility must be confirmed for the exact equipment. Photography supplies context, not proof of a tested arrangement.
Photos are illustrative and come from free-license libraries such as Unsplash; diagrams are original to DeskFinds.