
How to Organize a Deep Desk Drawer Without Losing Small Items
Affiliate Disclosure: We may earn a small commission on qualifying Amazon purchases at no extra cost to you. Full disclosure →
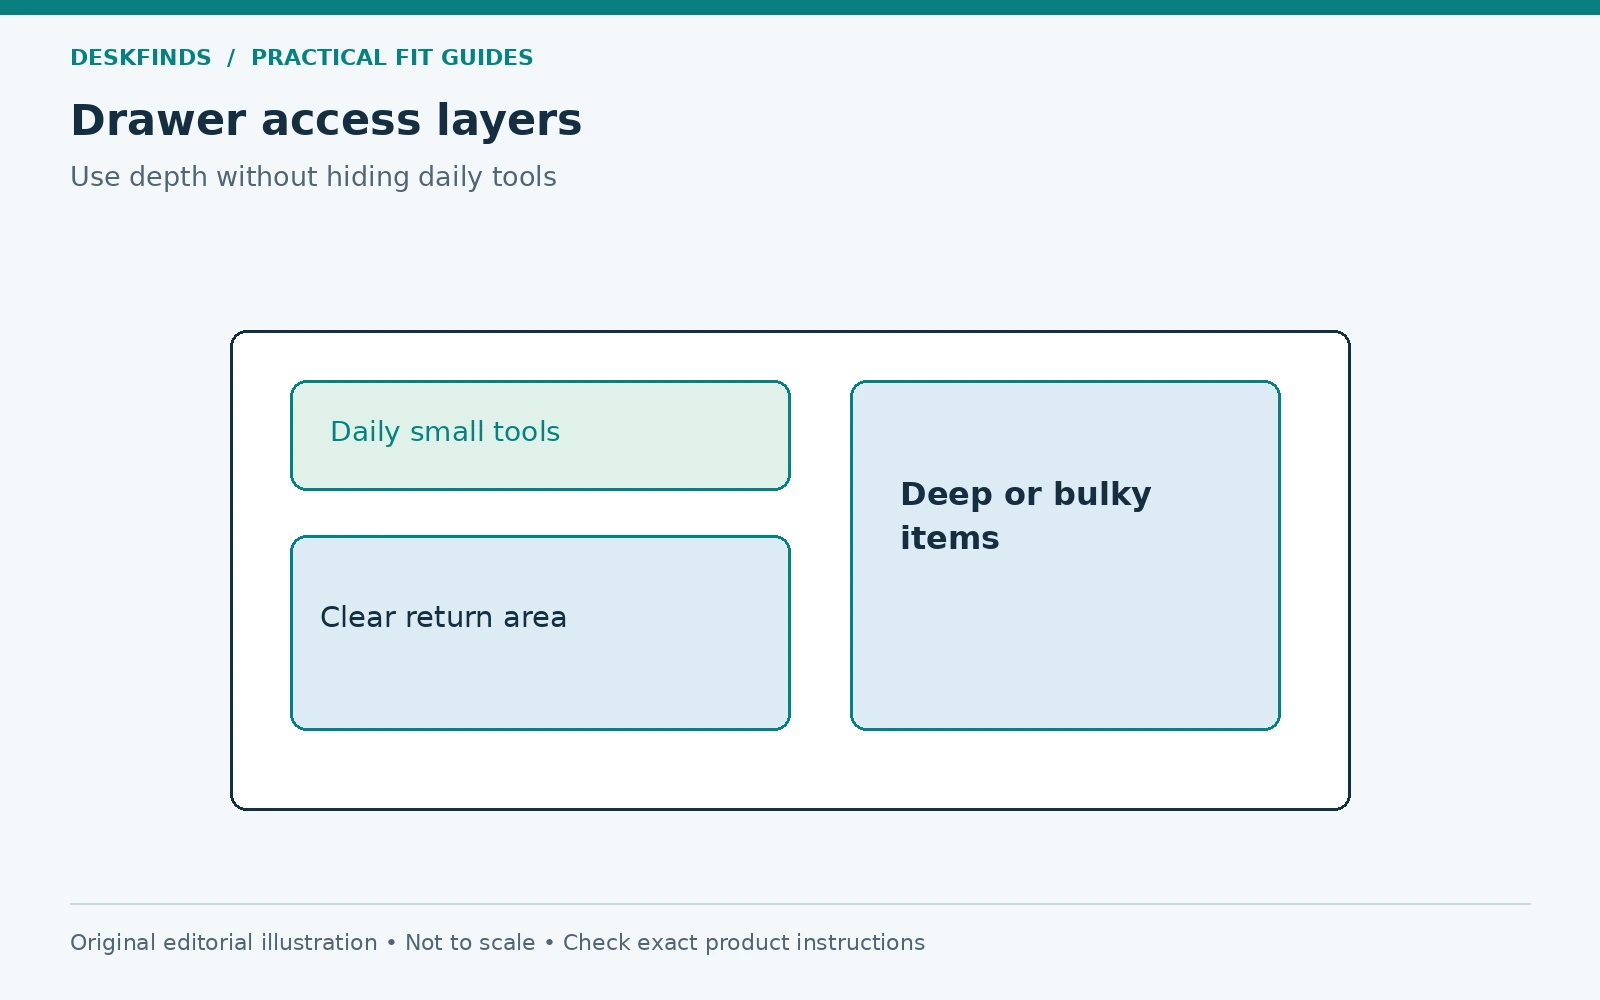
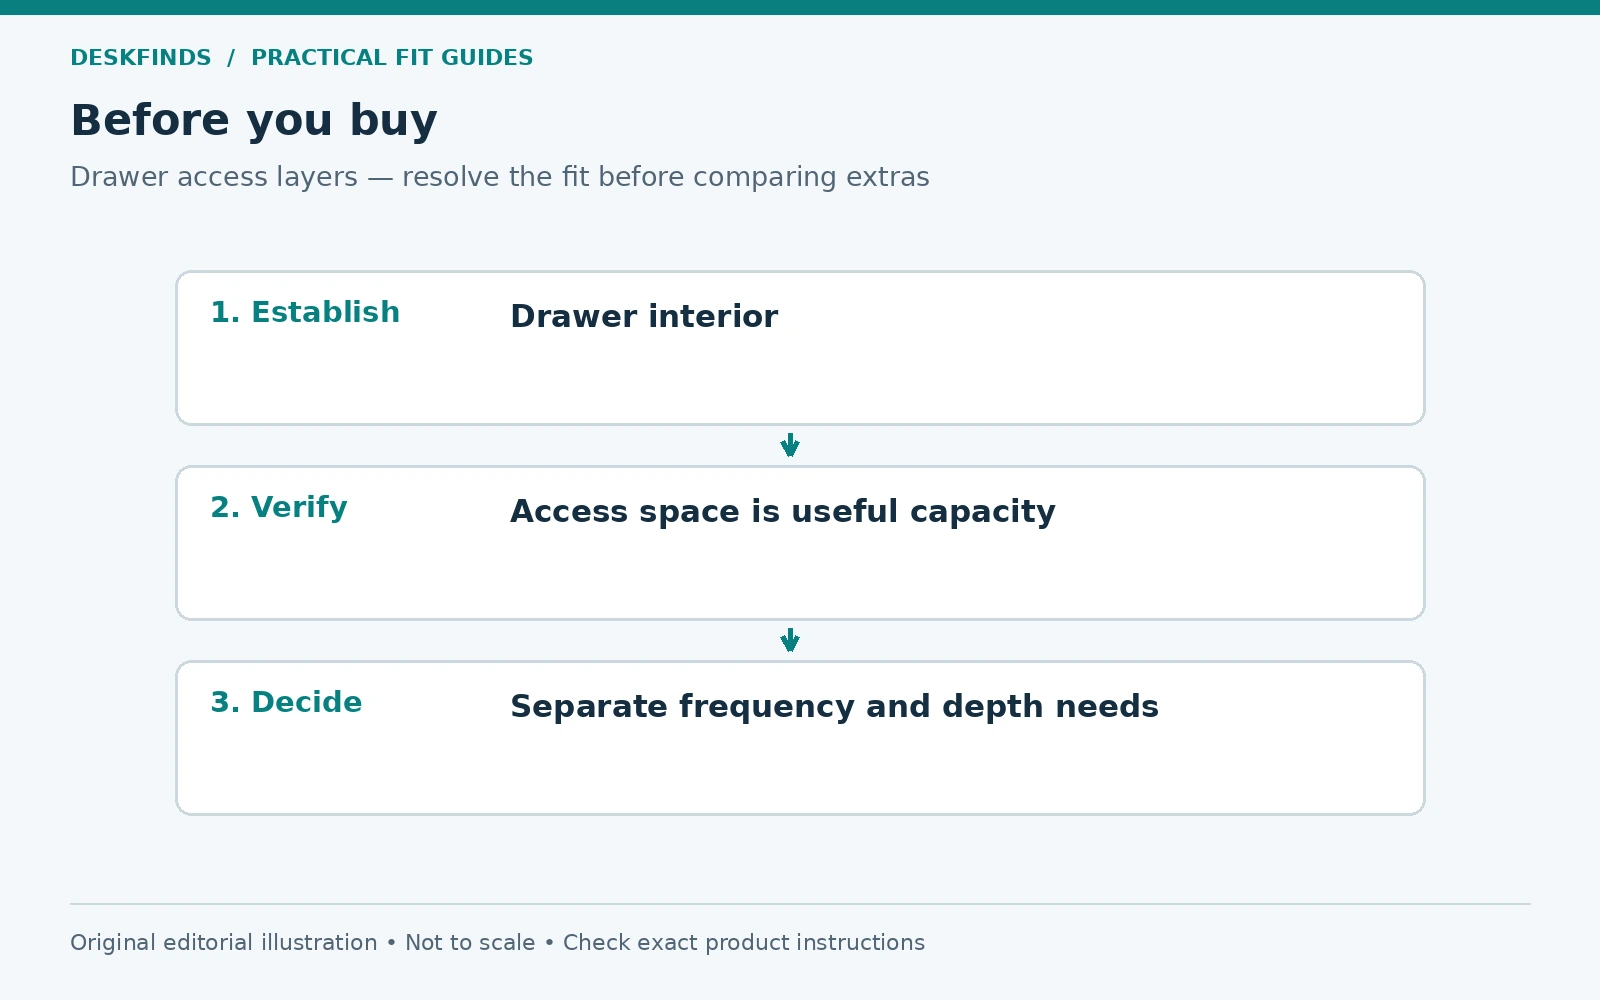
A deep drawer can hold a surprising amount while making very little of it easy to find. Pens fall beside tall containers, cables settle beneath notebooks, and the rear becomes a place for objects you forget you own. The solution is not always a tighter set of dividers. It is a system that separates visibility, access frequency, and the depth each category actually needs.
Quick answer: Empty and measure the drawer, group contents by task, and keep frequently used small items in a shallow accessible layer. Use deeper sections for objects that need them, with removable trays only where the drawer and organizers support that arrangement. Do not fill every cubic inch if doing so makes retrieval difficult.
This guide covers an existing drawer. For choosing a new under-desk unit, see our clamp-on drawer measurement guide. Internal organization cannot fix a drawer that interferes with your legs or opens into an obstacle.
Empty the drawer and identify the real inventory
Remove the contents onto a stable surface and group them by function: writing, charging, paper, tools, and occasional supplies. Separate broken, obsolete, or misplaced items. Do not buy compartments for things that should leave the drawer. A smaller inventory is easier to organize and maintain.
Notice duplicates and accessories whose purpose is unknown. Identify cables before discarding or keeping them, and follow appropriate disposal or recycling routes for electronics and batteries. Do not leave loose damaged batteries or sharp objects mixed with ordinary supplies. Use storage suited to those items and their instructions.
Choose the tasks the drawer should support. A drawer serving daily note-taking needs different access from one holding spare equipment. Giving it a clear role prevents unrelated objects from consuming the most accessible area. The aim is a useful working drawer, not a complete archive of everything that fits.
Measure the usable interior and opening
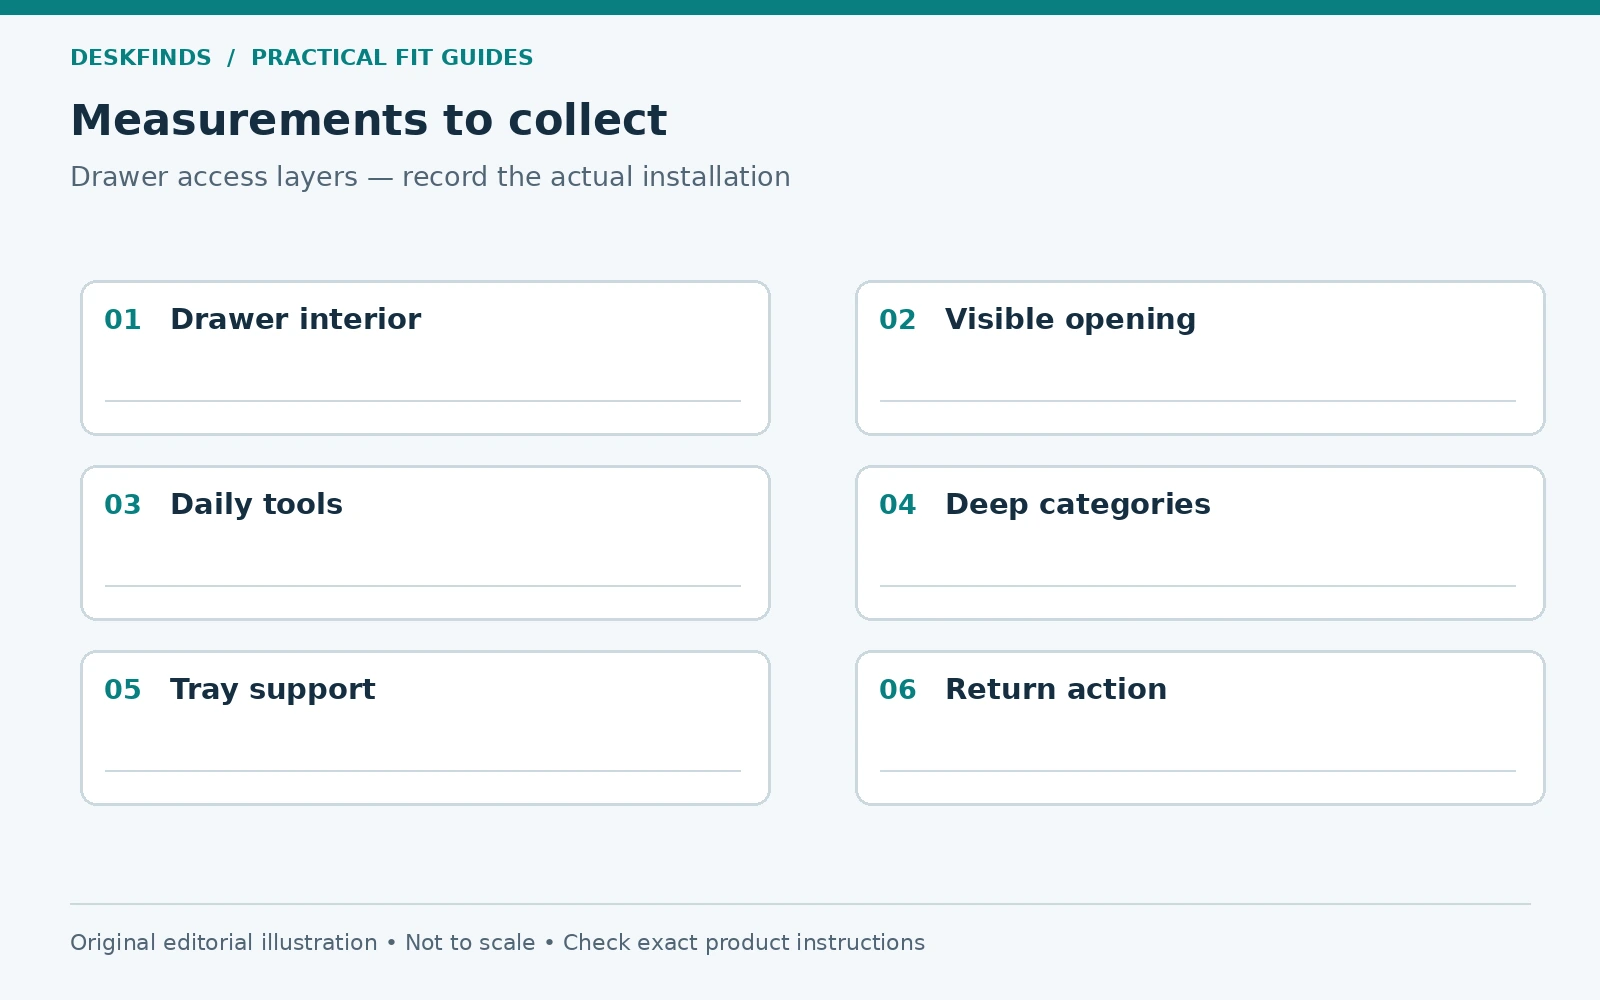
Record internal width, depth, and clear height. Include slide hardware, locks, raised fixings, and any taper. Measure the opening with the drawer at its intended extension. The rear section may remain partly beneath the cabinet even when the drawer is fully open.
Check the load limit and condition of the drawer and furniture. Organizers add their own weight, and dense supplies can accumulate quickly. Do not use a divider or tray as structural support unless designed for it. A sagging bottom or damaged slide needs appropriate repair, not a tightly packed contents arrangement.
Measure the largest objects and their retrieval movement. A tall bottle may fit vertically but need room to grip its top. A notebook may fit flat but be difficult to lift from a close-fitting bin. The useful space includes fingers and movement, not only object dimensions.
Divide the drawer by frequency before category size
Put daily items in the area that can be seen and reached most easily. Weekly supplies can occupy a less immediate section, while rare items may belong elsewhere entirely. This simple ordering can improve access without any new product. A deep rear compartment should not hold the tool used every few minutes.
Avoid assigning the front solely to small items if a larger object is the main task tool. The layout should follow use, not a generic rule that pens always belong in one corner. Test the actual sequence of taking out and returning the items you use together.
Keep related sets together where helpful. A charging cable and its known adapter can share a clear category, while unrelated cords should not become a tangled mass. Labels can make occasional supplies understandable after weeks without use. The system should reduce memory demands rather than depend on remembering a precise hidden arrangement.
Use shallow access for small objects
A shallow tray can keep small items visible instead of letting them fall to the bottom of a tall compartment. Check the tray's full dimensions, supports, and removal method. If it sits above another layer, the drawer and tray must be designed or otherwise explicitly suitable for that arrangement.
Do not balance a tray on loose objects or improvised narrow ledges. It can tip, jam the drawer, or damage contents. A removable box on the drawer floor may be simpler if a supported upper layer is unavailable. The best solution is the one that remains stable during ordinary opening and closing.
Leave enough room to lift a tray by its intended grip. A tray that fits tightly against every wall can become difficult to remove. If you need to unload it to reach the lower layer, account for that routine. Layering saves vertical space only when access remains practical.
Match compartment depth to the contents
Use a deeper section for tall or bulky items and a shallower one for small loose tools where possible. Uniform bins may look tidy but waste useful space or hide small objects. Compare the object's shape and access needs with the compartment rather than buying a matching set first.
For cable storage, use a natural coil and suitable ties without tight bends or pressure on connectors. Keep damaged equipment out of normal use. For writing tools, provide a visible return area rather than a deep cup that hides shorter items. For sharp tools, use a protective arrangement appropriate to the item.
| Contents | Useful organization test |
|---|---|
| Pens and small tools | Can each be seen and grasped without digging? |
| Cables | Can one be removed without tangling the rest? |
| Notebooks | Can they be lifted without emptying a tight compartment? |
| Tall items | Is there grip space below the closed drawer clearance? |
| Rare supplies | Are they labeled and still worth the drawer space? |
Check organizer dimensions before buying a set
Find internal and external sizes. Thick walls, rounded corners, and handles can reduce the usable interior. Several bins may add up to less than the drawer width while still failing because of a lock or taper. Our shelf-bin guide explains the same inside-versus-outside distinction in another setting.
Use paper outlines of the candidate bins and actual objects to test the arrangement. Include gaps needed for lifting and removal. Do not assume that a perfect grid is the most useful layout. One larger open area may serve a notebook better than several tiny compartments.
If dividers are adjustable, read their fit and attachment requirements. Pressure-fit parts can affect finishes or fail to hold in a tapered drawer. Do not tighten them beyond their instructions or treat them as reinforcement for the drawer walls. Organization should not change the furniture's structure.
Example: the shallow layer solves a visibility problem
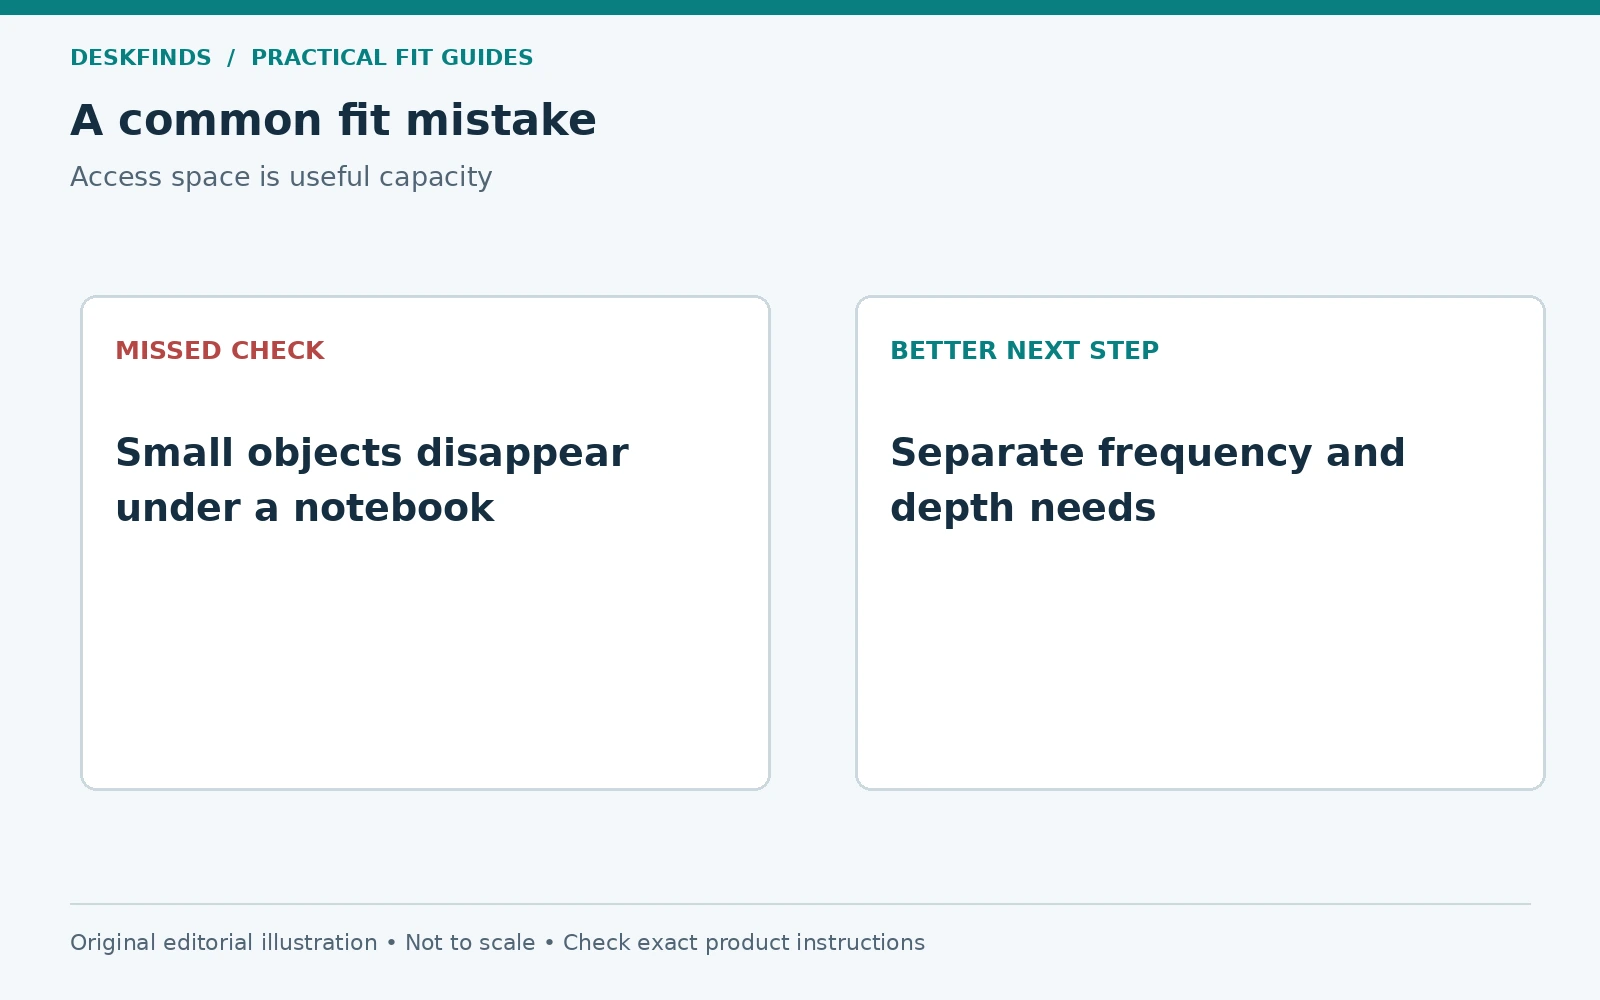
A user keeps pens, sticky notes, cables, and a notebook in one deep drawer. Small objects disappear beneath the notebook, so the user repeatedly empties the front section. The problem is vertical mixing rather than lack of capacity.
The revised plan gives daily small tools a suitable shallow container near the front, keeps the notebook in a separate flat area, and assigns cables to a labeled removable box. No unsupported upper shelf is added. The user can see and retrieve the daily tools without disturbing the rest.
The drawer may look less densely packed, but it performs better. The useful measure is how quickly an item can be found and returned, not how much unused air has been eliminated. A little access space is part of the organization.
Example: a two-layer system creates more work
Another user adds a removable top tray across the entire drawer. It holds daily tools, but a frequently used headset sits underneath. Every call requires lifting the full tray, finding somewhere to place it, and then restoring everything. The layered arrangement saves space while making the main task harder.
The user moves the headset to an accessible section and narrows the upper-layer role. If the drawer cannot support a suitable tray configuration, a floor-level bin arrangement is chosen instead. The system follows access frequency rather than insisting on two levels because the drawer is deep.
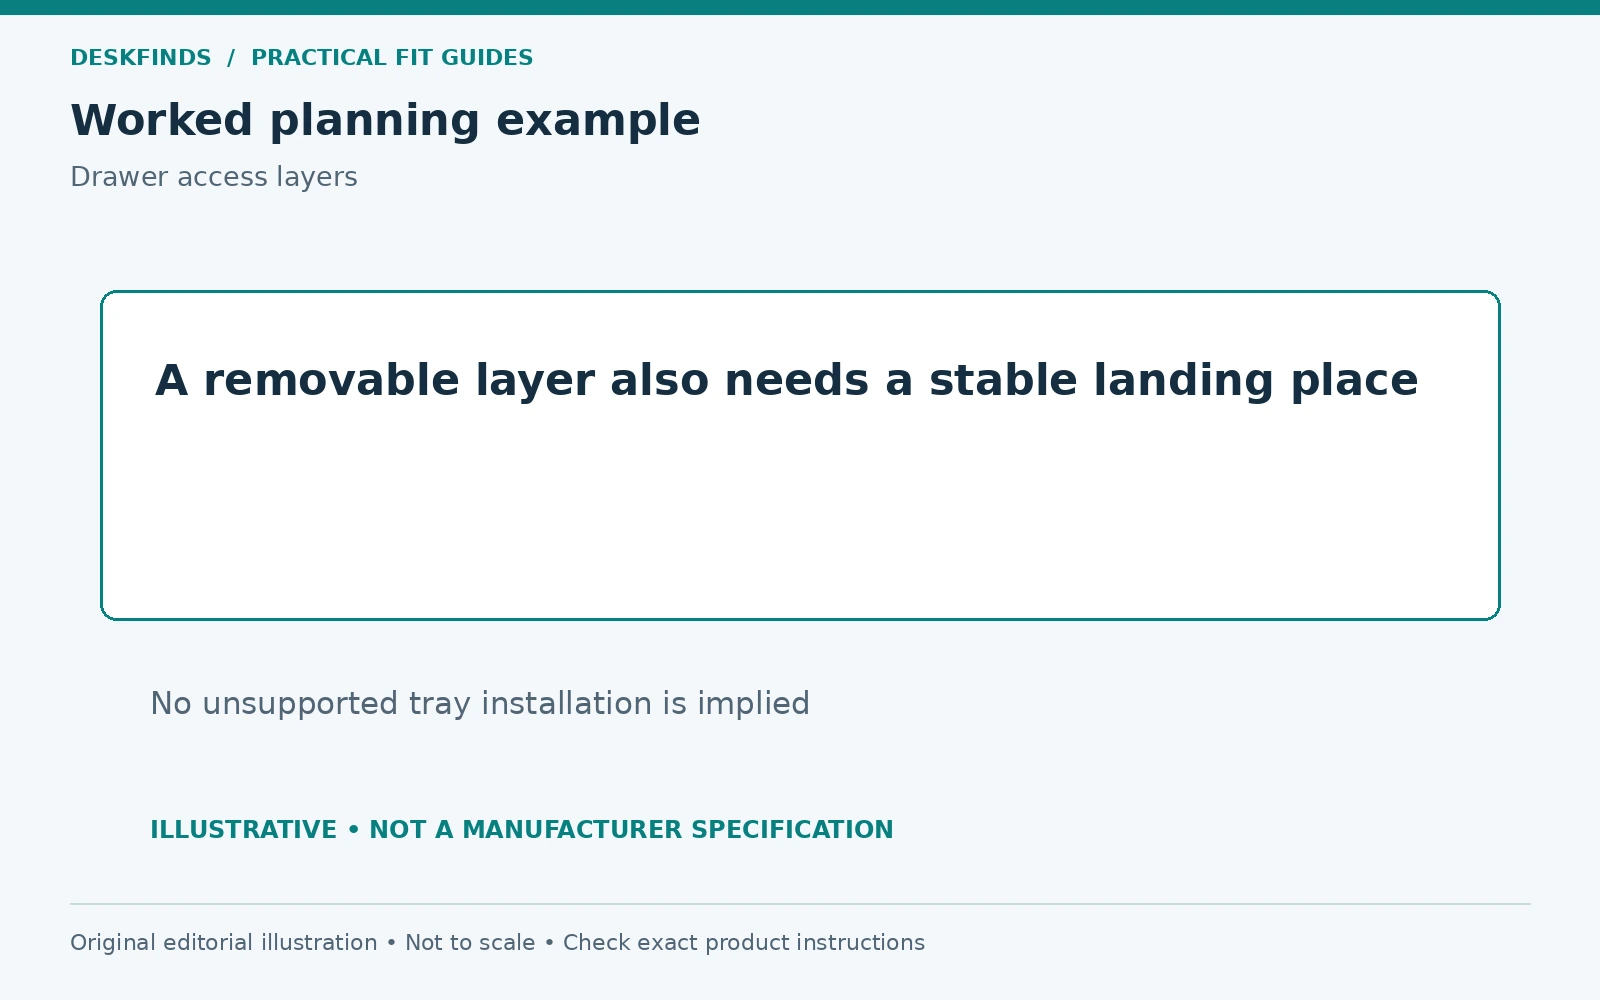
This example shows why every removable layer needs a landing place. If lifting a tray displaces the keyboard or papers, the drawer has moved the clutter into another work zone. Test the full retrieval sequence before treating layering as an improvement.
Keep the rear section understandable
Use the rear for clearly labeled occasional supplies, not unidentified leftovers. Check whether the drawer opening lets you see labels from the normal position. A front-facing label may work better than one on a lid hidden beneath the cabinet top. Choose the orientation by actual visibility.
Do not store something at the back solely because it is difficult to categorize. Ask whether it belongs in the drawer at all. A separate archive box can hold occasional parts with a contents list. The working drawer should remain focused on tasks performed at the desk.
Avoid filling the rear so tightly that it interferes with the slides or prevents full closure. Keep loose cables and fabric away from moving hardware. Open and close the drawer gently during the test and stop if something catches. A jam is a layout problem to resolve, not a reason to push harder.
Test the return action, not only retrieval
Take out a daily tool, use it, and put it back with the other contents in place. If returning it requires rearranging several objects, the category may be too tight or poorly located. A system that is easy to empty but hard to restore will gradually lose order.
Try the same sequence at the end of a normal work session. Notice which items remain on the desk because their storage is inconvenient. Those items reveal friction more reliably than the appearance of the freshly organized drawer. Adjust their landing space before adding more compartments.
For shared desks, make the categories understandable to the next user. Keep personal kits separate where appropriate. Our shared-desk handover guide can help align drawer organization with the change between people.
Maintain a small review routine
Review the drawer when a category overflows or an item repeatedly disappears. Remove obsolete contents and update labels. There is no need for a complicated schedule if the system is simple, but it should not depend on endless capacity. A deep drawer can conceal growth for a long time before it becomes unusable.
Clean the interior and organizers using methods suitable for their materials, with electronics removed as appropriate. Inspect for loose parts or damage. Keep the drawer's load and furniture requirements in view as contents change. Organization does not override those limits.
Compare desk drawer organizers and desk organizer types after identifying the access problem. A useful deep drawer gives each task a visible, stable, easy-to-return place. Its depth is a resource to allocate, not a space that must be filled from bottom to top.
Build a drawer map before buying dividers
Draw the usable floor outline and mark the part visible at full intended extension. Add the daily tools as shapes, including the room needed to grasp them. Put occasional supplies in the less accessible area only if their labels and retrieval remain practical. This map helps distinguish a lack of organization from a drawer that is simply the wrong shape for the contents.
Next, mark any proposed tray or divider walls. Thick walls can consume more space than expected when several compartments are combined. Keep one clear area for an object that does not fit a small grid, such as a notebook or headset. A useful map follows the contents instead of forcing every category into identical cells.
Test a few layouts on paper and choose the one with the shortest normal retrieval path. Do not optimize for the highest number of compartments. Every additional division should have a role that makes an item easier to find or return. Otherwise it is another boundary that can trap small objects.
Give removable layers a landing place
If a supported removable tray is used, identify where it rests while the lower contents are accessed. The landing surface needs to be stable and clear during the relevant task. If it is the keyboard area, decide whether moving the keyboard is realistic. A layer that creates a second rearrangement every time may not be worth its capacity gain.
Check the tray in its loaded state. Handles, tabs, and contents can change the space needed to lift it. Do not pull it by a divider not designed as a grip. Follow the product's support and load requirements and avoid a tray that jams against the drawer sides when full.
A smaller removable box may serve better than a full-width upper tray. It can isolate one category without blocking access to everything below. Compare the actual retrieval sequence, not the appeal of a two-level system. Vertical space is useful only when the movement between levels remains practical.
Define a return rule for small accessories
Give each category an obvious return location and avoid over-specific slots unless they genuinely help. A cable used daily may need a simple open compartment, while a delicate accessory may need its protective case. The organization should suit handling and protection rather than impose one visual style on every object.
Keep unidentified parts out of the working drawer until their purpose is resolved. A separate labeled review container can prevent them from occupying the most accessible section, but it should not become a permanent archive of uncertainty. Identify, reassign, or dispose of items through the appropriate route.
For shared use, test whether another person can return an item from the labels and layout alone. If not, simplify the categories. A drawer that works only when its original organizer is present is harder to maintain. Clear physical roles can reduce the need for detailed instructions.
Compare the drawer with another storage location
Some objects are poor candidates for a deep drawer: frequently used bulky equipment, items needing particular ventilation, or contents that require a different security or preservation arrangement. Moving one category elsewhere can make the remaining drawer much more useful. Do not assume every problem needs another insert.
A side shelf or personal kit may serve an item better if its retrieval is frequent. A separate archive box may suit rare supplies. Compare the full route and handling rather than the fact that the drawer has empty volume. The best use of depth is selective, with each layer or compartment serving a clear task.
Leave a place for the next small item
A drawer system should tolerate a normal day's temporary variation without becoming a permanent miscellaneous pile. Keep a small review location for an item whose role is not yet clear, then resolve it during the next reset. Do not let that space consume the daily-tool area. This makes the organization flexible while preserving the categories that keep retrieval easy.
Sources and scope
- IKEA storage system planning - example of system-specific organizer dimensions; use current instructions for the actual furniture.
- Drawer and organizer manufacturer instructions - required for loading, supported layers and permitted attachment.
The access-frequency method and examples are original editorial guidance. No drawer load capacity or universal upper-tray installation is inferred.