
How to Choose a Shoe Rack for Large Shoes and Ankle Boots
Affiliate Disclosure: We may earn a small commission on qualifying Amazon purchases at no extra cost to you. Full disclosure →
A rack advertised for a certain number of pairs may hold fewer of your shoes once wide soles, long toes, and ankle-high shafts are included. The outside rack dimensions do not reveal the usable shelf depth or the space needed to lift footwear out. A useful purchase starts with the shoes you own rather than the pair count on the label.
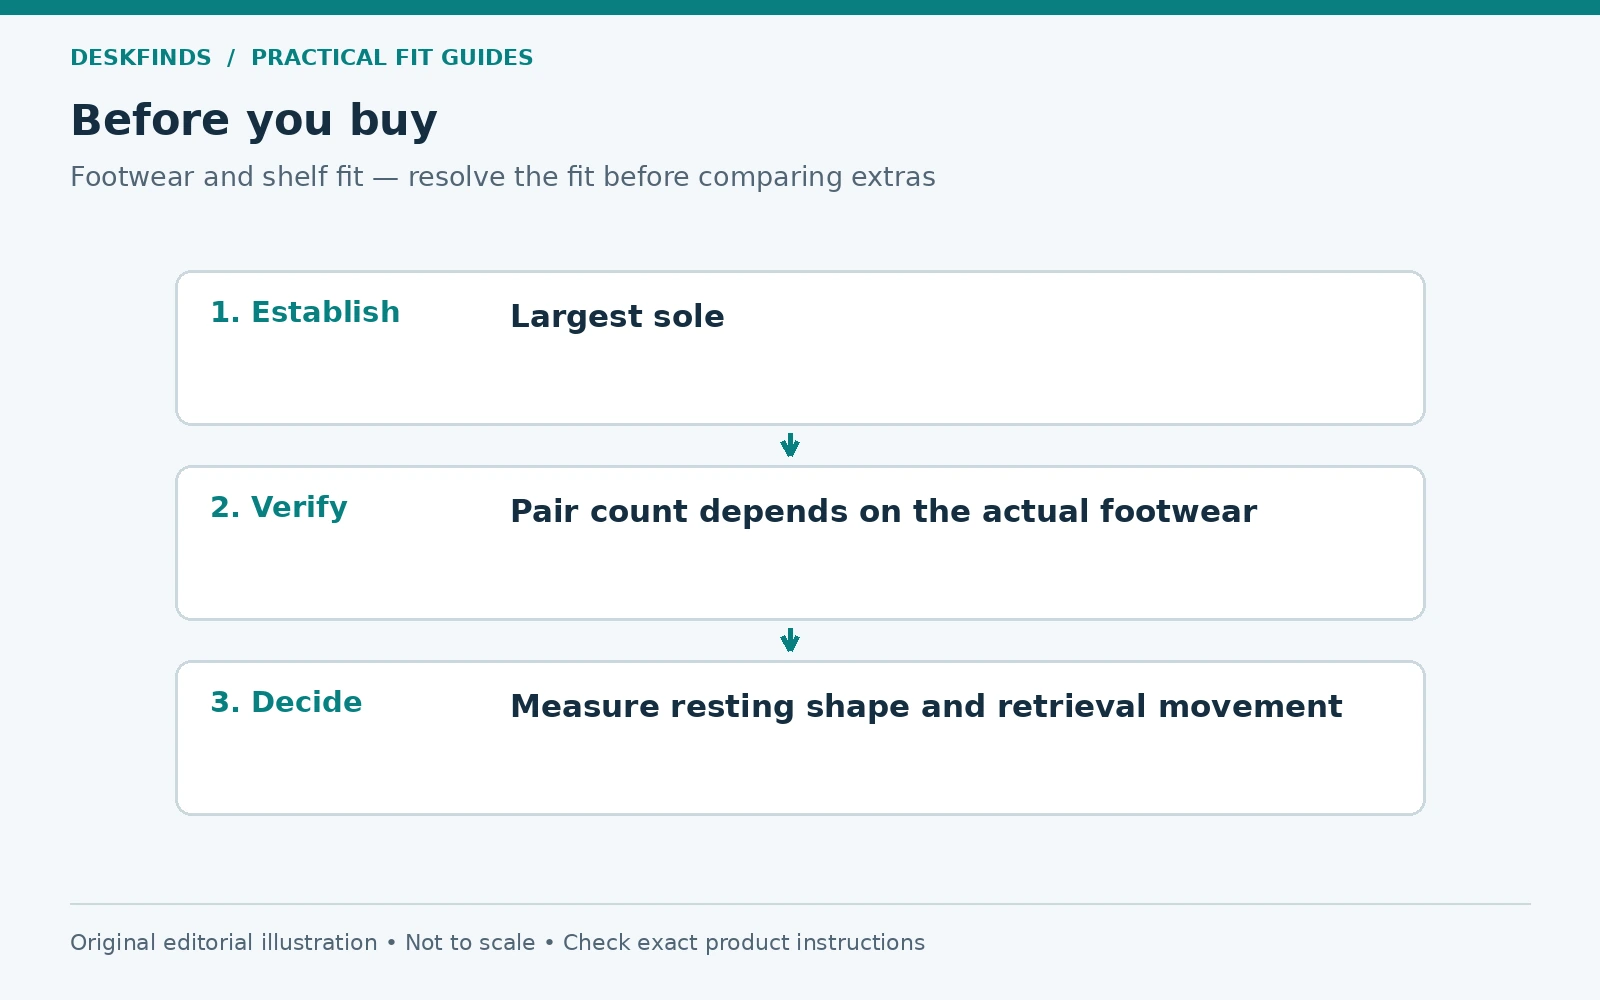
Quick answer: Measure your largest shoes and boots in their intended storage orientation, then compare usable shelf width, depth, vertical opening, support style, and retrieval path. Treat advertised capacity as a product claim to examine, not a guarantee for every shoe size. Check the rack's load, assembly, and stability requirements separately.
This guide addresses physical storage fit and access. It does not prescribe footwear care for every material. Follow the shoe manufacturer's instructions for drying, cleaning, shape support, and storage.
Build an inventory by shape, not only pair count
Group the footwear into ordinary low shoes, bulky trainers, wide shoes, ankle boots, and any taller or unusual items. Count what needs daily access and what can be stored elsewhere. A rack for the active rotation can work better than one forced to hold every seasonal pair in the same place.
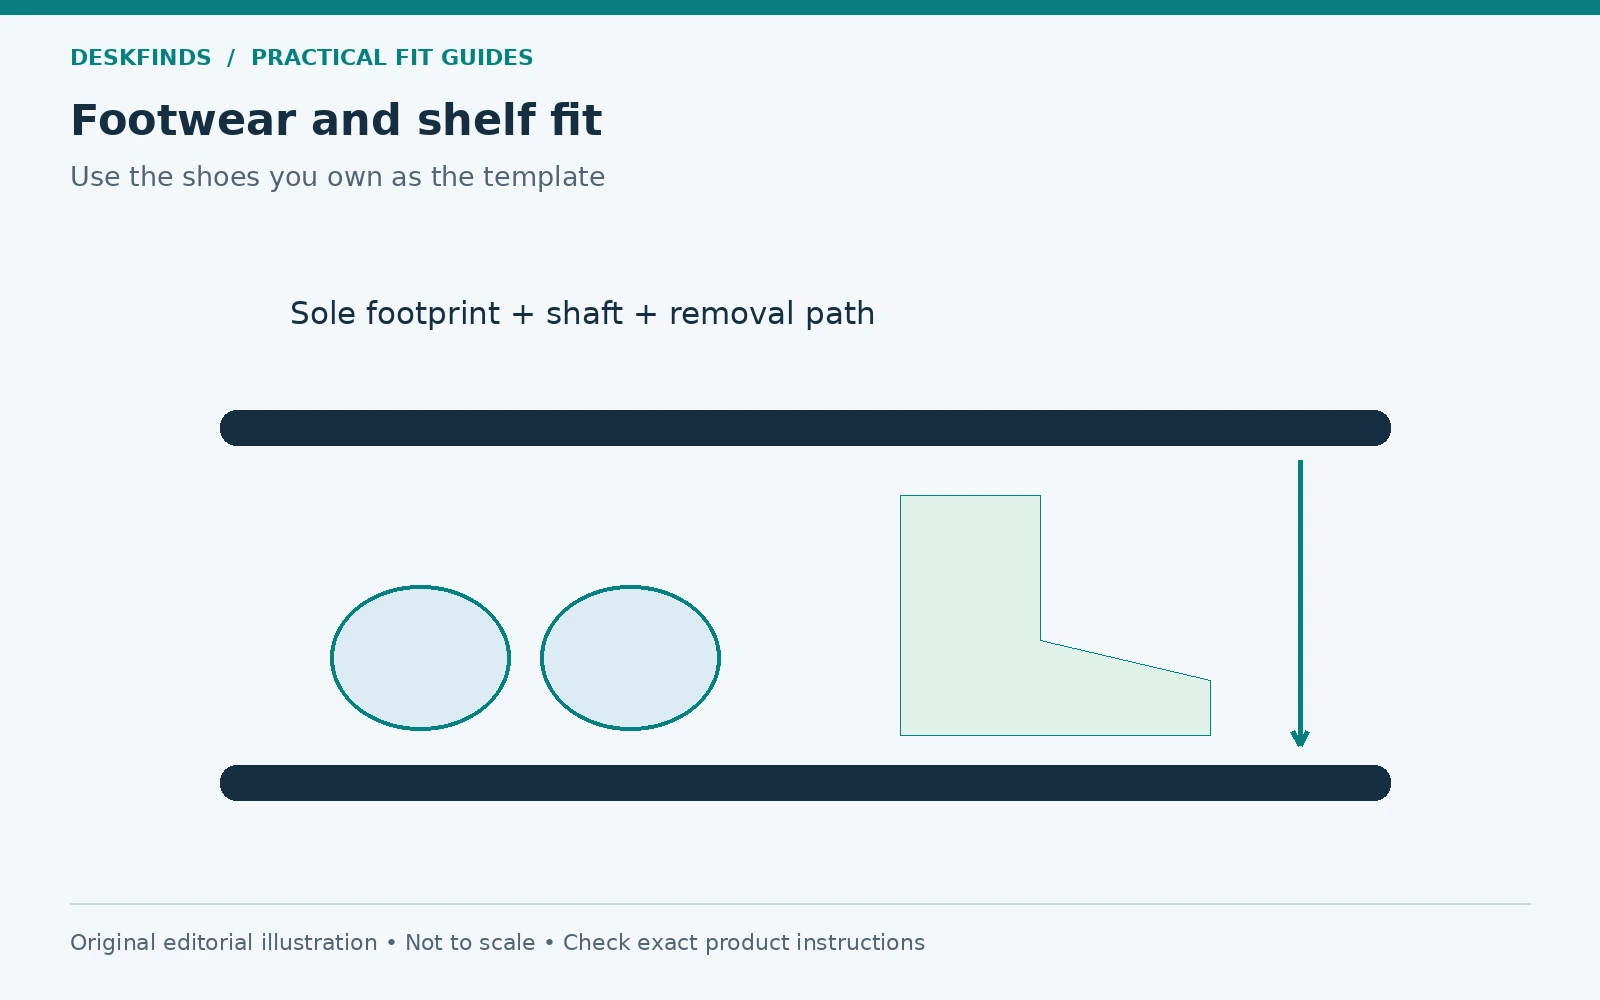
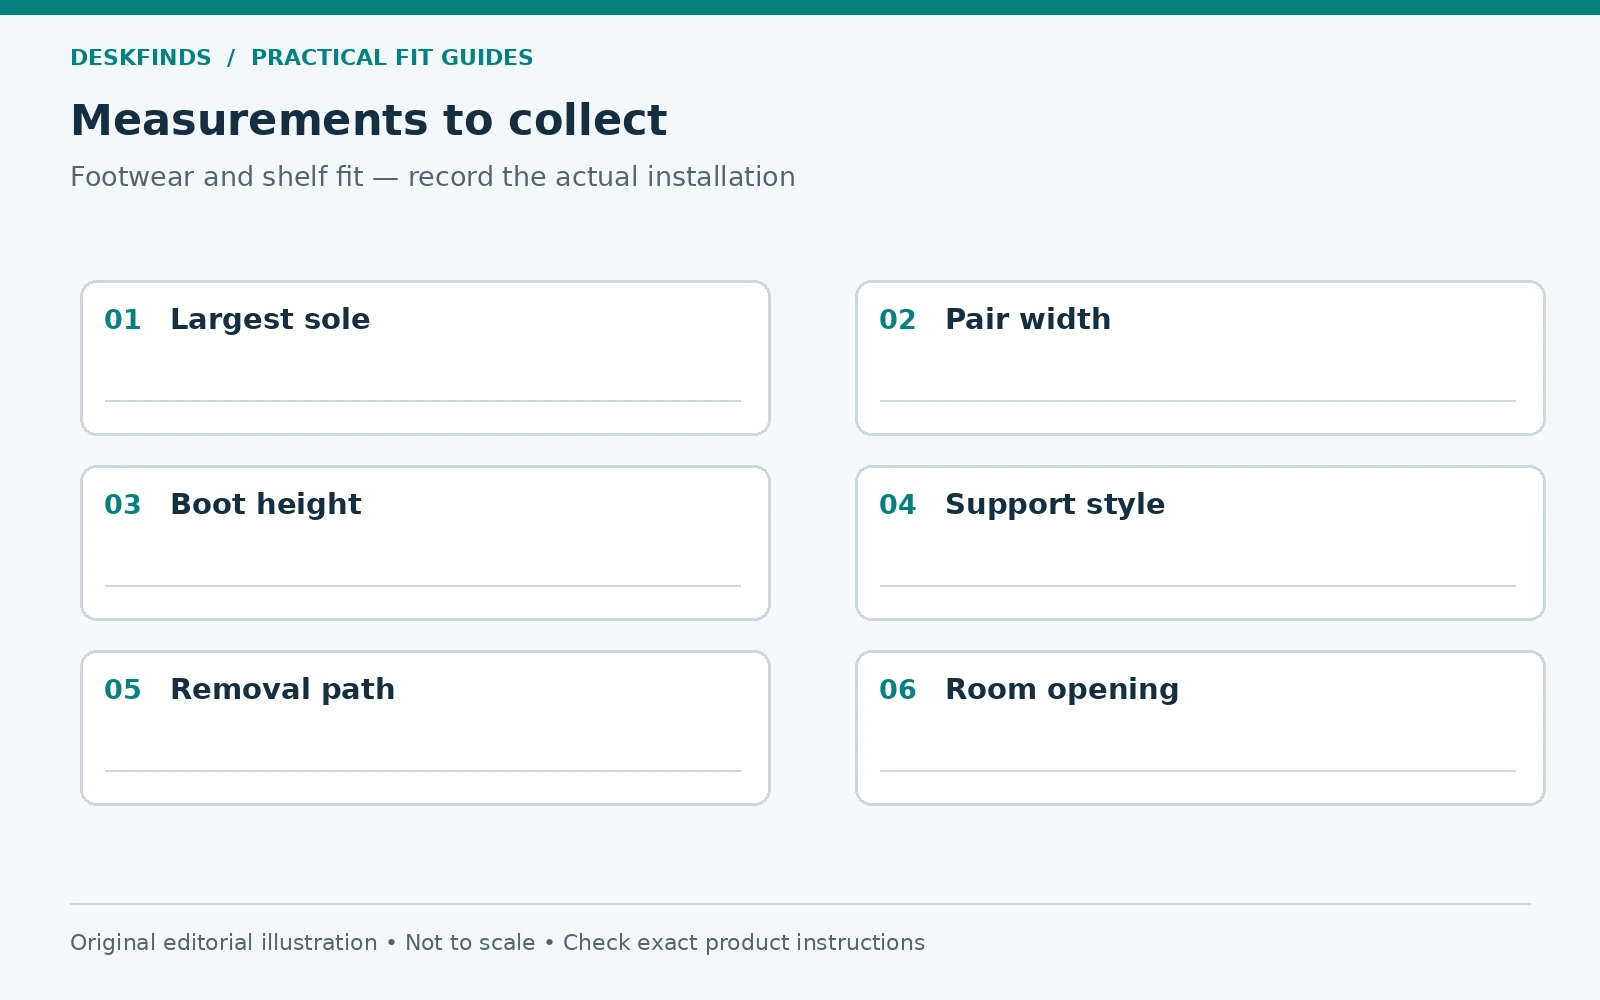
Measure the largest representative pair in each group. Include the full sole length and width, and the boot's height in its normal supported shape. Shoe size labels are not enough because brands, styles, and sole shapes differ. Use the objects that actually need to fit.
Decide whether shoes will sit side by side, one behind another, or in a product-specific holder. Different orientations change capacity and access. Do not assume a photograph showing small low shoes establishes room for large ankle boots in the same arrangement.
Measure usable shelf width
Find the clear distance between supports at the level where the shoes rest. The overall rack width includes side frames and may be divided by a center support. A long outside dimension can conceal several short sections that do not accept your preferred pair arrangement.
Trace the soles on paper and place them across a shelf-width outline. Include enough practical room to grasp and return the shoes without disturbing every pair. This is more useful than dividing the width by a generic shoe measurement. The actual pair shape controls the result.
If a rack expands, check the permitted extension, support overlap, and load requirements at that configuration. Do not extend it beyond the instructions to gain one more pair. A product's largest advertised width does not automatically describe its capacity at every position.
Check depth and support style
Measure the usable support from front to back, including any retaining lip. A long sole may project beyond an open rack while still being supported appropriately only if the product and footwear arrangement permit it. In a closed cabinet, the same projection can stop the door closing.
Wire rails, slats, mesh, and solid shelves support shoes differently. Check whether heels or narrow parts can pass between supports and whether the footwear can rest in a stable intended position. Do not assume a rack suitable for broad trainers will serve every heeled shoe equally well.
For angled shelves, use the manufacturer's intended orientation and retaining edge. An angled depth cannot be treated exactly like a flat shelf footprint. Verify how the product is designed to keep shoes in place and how your largest pair sits on it. Do not reverse a shelf to create an undocumented arrangement.
Separate boot height from retrieval height
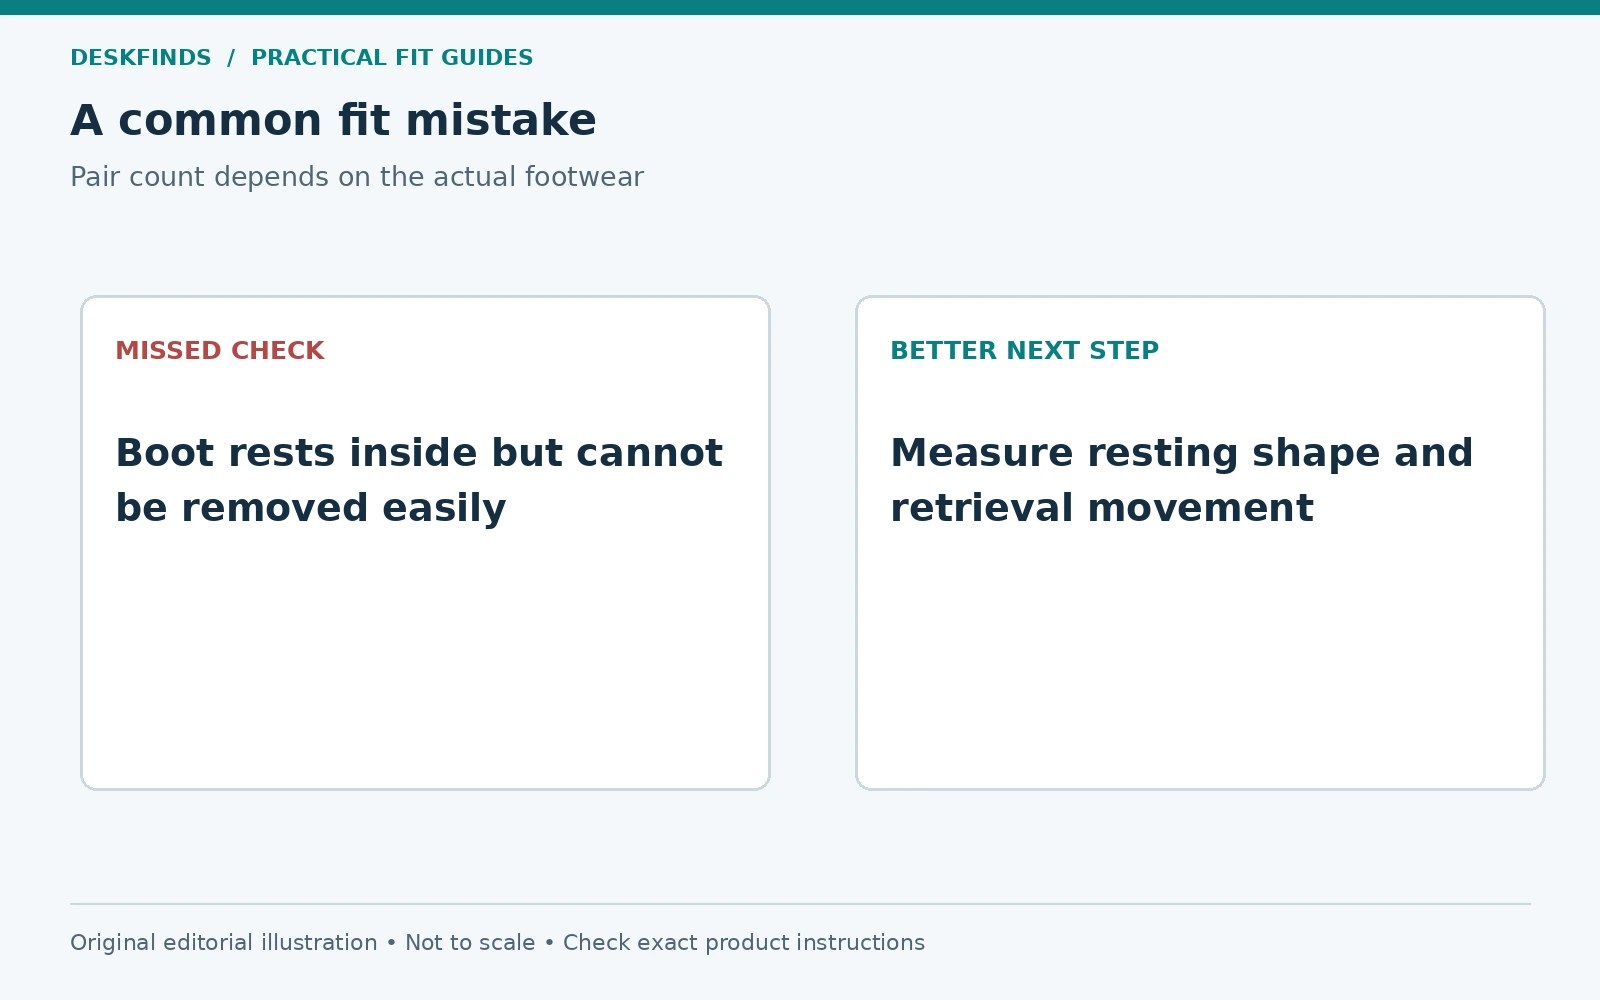
An ankle boot needs enough vertical space for its resting shaft, but also a practical route out. If a shelf above leaves only a tight gap, you may be able to place the boot inside but not lift or grasp it easily. Measure the clear opening at the actual access side.
Use the boot's normal shape and any required support. Do not plan a fit that depends on folding or compressing the shaft against its care instructions. A removable shelf can create height only if the rack permits that configuration and remains assembled as intended.
| Footwear or rack feature | What to compare |
|---|---|
| Long sole | Usable depth and any door closure |
| Wide pair | Clear shelf width and independent retrieval |
| Ankle shaft | Resting height plus grip and removal path |
| Narrow heel | Support spacing and intended stability |
| Angled shelf | Correct orientation and retaining edge |
| Adjustable rack | Approved configuration and load conditions |
Test advertised pair capacity with templates
Draw the usable shelf outline and place paper sole shapes for your actual footwear. Try the arrangement you intend to maintain. Count complete pairs that can be inserted, seen, and retrieved independently. A dense arrangement that requires removing several pairs for one shoe has a different practical capacity.
Do not call the product claim false solely because your footwear is larger than the illustrated set. Instead, treat the claim as incomplete for your use until the reference arrangement is understood. Ask the manufacturer how the capacity is defined if it matters to the purchase.
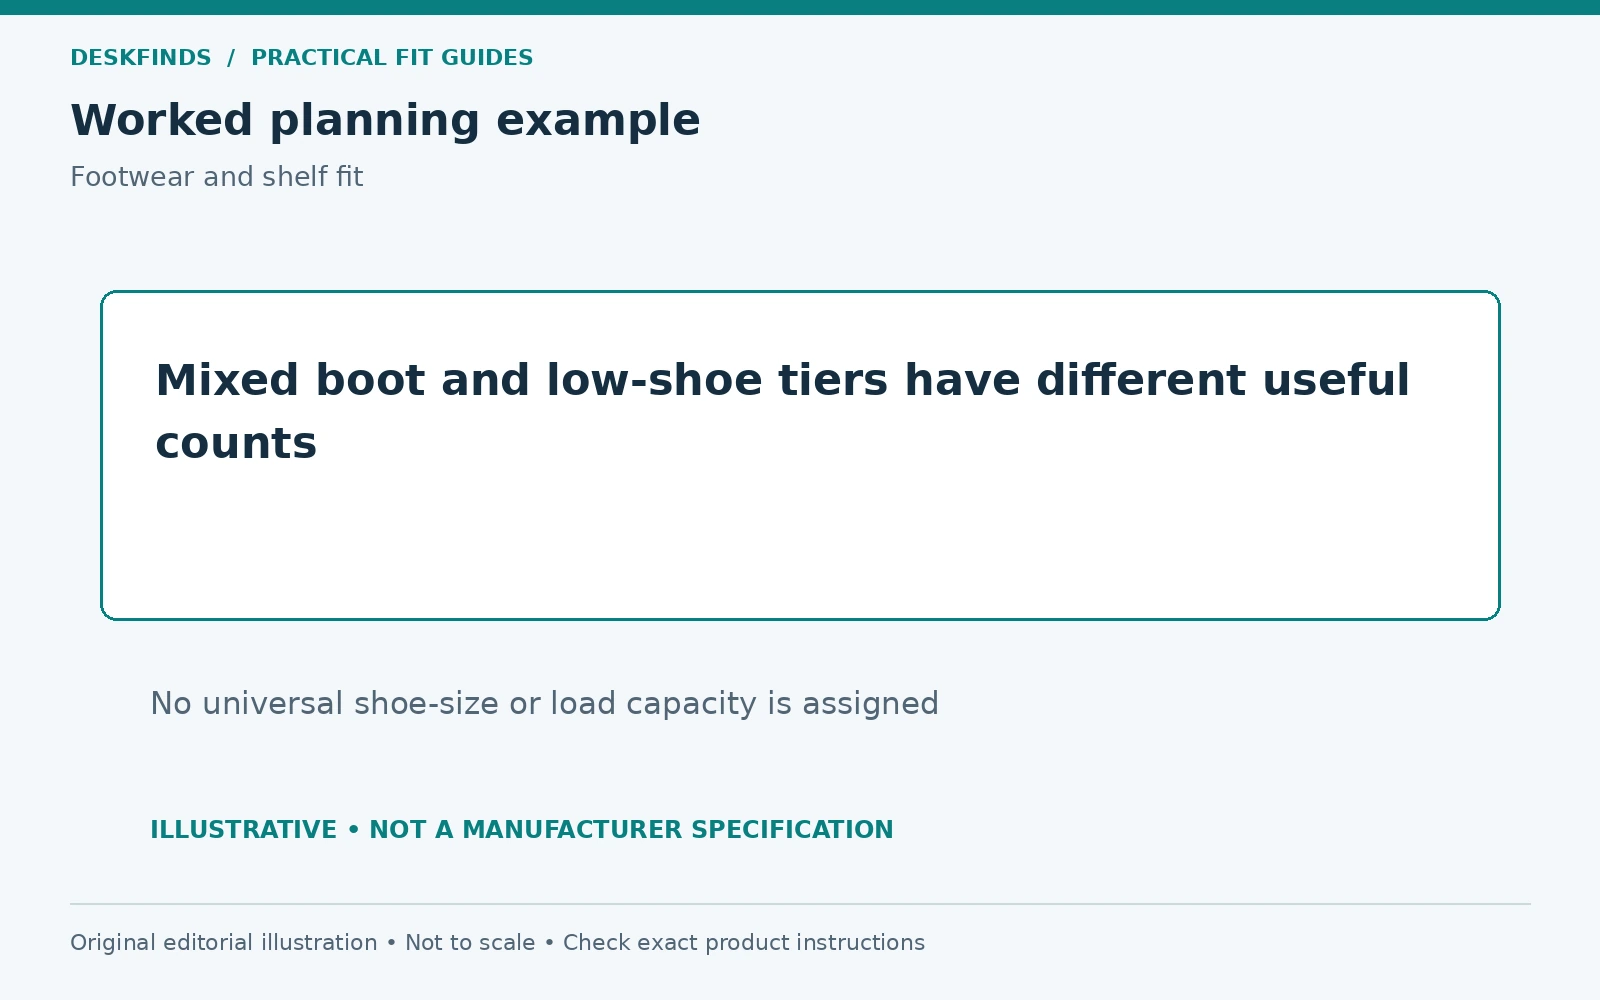
For a mixed collection, create more than one shelf plan. A tier used for ankle boots may hold fewer pairs than one used for low shoes. Summing one idealized per-shelf count across the whole rack can overstate useful storage. Choose the layout that serves the actual rotation.
Include the room's access path
Measure the rack's complete external envelope, including feet, handles, doors, and any required restraint. Check the route beside it and nearby door swings. A shallow rack can still narrow an entry when shoes project forward. Use the loaded profile, not only the empty furniture.
For a cabinet, open the doors or tilt compartments as intended and check the space needed to stand and retrieve shoes. A product that fits a wall gap may need more depth while operating. Our drawer and door conflict guide provides a useful movement map.
If the rack is inside a wardrobe, check the actual opening and shelf access. Sliding doors can leave part of the unit difficult to reach. Our closet organizer measurement guide explains the broader need to preserve neighboring storage and door function.
Example: large trainers reduce the practical pair count
A buyer selects a three-tier rack from a headline pair count. The shelf width accepts fewer of the buyer's wide trainers than the product photograph suggests, and squeezing them together makes retrieval awkward. The rack fits the room but not the intended inventory.
Paper sole templates reveal the usable arrangement before purchase. The buyer compares a wider compatible rack, fewer daily pairs, or separate seasonal storage. The decision is based on the active rotation rather than treating every pair as the same unit of width.
A larger rack is not automatically the best answer if it blocks the room route. A smaller well-organized active rack and suitable storage elsewhere may provide better access. The capacity brief should include both shoes and room function.
Example: ankle boots fit only on the top tier
Another rack has enough shelf depth for the boots, but the lower vertical openings do not suit their shafts and removal path. The top tier can hold them in the intended supported arrangement, while low shoes use the lower tiers. The nominal per-tier capacity is no longer uniform.
The buyer plans the mixed layout and checks total and shelf loading. If there are more boots than the top can serve, a different adjustable design may be needed. Removing structural shelves or supports without permission is not a capacity strategy.
A product example such as IKEA's ÄLGANÄS rack includes model-specific shelf-orientation guidance. Use it for that exact design and verify your footwear. Do not generalize one angled shelf's arrangement to another product.
Keep cleaning and drying requirements separate
Store footwear according to its own care instructions and the rack's intended environment. A damp pair may need appropriate drying before enclosed storage. The rack's open appearance is not a guarantee that every material can be stored wet or that a closed cabinet solves odor or moisture problems.
Choose a surface and location that can be maintained appropriately. A removable tray may help contain dirt if compatible with the product and footwear, but it adds dimensions and may affect access. Do not place a tray that makes shoes unstable or blocks the rack's intended support.
Keep the floor route clear of runoff or loose items. Clean the rack as directed and inspect for damage. Storage should make footwear easier to manage without creating a slippery or obstructed entry area.
Read load and stability information independently
A rack's capacity by pairs is not its load rating. Read total and per-shelf limits and any required anchoring or assembly steps. Heavy boots can create a different load from light shoes even when the pair count is the same. Do not infer strength from material appearance.
Avoid using the rack as a seat, step, or handhold unless explicitly designed for that purpose. If a bench function is advertised, verify its separate requirements and intended use. A shoe shelf and a seating surface are different roles that need their own documentation.
If a tall unit requires restraint, include the approved attachment and room permission. A narrow footprint should not be chosen without considering the manufacturer's stability conditions. The rack has to be installed as intended, not simply wedged into a gap.
Plan the return action
Take a pair out, use the access route, and return it with neighboring footwear in place. If the pair must be turned into an awkward orientation or pushed hard beneath a shelf, the layout may be too tight. A system that is easy to empty but difficult to refill tends to become a pile in front of the rack.
Place daily pairs in the most accessible positions and occasional items where their retrieval remains practical. Labels or clear zones can help shared households without requiring every person to use identical footwear categories. Keep personal and shared space understandable.
Review the arrangement when seasons change. A rack planned for low shoes can become unsuitable when boots enter the rotation. Reassess the shelf map instead of assuming the original capacity remains valid for every collection.
Buy from a footwear-and-room brief
Record the largest sole length and width, boot height and retrieval needs, intended pair arrangement, rack support style, complete room envelope, and installation requirements. Ask for usable shelf dimensions rather than only outside size. Keep unknowns visible until resolved.
Compare entryway shoe racks, narrow racks, and shoe cabinets after preparing that brief. A useful rack supports the actual shoes and the daily return routine. The biggest advertised pair count is secondary to storage that remains accessible and appropriate in the room.
Build a footwear layout from real sole templates
Trace the largest shoe in each active category and label the style rather than only the numerical size. Add a second outline for its pair and place them on the usable shelf drawing. This reveals the actual width of a pair in the intended orientation. Wide trainers and narrow formal shoes can consume different space despite similar size labels.
Try retrieving the middle pair without moving the neighbors. If the arrangement requires lifting several shoes or turning a boot into an awkward angle, record that as a different access level. It may suit occasional storage but not a daily entry routine. The pair count should describe a usable arrangement, not the maximum number of outlines that can overlap.
For a closed cabinet, add the door or compartment envelope and the full shoe projection. A sole that overhangs an open rack may not fit an enclosed version. Do not transfer the result from one support style to another without checking the complete geometry.
Separate a boot's resting shape from its exit route
Use a lightweight side profile of an ankle boot to test the clear opening. Include the grip point and the movement needed to lift it from the support. A boot can fit beneath the shelf above while being difficult to remove without compressing its shaft. Its care requirements determine whether that compression is acceptable, not the rack's capacity label.
If the rack offers adjustable shelves, compare only the configurations the manufacturer permits. Removing one shelf may affect structure or loading, depending on the product. Ask before treating an apparently removable part as optional. A taller gap is useful only in an approved assembled arrangement.
Plan mixed tiers deliberately. One tier may serve boots and another low shoes, producing a different total from a uniform photograph. Keep the active inventory on the drawing so a seasonal change does not quietly exceed the space that was actually planned.
Ask a capacity question with enough context
Send the seller the largest sole dimensions, boot height, proposed orientation, and number of active pairs. Ask for usable shelf width and depth, clear vertical openings, support spacing, and the reference arrangement behind the advertised capacity. A yes-or-no question about large shoes leaves too much unspecified.
Keep the reply tied to the exact model and shelf configuration. Similar racks can have different side frames, rails, or angled supports. If the decisive interior measurement is missing, do not estimate it from an image and order the full storage system on that basis.
A trial with one suitable unit may reduce a remaining uncertainty where practical and under understood return conditions. It does not replace assembly, anchoring, or load requirements. The rack should be installed as intended before assessing its normal retrieval routine.
Keep an active rotation instead of maximizing the label
Choose which pairs need immediate access and assign the rest to suitable separate storage. This can improve the room route and make the rack easier to clean. Do not use the rack's empty space as a reason to keep unsuitable or rarely used footwear in the most accessible position.
For shared households, agree on zones based on actual shoe shapes and use rather than equal nominal pair counts. One person's boots can need a different section from another's low shoes. The arrangement should make return intuitive enough that footwear does not accumulate in front of the rack.
Review the plan at seasonal changes and when a new bulky pair arrives. Recheck the relevant tier rather than assuming the old count still applies. A useful rack is the one that supports the real collection's shape and care needs while preserving straightforward access.
Keep a mixed-tier count
Record how many of your actual pairs each tier can serve in the chosen configuration. Keep boot and low-shoe tiers separate rather than multiplying one idealized shelf count. When the collection changes, update the affected tier and test retrieval again. This simple inventory is more useful than a permanent total based on a product photograph, because it follows the shapes and access needs of the footwear actually stored.
Sources and scope
- IKEA ÄLGANÄS rack - model-specific dimensions and shelf-orientation information.
- IKEA KOMPLEMENT shoe shelf - example of system-specific footwear storage; verify exact compatibility.
The sole-template method and cases are original editorial planning guidance. No universal shoe-size capacity, material-care rule or rack load is assigned.