
How to Measure a Closet for Hanging Organizers
Affiliate Disclosure: We may earn a small commission on qualifying Amazon purchases at no extra cost to you. Full disclosure →
A hanging shelf organizer can add compartments without a new cabinet, but it also consumes rail space and drops into the area used by clothes, shoes, and drawers. Its empty dimensions may not describe the loaded shape. The useful fit is a combination of attachment, drop, depth, surrounding movement, and the closet's permitted load.
Quick answer: Check that the rail and organizer are compatible, then measure usable hanging width, vertical drop, depth, door clearance, and access to neighboring clothes. Include the attachment and loaded contents. Do not assume an organizer adds storage without reducing another useful part of the closet.
This guide covers organizers suspended from a clothes rail. Over-door products have different requirements, addressed in our door organizer closure guide. Wall-mounted systems also need their own installation assessment.
Inventory the closet before adding compartments
Remove items that no longer belong in the closet and group the remaining contents by use. Identify what currently lacks a useful place: folded shirts, bags, shoes, accessories, or supplies. A hanging organizer should serve that category rather than become a new location for an unsorted pile.
Measure the items you intend to store. A compartment for folded clothing may not accommodate a rigid bag or box. Note how often the contents are used and whether you need to see them from the front. The best organizer is not necessarily the one with the largest number of small shelves.
Consider what rail space it replaces. If hanging shirts are already crowded, adding a wide organizer may make the rest of the closet less usable. Compare the capacity gained with the clothing space lost. A storage improvement should be assessed across the whole closet, not only the new compartments.
Identify the rail and its restrictions
Find the wardrobe or rail instructions if available. Check its load limit, attachment condition, and any restrictions on concentrated loads. An organizer can gather several items at one suspension point or section of rail. Do not infer suitability from the rail's appearance or from how much clothing it already holds.
Measure the rail shape and size at the intended location. Hooks, straps, and other attachments have different compatibility requirements. A strap may need space to wrap and fasten fully; a rigid hook may need a particular diameter or profile. Use the exact organizer instructions rather than assuming every clothes rail is equivalent.
Inspect the supports and furniture condition without altering them. If the rail is loose, bent, or damaged, resolve that issue through the proper repair route before adding storage. A hanging organizer is not a brace for an overloaded or failing rail. Keep the furniture's intended structure intact.
Measure the available width
Mark the rail section the organizer will occupy, including straps or hooks that spread beyond the fabric body. Measure the clear width at the front and rear of the closet. A hinge, side panel, or neighboring hanger can reduce the usable opening even when the rail itself is long enough.
Leave access for the clothes beside it. Hangers need space to move so items can be taken out without pulling the organizer sideways. A tight row may technically fit but make daily retrieval difficult. Test the full routine with the organizer represented by a lightweight outline.
If several hanging units are planned, compare them together. Their sides may bulge when loaded, and shared rail capacity still applies. Do not multiply a single-unit layout without checking the complete load and access. A narrower unit with fewer compartments can be more useful than two crowded ones.
Measure drop from the actual suspension point
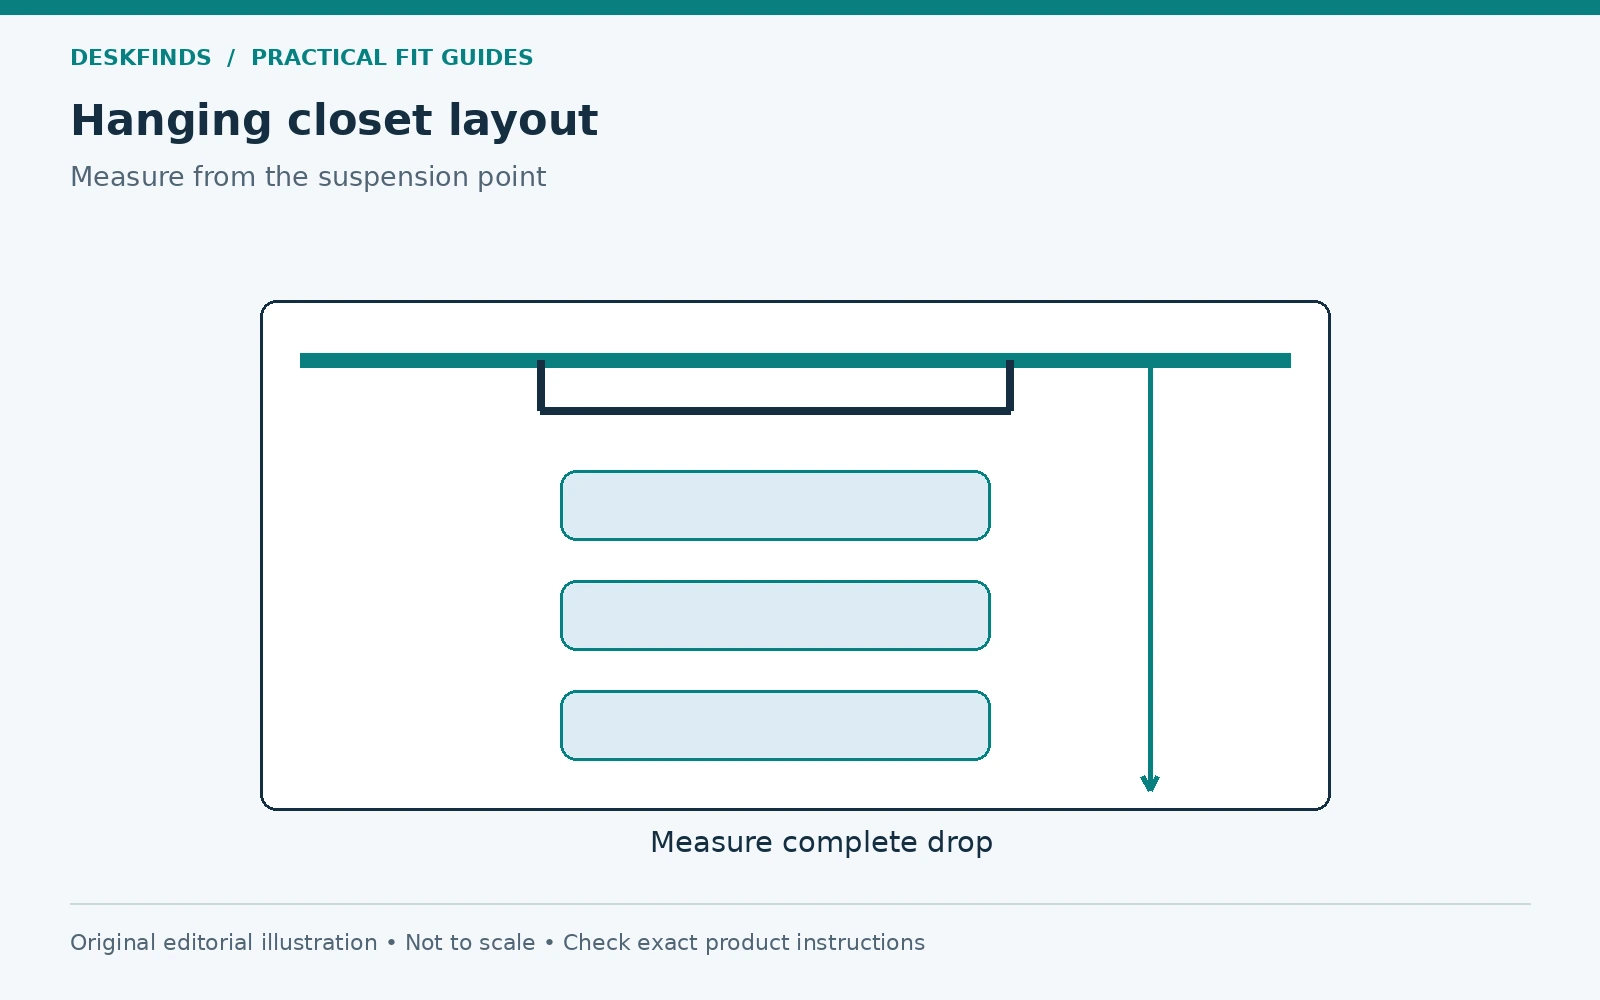
Find where the organizer's support rests on the rail and measure downward from that reference. Include the hook or strap length in the total drop. A body-height figure may exclude the attachment, while another product may include it. Ask how the exact listing defines the dimension.
Check the lowest obstacle: shoes, a shelf, a drawer, a storage box, or the floor. The organizer should hang as intended without resting on or pressing into another object unless the design specifically permits it. Contents can change the loaded profile, so do not rely only on the empty fabric shape.
If there are drawers below, open them fully in the planned layout. A hanging unit may clear the closed fronts but block the drawer path or access to contents. The closet needs to function while its parts are in use, not only with every door and drawer closed.
Check depth and the door path
Measure from the rail area toward the closet back and front opening, then compare the organizer's loaded depth. A front pocket, handle, or rigid insert can project farther than the fabric body. Confirm that doors close normally without compressing the organizer or its contents.
For sliding doors, test the opening available at the intended bay. A compartment may sit behind a section that cannot be accessed fully. For hinged doors, check hinges and the swing in the room. A nearby bed can prevent the door reaching the angle needed for retrieval.
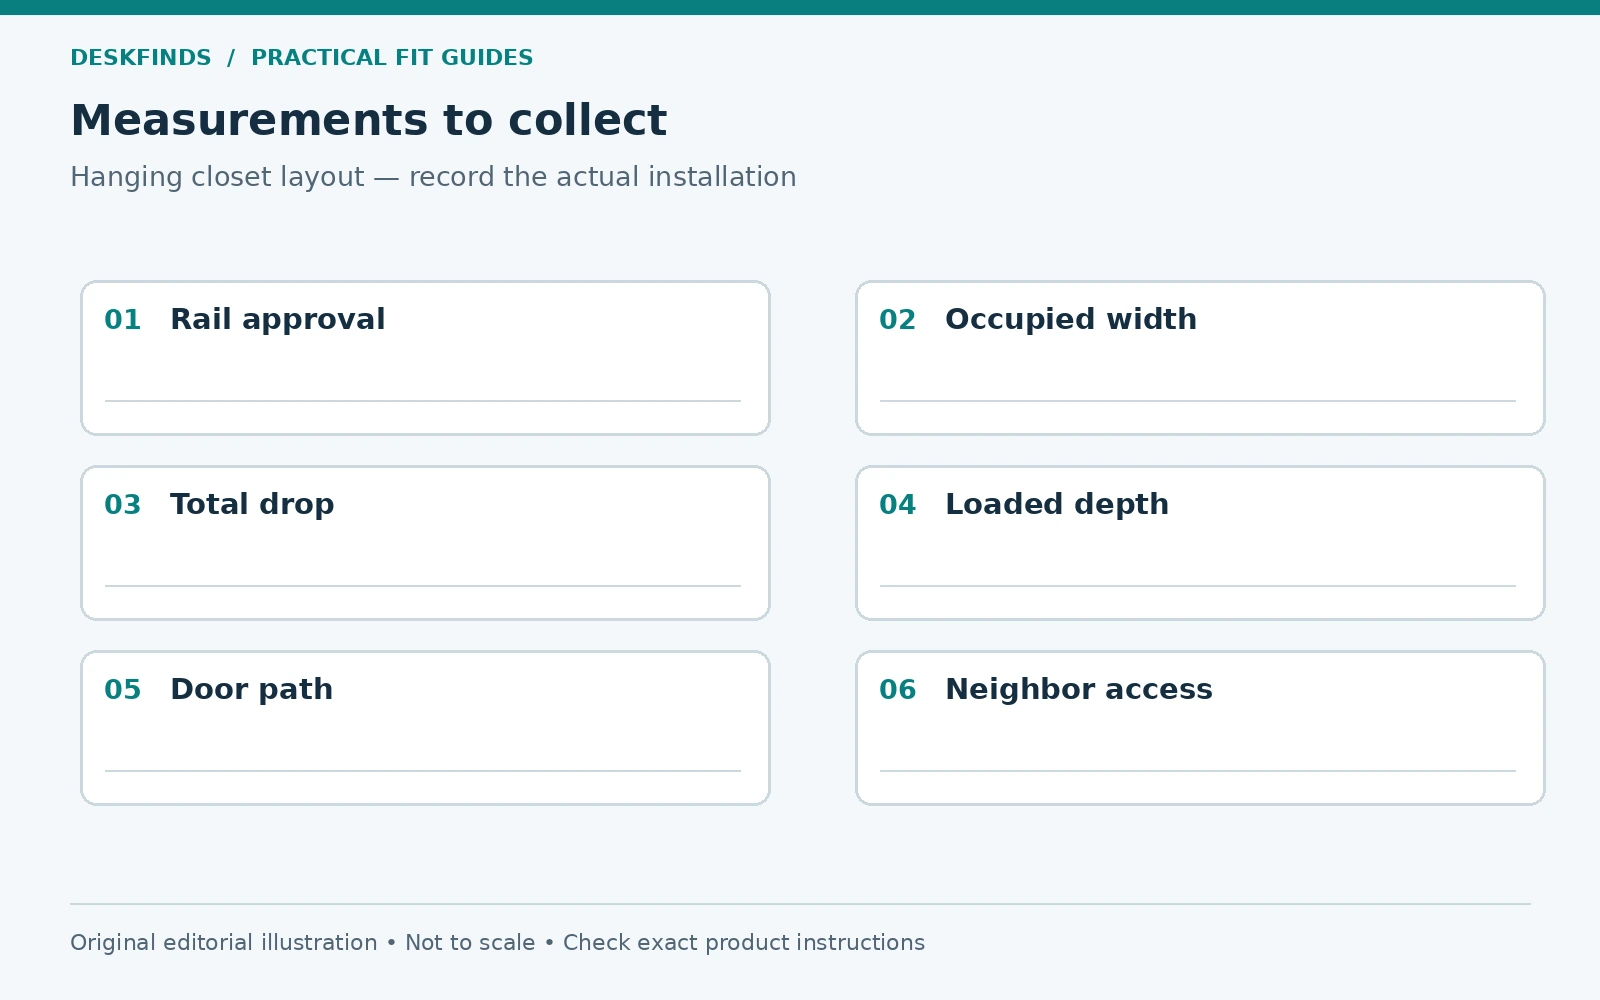
| Measurement | Include |
|---|---|
| Rail compatibility | Shape, size, permitted load and attachment method |
| Occupied width | Body, straps, hooks and loaded bulge |
| Total drop | Suspension point to lowest loaded component |
| Loaded depth | Pockets, contents and front projection |
| Door access | Actual usable opening and closing path |
| Neighbor access | Hangers, shelves and drawers still usable |
Compare compartment size with contents
Find the usable interior dimensions of each shelf or pocket. Fabric walls, dividers, and inserts reduce the space inside. A compartment labeled for shoes may not fit your shoe size or style. A folded sweater can bulge a soft shelf even when its width appears suitable.
Check the load instructions for the whole organizer and individual compartments where specified. Do not assume every shelf can hold the total capacity. Distribute contents as directed and avoid placing heavy objects high simply because the compartment is empty. Keep frequently used items at a practical reach.
If rigid bins will sit inside the organizer, test both products together. The bin must fit the compartment and remain removable without pulling the fabric structure out of shape. Our shelf-bin fit guide explains why outside dimensions and useful access need separate checks.
Use a lightweight hanging template
Create a paper or cardboard outline for the width, drop, and depth. Suspend it only by a safe lightweight method that does not load or damage the rail. The template is a visual planning aid, not a substitute for the organizer's attachment or a load test.
Open doors and drawers, move nearby hangers, and reach for the intended compartments. Notice where the outline interferes with ordinary actions. A compartment that is easy to see but difficult to reach may not suit the contents. Record the exact conflict before choosing another size.
Do not hang an improvised heavy test load from the rail to prove capacity. Use the furniture and organizer documentation for load limits. If those cannot establish suitability, seek manufacturer advice or choose another storage method. Measurement should reduce uncertainty without creating a structural experiment.
Example: the organizer reaches the shoe shelf
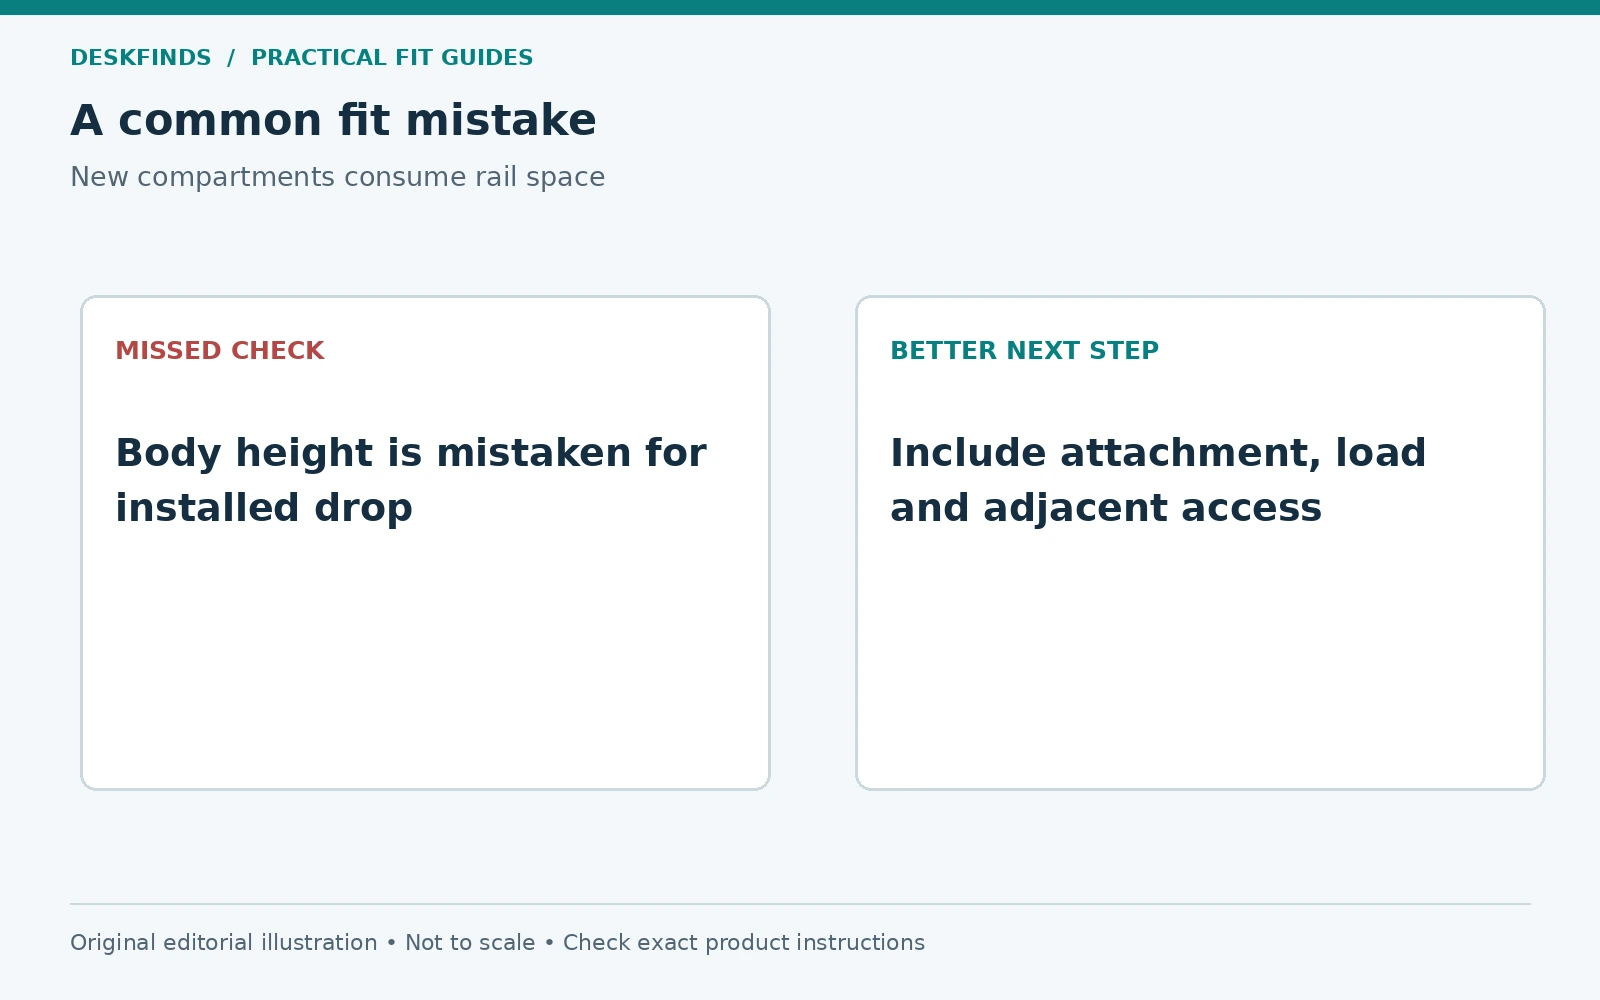
A buyer compares the fabric body's height with the gap beneath the rail and assumes it will fit. The attachment adds more drop, so the loaded bottom rests on shoes below. The organizer no longer hangs in the intended shape, and the shoes become difficult to retrieve.
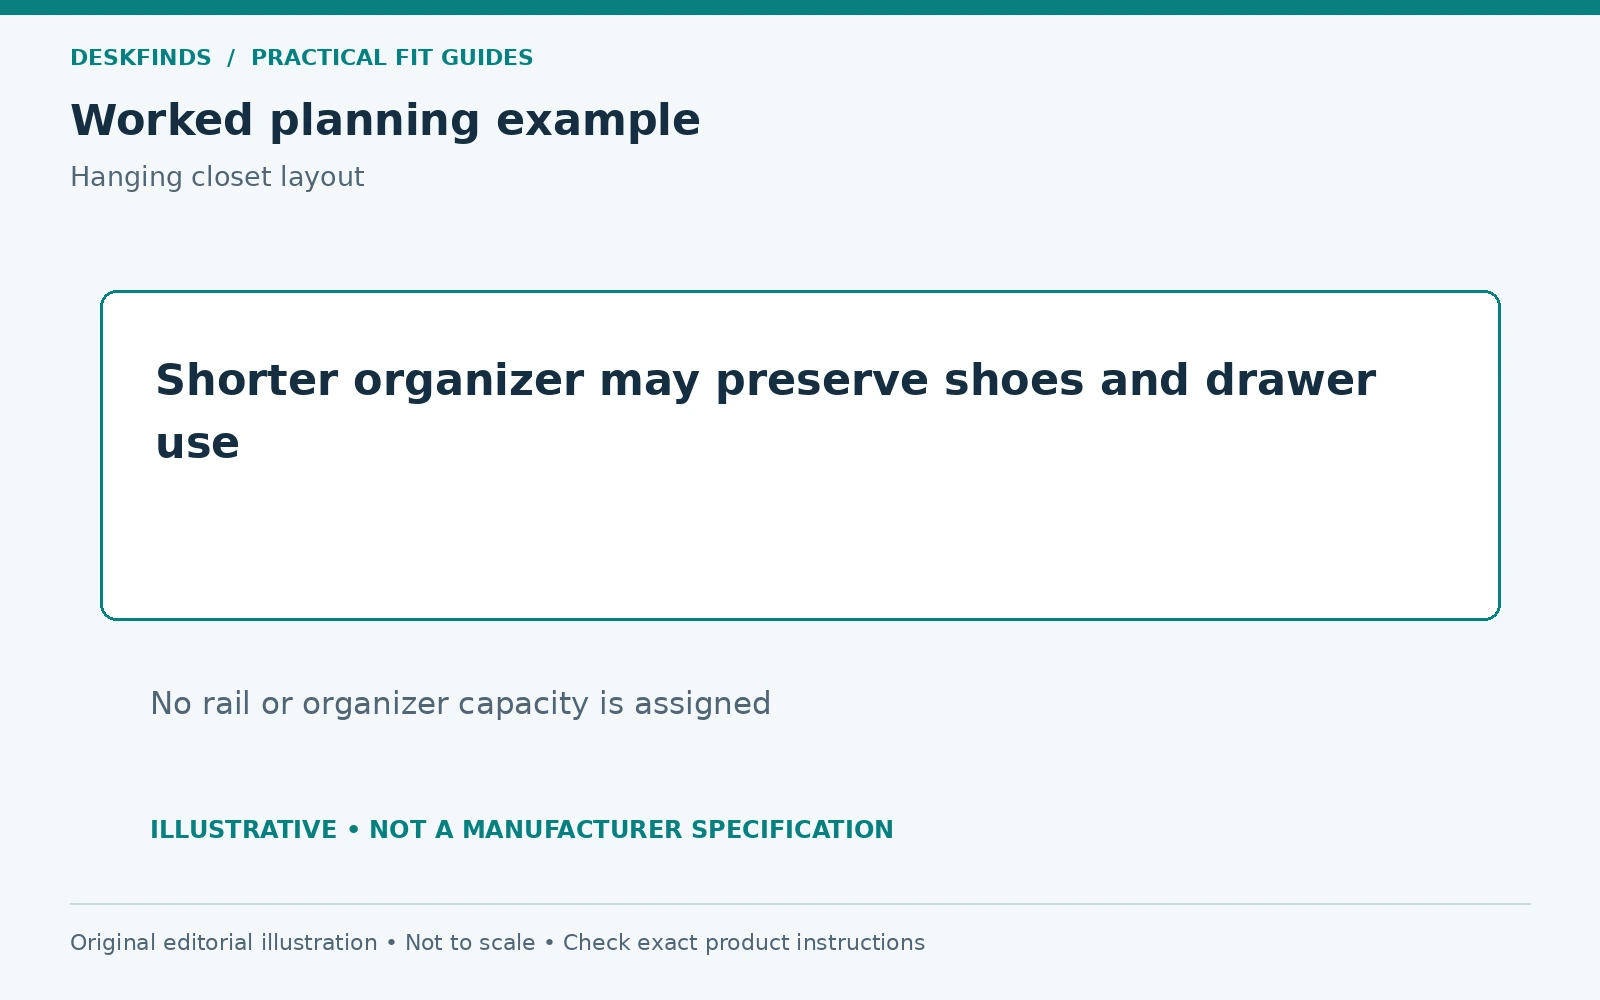
A shorter unit or different storage arrangement may solve the problem. Removing a wardrobe support or moving a fixed shelf arbitrarily is not the first response. If the furniture offers adjustable shelves, use only the permitted positions and reassess the rest of the closet.
The transferable lesson is to measure from the suspension reference to the lowest complete component. A product's body height is not always its installed drop. Keep those definitions explicit when asking a seller for dimensions.
Example: more compartments reduce useful storage
Another buyer adds a wide hanging unit to a crowded rail. Folded items now have compartments, but the remaining shirts are compressed and difficult to remove. The organizer gains one kind of storage while degrading another. The total useful capacity has not necessarily improved.
The buyer sorts the contents and compares a narrower unit with a separate shelf bin. The revised arrangement leaves hangers movable and gives the folded items a clear category. It may look less uniformly filled, but it supports daily retrieval more effectively.
This is why the organizer should follow a contents inventory. A product cannot create unlimited capacity inside a fixed wardrobe. It reallocates space, and that trade-off should be intentional.
Plan access for the actual user
Check reach from the floor without climbing on unstable furniture or pulling down on the organizer. Frequently needed items should be accessible in the intended posture and within the product's use. A high compartment may suit light occasional storage for one person and be impractical for another.
Consider visibility too. Deep soft compartments can hide small items at the back. A suitable internal tray may help, but it adds dimensions and weight. Avoid solving poor visibility by overfilling the front and leaving a tangled rear section. Use fewer, clearer categories where possible.
If the closet is shared, allocate rail space and compartments explicitly. Keep personal items and shared supplies understandable to both users. A storage plan that depends on one person constantly rearranging another's clothes will not remain stable.
Maintain the arrangement after loading
Load the organizer within its instructions and inspect how it hangs. Check straps, seams, inserts, and rail contact as directed. If the unit sags excessively, shifts, or shows damage, stop and resolve the issue rather than packing more tightly to hold its shape.
Recheck door closure and adjacent drawer access with the actual contents. A successful empty template does not establish loaded fit. Keep the total closet load within the furniture's limits as other items change. Seasonal clothing swaps can alter both weight and occupied width.
Compare our small-closet organization guide and closet shelf organizers after the measurement brief is ready. A useful hanging organizer reallocates space deliberately while preserving rail support, door function, and access to the rest of the wardrobe.
Make a closet budget in three dimensions
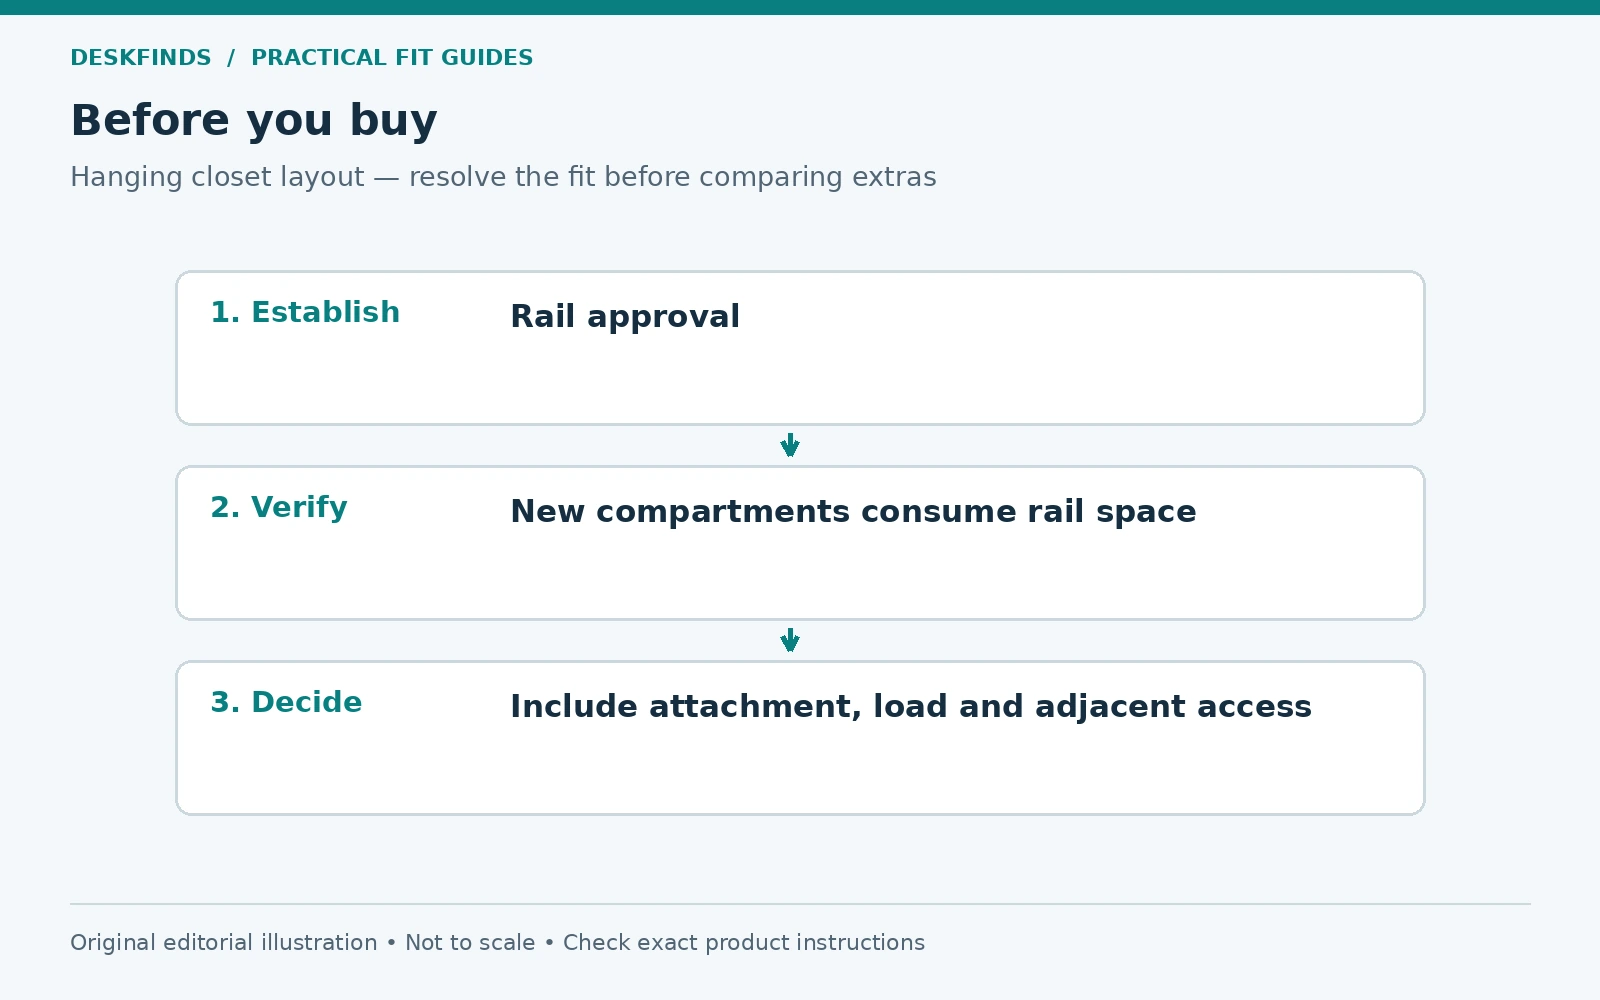
Draw the rail length and divide it into the clothes and organizer sections you intend to keep. Below that, show the organizer's total drop and the floor or shelf storage beneath it. Add a side view for depth and the door. This simple pair of drawings prevents the vertical compartments from appearing to add space without consuming anything.
Write the trade-off next to the plan. A hanging unit might replace a section of shirt space with folded storage. A shorter unit might preserve shoes below but offer fewer compartments. Neither is automatically better. Choose according to the contents and access needs identified in the inventory.
Check the closet during ordinary use. Slide hangers, open drawers, and remove the largest item from the proposed compartment. Do not assess only the closed wardrobe. A layout that looks full and orderly can still make every morning task difficult if its moving parts compete for the same space.
Verify a specific product without importing its limits elsewhere
A manufacturer page such as IKEA's SKUBB six-compartment organizer can provide the dimensions and intended attachment for that product. Use those details only for the exact version and consult its instructions. Do not infer a generic hanging-organizer capacity or rail approval from one example.
Ask how the listed height relates to the suspension point. Confirm the attachment's required rail geometry and whether the contents or inserts change the usable compartment size. These are practical questions even for a familiar product family. Market versions or revisions can differ, and a similar photograph is not a compatibility record.
Keep the wardrobe's requirements in the same file. An organizer can be used within its own load limit while still exceeding what the rail or installation permits. Both need to pass. If the rail specification is unknown, do not use the organizer's capacity as a substitute for the furniture's capacity.
Organize by the loaded compartment, not the empty pocket
Put the intended contents into a sample compartment or an equivalent dimensional mock-up. Check the opening, support, and retrieval movement. A pair of shoes can project forward while a folded shirt occupies less depth but spreads sideways. The product's empty outline does not describe every category equally well.
Use compartments for clear sets of items and avoid a loose mixture that shifts each time something is removed. If an insert is added, include its weight and external dimensions. It should not force the fabric outward or make the compartment difficult to access. A container inside an organizer is another compatibility layer, not free extra structure.
Keep the lowest compartment's function realistic. If it is close to the floor or blocked by another object, it may suit only occasional access or may be unusable. Do not count it as daily capacity simply because it exists. A shorter organizer or another storage location can produce a better overall closet.
Plan seasonal changes before filling the rail
List the categories likely to change between seasons. Bulky clothing can alter the space remaining beside an organizer, and heavier contents can change the load plan. Leave the arrangement adaptable within the furniture instructions rather than fitting every item tightly around a fixed template.
Keep occasional items labeled and accessible enough to inspect. A hanging organizer should not become a hidden archive that prevents the rest of the wardrobe from working. Review the contents when the rail becomes crowded, and remove obsolete or misplaced items before buying another unit.
For a dorm or rental, keep the installation reversible only as the rules and products permit. Retain instructions and any supplied attachment parts, and remove the organizer unloaded by the intended method. Do not leave a strained rail or damaged attachment in place because the fabric still looks serviceable. The useful result is organized access without compromising the furniture that supports it.
Keep an installed measurement record
After a permitted installation is loaded, record the actual drop, depth and remaining hanger access. Compare them with the planning outline and note any difference caused by the contents. This gives you a useful baseline for seasonal changes. It is not a load test or permission to add more weight. If the product hangs differently from its intended arrangement, stop and seek guidance rather than treating the new shape as extra usable space. Keep the rail supports and nearby drawers visible enough to inspect, and do not let stored items conceal damage.
Sources and scope
- IKEA wardrobe interior planning guide - example of system-specific storage planning; check current instructions for your furniture.
- The exact wardrobe and organizer manuals - required for attachment and load approval; no generic rail capacity is assigned here.
The suspension-reference worksheet and cases are original editorial planning tools. They are not load tests or permission to modify a wardrobe's structure.