
Will an Over-the-Door Organizer Stop Your Door From Closing?
Affiliate Disclosure: We may earn a small commission on qualifying Amazon purchases at no extra cost to you. Full disclosure →
An over-the-door organizer uses space that is easy to overlook, but its hooks sit in a gap the door needs in order to close. A bracket that is slightly too thick can scrape paint, prevent the latch engaging, or push the door out of its normal position. Loaded pockets can also hit a wall or nearby furniture when the door swings.
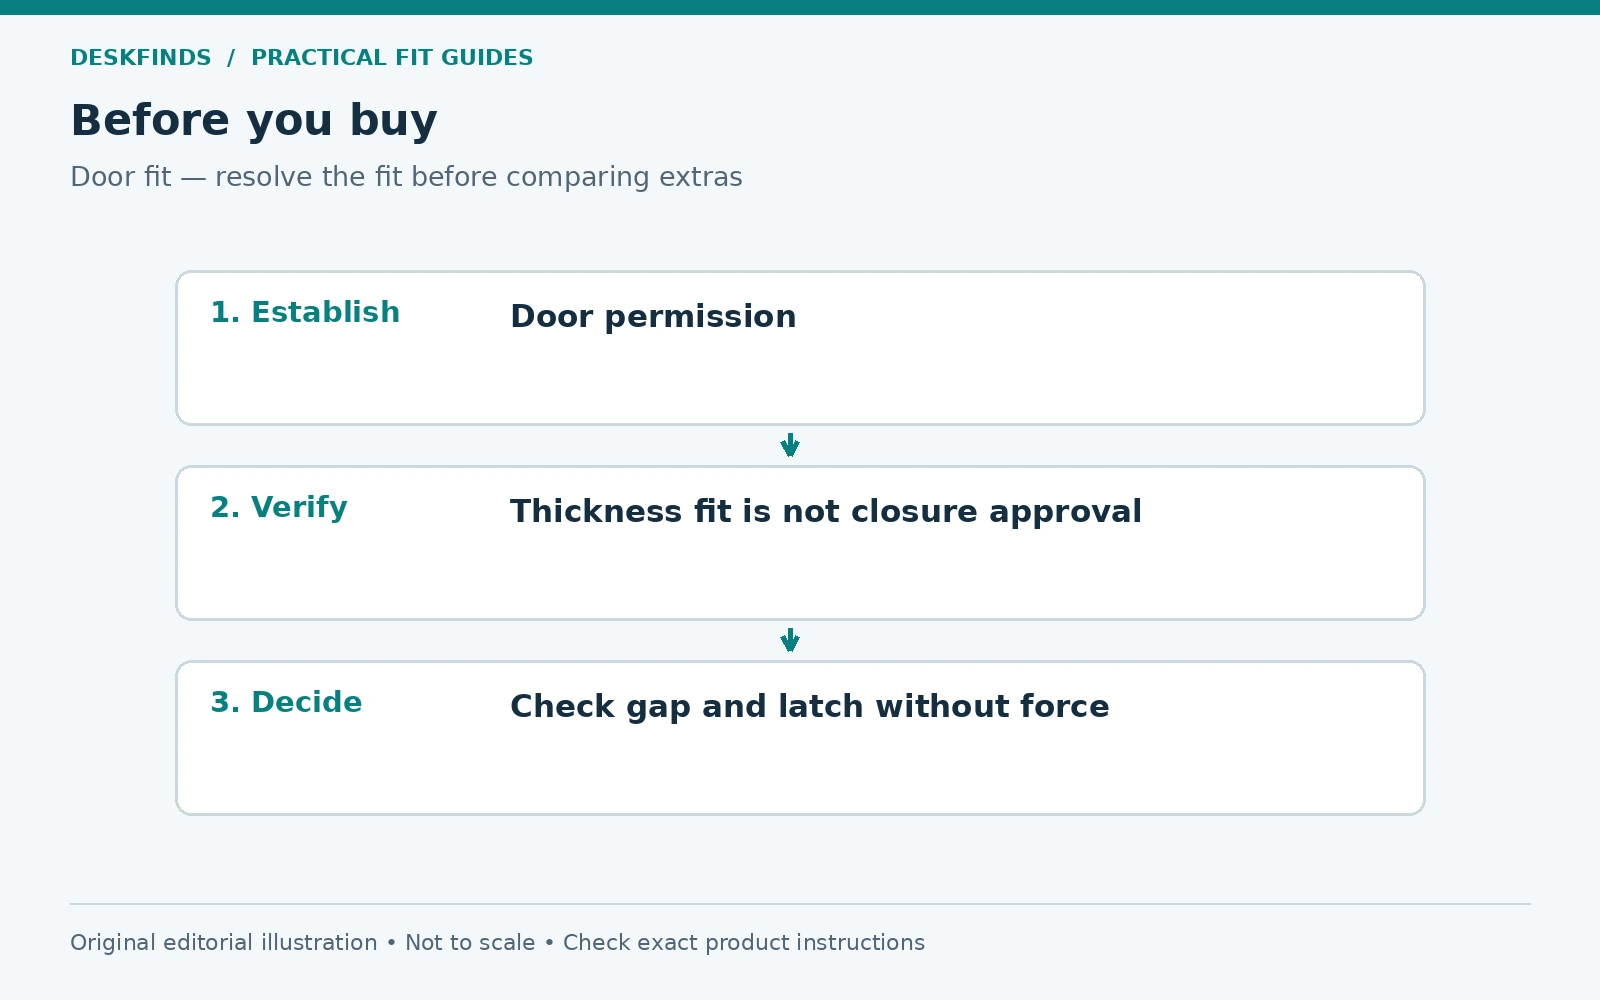
Quick answer: Check permission first, then measure door thickness, the top gap, hook geometry, and the organizer's loaded swing path. The door must close and latch normally without force. Do not plane the door, bend brackets, remove seals, or modify a fire-rated or other safety door to make an organizer fit.
This guide focuses on a hinged room or closet door. Cabinet, sliding, bifold, and pocket doors have different geometry and may not be compatible at all. Use the organizer's instructions and the door owner's rules rather than assuming every door offers the same mounting opportunity.
Establish whether the door can be used
In a dorm, rental, workplace, or shared building, check the rules before measuring products. Some doors must remain free of hanging objects, and some have safety functions you should not interfere with. A door can be physically thick enough for a hook while still being an inappropriate place for storage.
Identify whether the door has a closer, seals, special labeling, or other features that call for advice from the owner or building manager. Do not remove or alter them. If you are unsure whether the door is a safety door, resolve that question before hanging anything over it. Storage should never depend on compromising normal closure.
Consider who uses the door. Children, roommates, or visitors may swing it farther or faster than you expect. An organizer loaded with hard objects changes what can contact the wall or a person. Choose a location that remains practical during normal use rather than one that works only when opened carefully by its owner.
Measure the door thickness at the top
Measure the edge where the hook will sit, using a ruler or caliper without damaging the finish. Do not substitute a measurement from a different door. Interior doors can vary within the same home. A decorative profile or raised trim can also affect where the bracket bears.
Compare the measurement with the hook's documented fit range and shape. A hook that is too narrow may not seat fully; one that is too wide may shift or rattle. Padding can change the fit, so use only what the manufacturer permits. Do not assume that adding thick foam is harmless to the top clearance.
If the hooks are adjustable, read how adjustment is intended to work. Do not bend a rigid metal bracket to create an undocumented size. Bending can damage the finish, coating, or strength of the part. Ask for a compatible hook option or choose another storage method if the geometry does not match.
Check the top gap without forcing a test
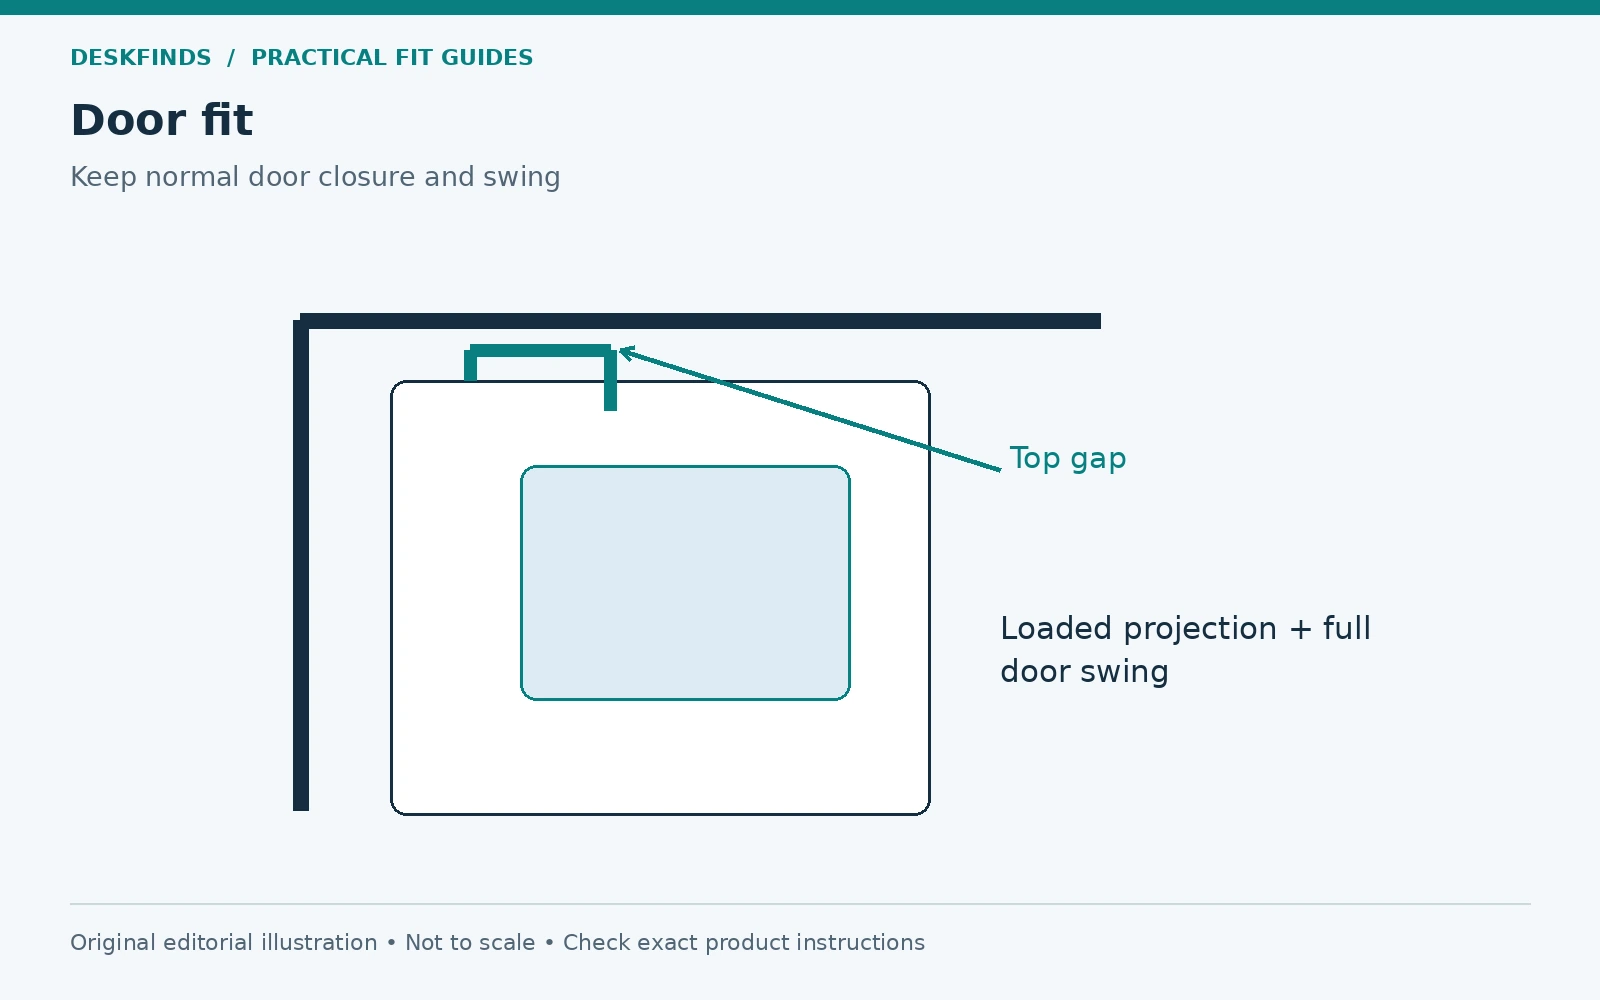
Inspect the space between the door and frame along the proposed hook positions. The gap may vary across the top because of the door or frame alignment. A hook needs room for its thickness and any approved protective layer while allowing normal movement. There is no universal gap that guarantees compatibility with every bracket.
Use the product dimensions and a suitable non-damaging gauge if needed. Do not insert metal tools into a tight gap or force the door closed against a trial object. If the door already rubs or latches poorly, address that condition through the owner or appropriate professional before adding anything.
Check the direction of closing and where the bracket's upper bend sits. The hook may clear the frame when open but meet it during the last part of closure. This is why measuring only the door's thickness is incomplete. The frame clearance and bracket shape need to work together throughout the movement.
Inspect the hook contact points
A bracket can press against the top edge, front face, and back face of the door. Identify where each part will touch and whether the finish is sound. Existing chips, peeling paint, or soft coatings may be vulnerable to pressure and movement. A no-drill product is not a guarantee of no marking.
Check whether the hooks can sit at the required spacing without crossing raised trim or panels. Some organizers need specific hook positions to support the load properly. Moving them together to avoid a door feature may not be permitted. Follow the intended assembly rather than improvising an arrangement that looks balanced.
Protective pads should not obscure damage or create a thicker bracket than the gap allows. If pads are supplied, install them as directed and include them in the clearance check. If none are specified, ask before adding materials. The fit should come from the product design, not from a stack of unknown layers.
Map the loaded organizer, not the empty fabric
Find the organizer's overall width, hanging length, and loaded depth. Empty pockets collapse, so an unloaded product photograph can understate projection. Shoes, bottles, notebooks, and cleaning supplies each create a different shape. Plan the intended contents before judging whether the door will swing freely.
Check the bottom position. A long organizer can brush the floor, catch a rug, or meet a threshold. If it hangs over a door handle or lock area, it can interfere with operation. Do not fold or shorten the product unless the manufacturer provides that option, especially if the change affects how the load is supported.
Draw the door's swing arc on a room plan and add the loaded organizer depth. Look for a wall, radiator, cabinet, light switch, desk, or neighboring door. An organizer that permits closure may still reduce how far the door opens. That can affect access and the room's circulation.
| Check | Pass condition |
|---|---|
| Room rules | Hanging storage is permitted on that particular door |
| Door thickness | Matches the documented hook arrangement |
| Top clearance | Door closes normally with the complete hook assembly |
| Loaded depth | Clears surrounding furniture and normal users |
| Hanging length | Avoids floor, hardware and thresholds |
| Load | Stays within the organizer and installation limits |
Test an empty installation first
If the rules and measurements permit installation, follow the instructions and hang the organizer empty. Support it while positioning the hooks so they do not scrape across the finish. Check that each hook seats correctly and the organizer hangs as designed. Do not add contents to compensate for a tilted or loose fit.
Move the door slowly through its normal range while watching the frame and surrounding objects. Confirm that the latch engages without pushing harder than usual. Stop if you hear scraping, feel new resistance, or see the door shift. Remove the organizer and resolve the mismatch rather than repeatedly closing against it.
Check access to the handle, lock, and any closer or seal. The installation should leave the door functioning normally. Photograph the contact points if you need to ask the seller or owner about a problem. A short description of where it catches is more useful than a general statement that the hooks are too big.
Load gradually and keep the function in view
Add the intended contents within the stated load limit, distributing them as the instructions require. A pocket organizer for lightweight accessories may not be suitable for heavy bottles or tools. The total load and how it hangs can change the movement of the fabric and hooks.
Repeat the swing and latch check with the actual load. Watch for pockets bulging into the handle area, the bottom swaying into a wall, or hooks shifting. A stable empty installation has not yet passed the loaded-use test. Keep hard or breakable items out of positions where normal door movement can strike them.
Consider the user's reach. Frequently needed items should be accessible without climbing on furniture or pulling hard on the organizer. If reaching a top pocket pulls the hooks sideways, choose another location for that item. Storage should be easy to use without making the door an improvised support for body weight.
Example: a thick hook in a narrow gap
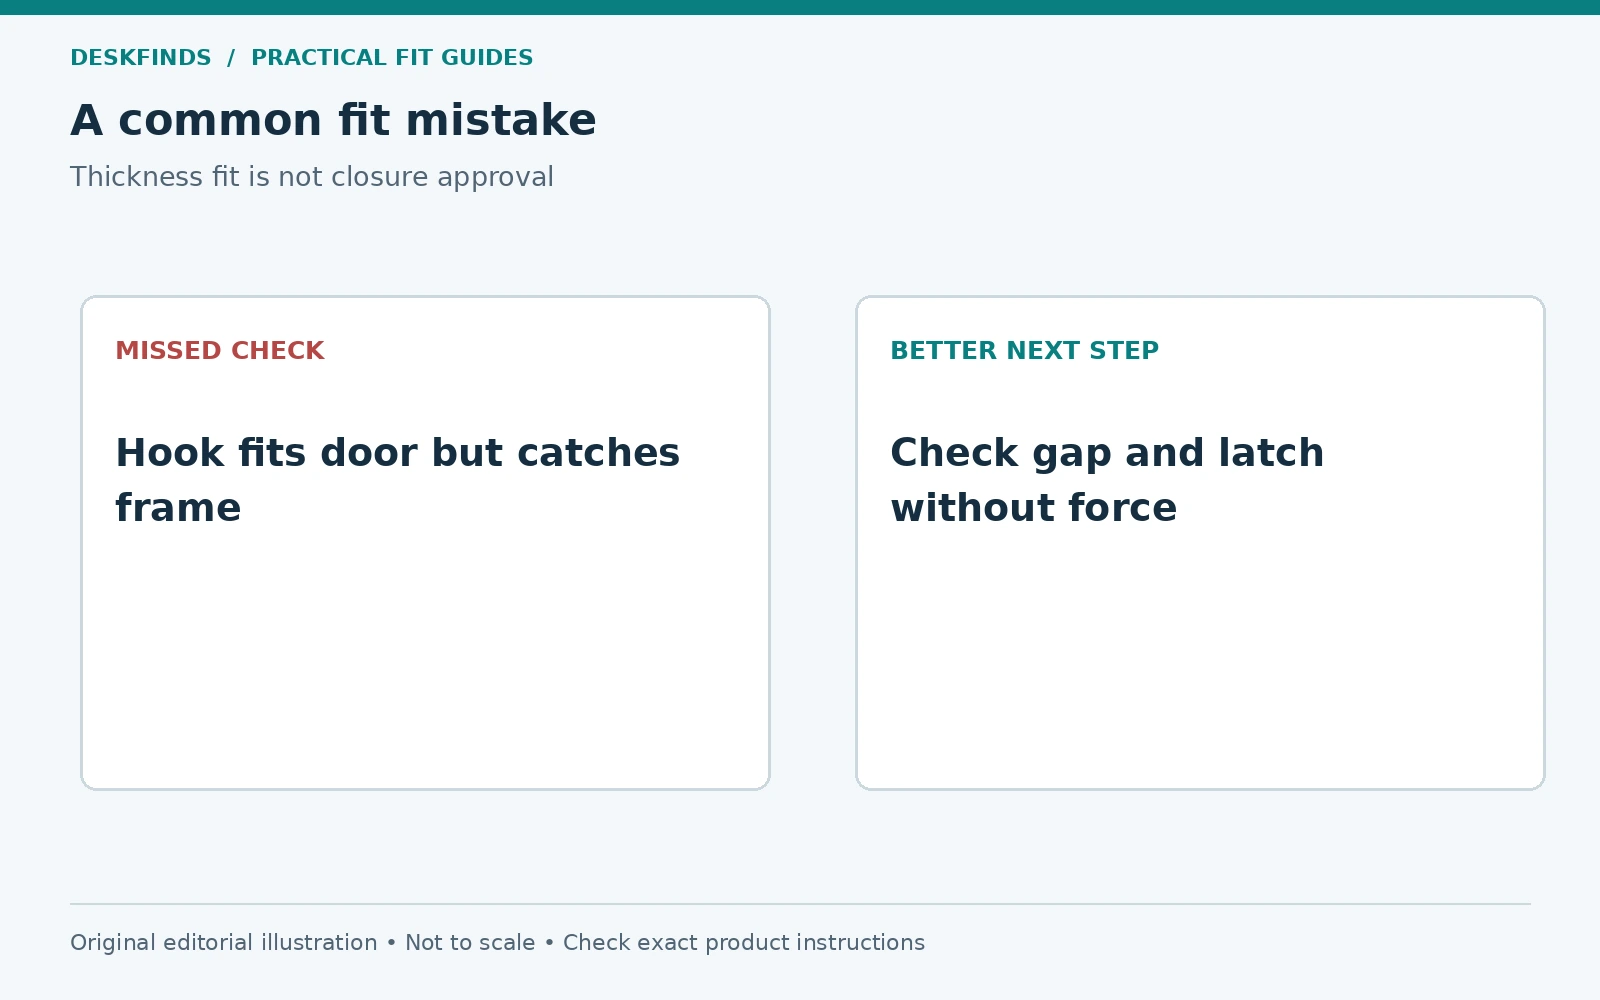
A buyer has a door whose thickness matches the organizer's stated hook size. The top gap, however, is small, and the complete padded bracket does not clear the frame during closure. The door stops just before the latch engages. Pushing harder would not turn the installation into a compatible one.
The buyer removes the organizer and asks for the hook thickness and any approved alternative bracket. If no compatible option exists, a freestanding or wall-approved storage solution is the next comparison. The door is not shaved, the pad is not discarded against the instructions, and the frame is not modified.
This case shows why door thickness and frame gap must remain separate checklist items. One can pass while the other fails. A product advertised for standard doors may still be unsuitable for the specific combination of door, frame, finish, and room rules.
Example: closure works, but the swing does not
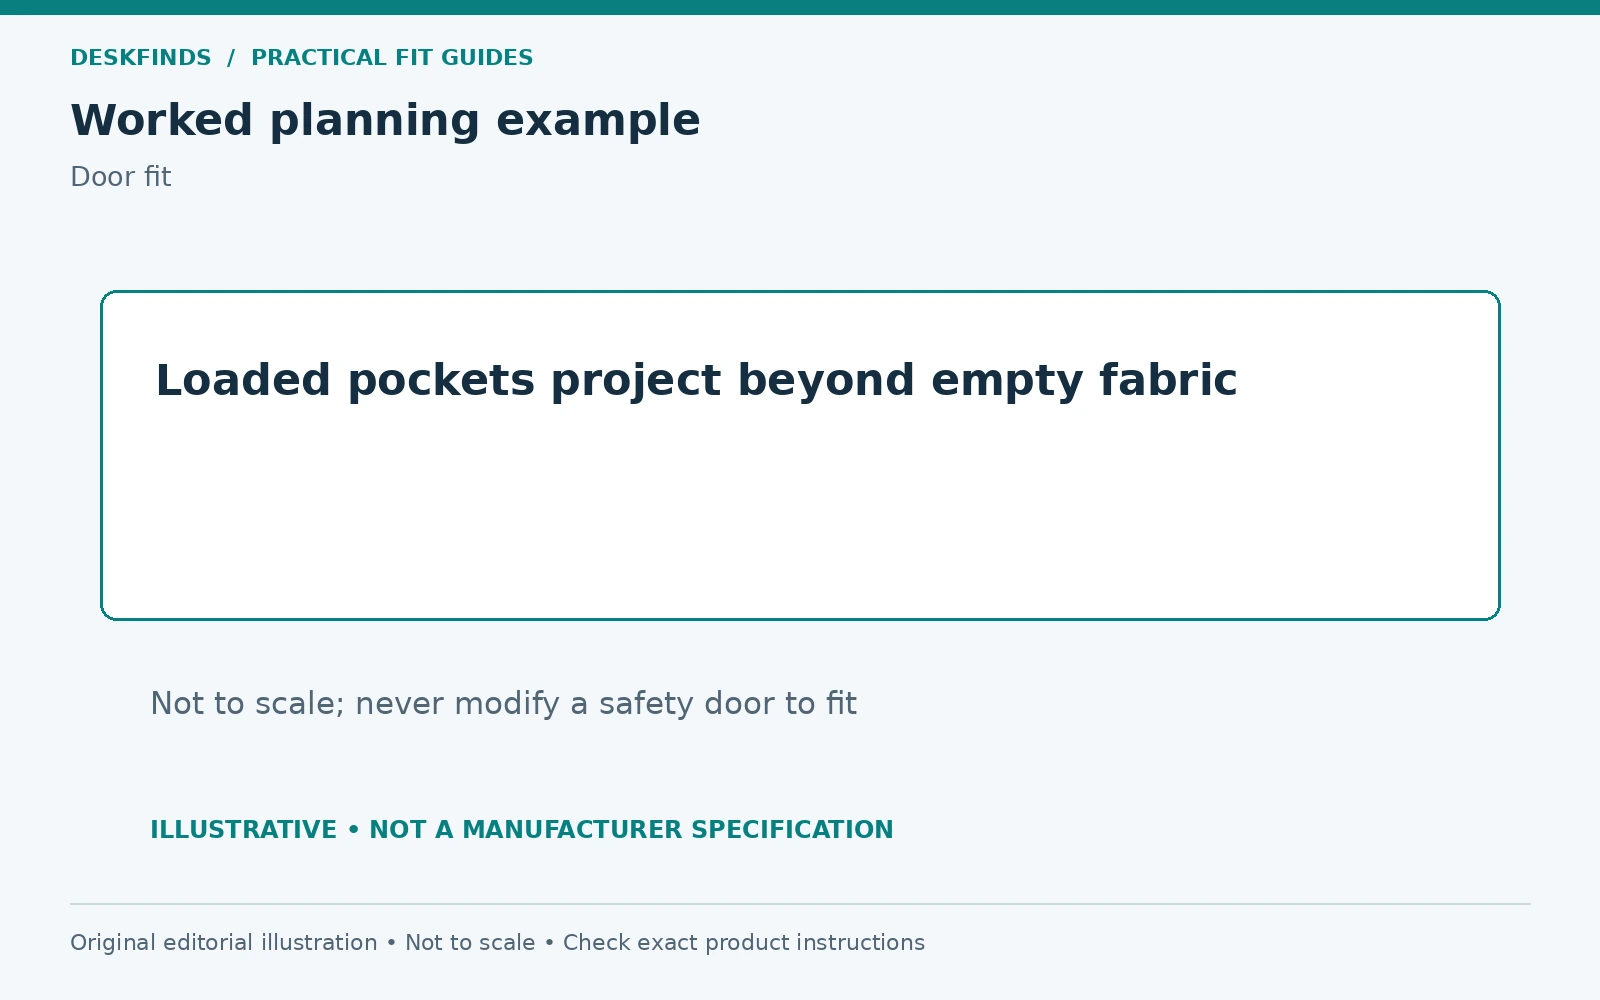
Another organizer closes normally and hangs securely. Once loaded with shoes, its pockets extend far enough to hit a wardrobe when the door opens. The user can no longer open the door to its usual position, and the shoe toes scrape the wardrobe finish.
Moving the heaviest shoes to another location reduces the projection, but the remaining organizer still needs to be checked with ordinary door use. If the room relies on the full opening, a shallower product or another storage location is necessary. A doorstop is not automatically an acceptable workaround, especially if it changes a safety function.
A full-size cardboard profile of the loaded depth would have revealed the problem before purchase. This is a useful planning method for pantry and bathroom organizers too, where bottles and containers can project much farther than flat accessories.
Compare alternatives without repeating the same problem
An over-cabinet organizer has its own door-thickness, hinge, seal, and internal-clearance checks. It is not simply a smaller version that fits everywhere. A wall-mounted organizer requires an approved attachment method and surface. A freestanding unit consumes floor space but avoids loading the door.
If adhesive storage is being considered, follow the exact product's surface, load, cleaning, curing, and removal requirements. Do not assume all strips work on textured paint, wallpaper, or damp surfaces. Our no-drill dorm desk guide explains how to evaluate reversible methods without promising zero risk of marks.
For small rooms, compare whether the items could be stored under the bed, in a drawer, or on a narrow cart. Our small-room storage guide can help organize those choices. The best location may be less visually obvious but more accessible and less intrusive to daily movement.
Inspect the installation after normal use
Check for shifted hooks, rubbing marks, loose seams, and changes in how the door closes. Review the load when contents change; replacing lightweight accessories with heavy bottles changes the use case. Remove the organizer if it begins to interfere with the door or shows damage.
Keep the top edge and frame clean using methods suitable for the finish. Do not apply oils or lubricants to solve bracket friction. If the door itself needs adjustment, use the proper maintenance route rather than treating storage hardware as part of the repair. The organizer should adapt to the door, not the other way around.
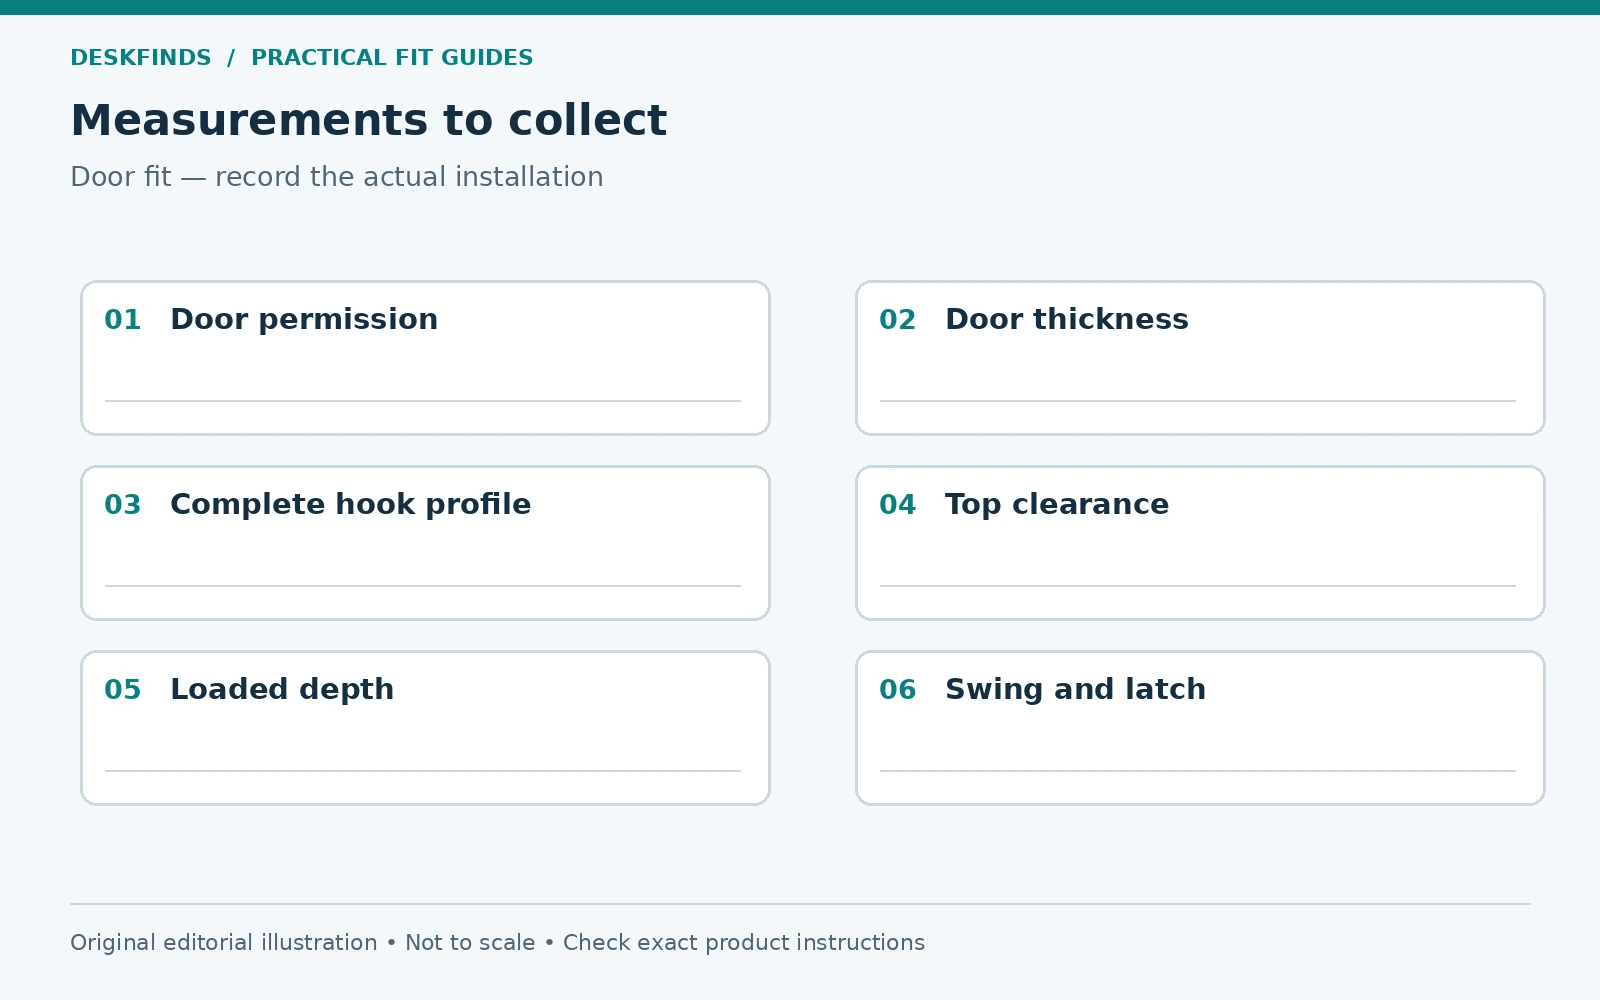
Before ordering, save the door thickness, top-gap observations, permitted hook dimensions, loaded depth, hanging length, and swing obstacles. Ask the seller to confirm any missing measurement. A product that fits those conditions can be useful storage; one that prevents normal closure is the wrong product for that door.
Ask the manufacturer about the actual bracket
Request a drawing or measurements for the hook that will ship with the organizer. Ask for the internal door-thickness range, metal or plastic thickness over the top edge, and any padding included. A listing's overall organizer dimensions may not describe these decisive mounting details. State the product version if several hook styles exist.
Explain whether the door opens toward or away from the loaded side and identify nearby trim. A side-view photograph can help, provided it does not expose private room details. Ask whether the proposed installation follows the instructions, rather than asking for a general assurance that the product fits most doors.
If a seller suggests bending the bracket or removing a pad, confirm that advice against the manufacturer's instructions. Do not treat an informal workaround as a new approved configuration. A compatible alternative product is preferable to modifying the part that supports the entire load.
Evaluate contents by depth and movement
Group the intended contents by shape. Flat accessories create a different loaded profile from shoes, bottles, or bulky cleaning tools. Place paper outlines or lightweight mock objects in the proposed hanging zone to estimate projection. Keep the full depth visible when tracing the door's swing.
Consider what happens if the door stops suddenly or is opened more quickly than usual. Items should remain contained as the product intends, and hard objects should not strike surrounding surfaces. Follow the organizer's load-distribution instructions and avoid placing fragile items where normal movement could dislodge them.
Frequently used items should be reachable without tugging the organizer sideways. If the user has to pull the whole unit forward to reach a pocket, the selected height or location may be unsuitable. A lower freestanding storage option can be more practical than using every available inch of door height.
Keep normal closure as the ongoing acceptance test
After installation, use the door normally and check whether the latch still engages without extra force. Reassess when the contents change, because a heavier or deeper load can alter how the organizer hangs. New rubbing, hook movement, or resistance should prompt removal and investigation.
Do not normalize a door that needs a shove to close. That change is evidence that the storage and door are not working together as intended. It can also make users leave the door partly open, which may conflict with the room's requirements. The organizer is optional; normal door function is the condition it must preserve.
For a specific product example, Umbra's Estique organizer provides manufacturer information about its mounting role and dimensions. Use the exact current instructions rather than transferring its fit claims to another organizer. Even a documented door-thickness limit does not establish the top-gap clearance or swing space in your room.
Save the fit record for future changes
Keep the hook dimensions and loaded outline with the organizer instructions. When the contents change, compare the new projection with the original swing map rather than assuming the empty-product dimensions still apply. A deeper bottle or a larger pair of shoes can introduce contact that was absent before. Check the door after room furniture moves as well. The organizer may be unchanged while a new cabinet occupies its path. A quick closure and swing check preserves the reason for measuring in the first place: normal access without scraping, forcing, or modifying the door.
Sources and scope
- Command product FAQs - surface and installation conditions for adhesive alternatives, not approval for over-door hooks.
- Door manufacturer instructions and building or housing rules - obtain the documents for the actual installation; no universal door approval is implied.
The clearance worksheet and cases are original planning guidance. This article does not authorize modification of a door, frame, seal or safety device.