
How to Position a Ring Light When You Wear Glasses at a Small Desk
Affiliate Disclosure: We may earn a small commission on qualifying Amazon purchases at no extra cost to you. Full disclosure →
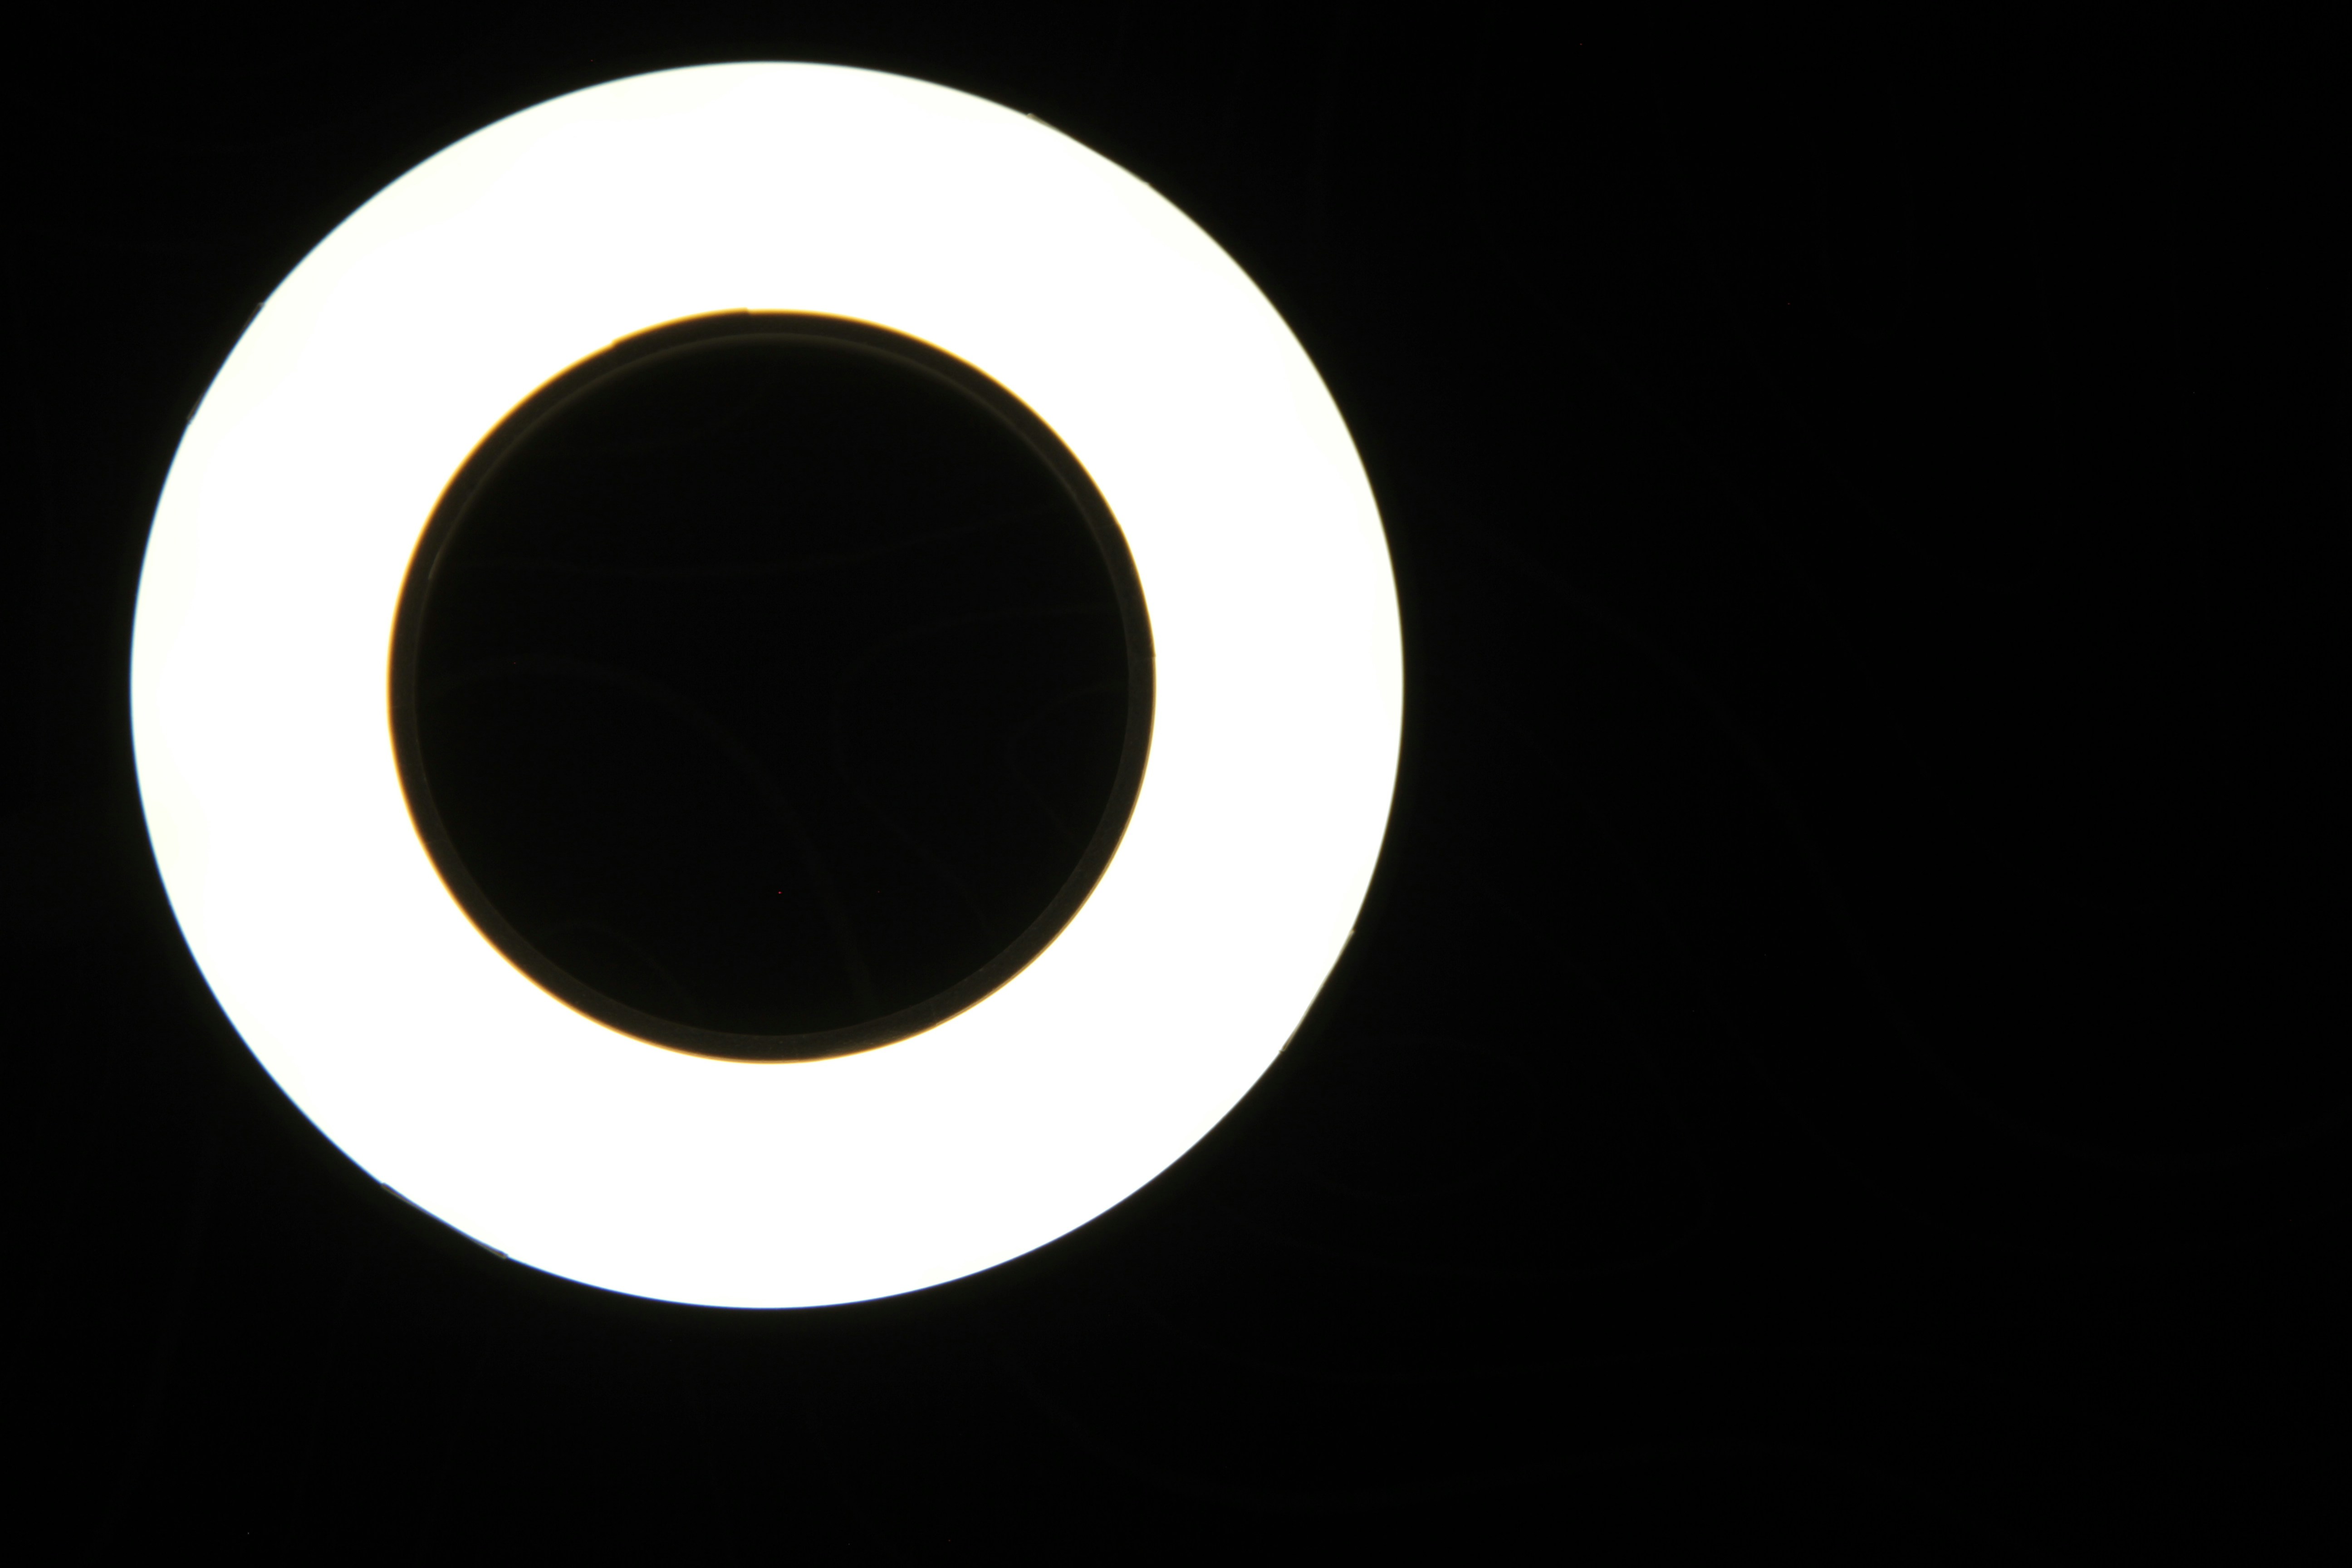
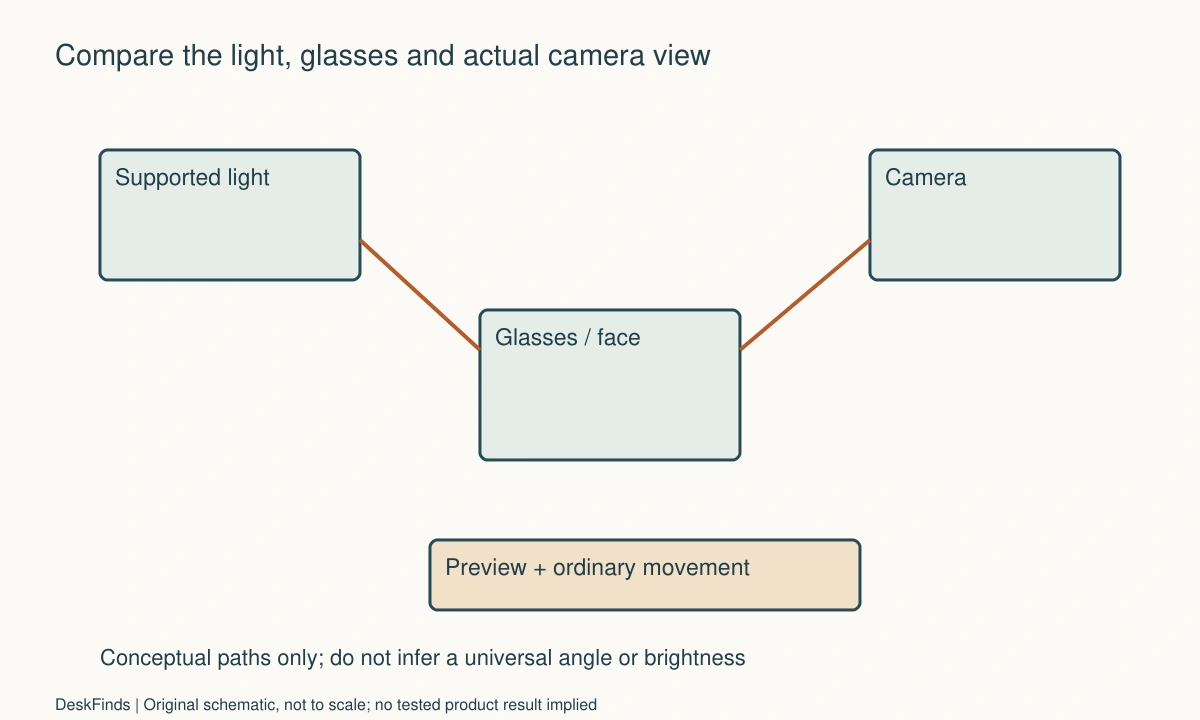
A ring reflected in glasses is a geometry problem as well as a brightness problem. Turning the light down may reduce the reflection but also change how the face appears on camera. On a small desk, the useful solution must preserve a supported mount, readable screen, ordinary head movement, and a camera position you can actually use.
Quick answer: Establish the camera framing and normal seated position, then compare one supported light position at a time using the real application preview. Adjust permitted height, side offset, and aim before assuming maximum brightness is needed. Check ordinary head movement and other room reflections. Do not cover a light with improvised material or remove necessary glasses merely to make a test image look cleaner.
Begin with the camera and the task
Put the camera in its intended supported position and open the application used for calls. Set a normal seated position and representative screen content. A preview from another application can have a different crop or exposure behavior, so keep the actual call environment in the comparison where possible.
Decide what matters: visible eyes, readable facial expression, an acceptable background, and access to the screen. Avoid making a perfectly still pose the only successful state. You should be able to look at the screen, glance at notes, and move naturally within the task.
The ring light and key light comparison explains category differences. This guide addresses placement with glasses; it does not assume a ring light is the best shape for every face, lens, room, or desk.
Identify all visible reflections
Check the glasses with the ring light off, then on in a documented ordinary setting. A window, monitor, ceiling lamp, or bright background can also appear in the lenses. If several sources are changed together, you may attribute an improvement to the wrong one.
Use a harmless screen and keep confidential material out of screenshots or recordings. Note whether the reflection covers the eyes, sits near a lens edge, or changes when the head turns. Those observations are more useful than describing all glare as one undifferentiated problem.
Do not assume lens coatings eliminate every reflection. The goal is a practical camera image with the glasses you need, not a universal claim about optical products. If a visual issue affects ordinary use beyond camera appearance, seek appropriate professional guidance rather than treating a light accessory as a remedy.
Compare supported height and side offset
Change one position variable at a time while staying within the mount and light instructions. A different height or lateral position can change the reflection seen by the camera, but it also changes shadows, reach, and the space around the monitor. Check the whole image after each change.
A model such as Elgato’s Ring Light illustrates independent camera and light adjustment in a documented mounting system. That is a hardware example, not a promise that its marketing language about glare applies to every pair of glasses. Use the exact light’s supported range and attachment method.
Do not extend a pole beyond its limit or balance a base on books to reach a preferred angle. If the supported geometry cannot fit the desk, compare another suitable light or location. An attractive test frame does not justify an unsupported installation.
Check brightness and exposure together
Start with a supported usable setting and compare the face, lenses, and background. More light is not automatically a better image. The camera or application may change exposure, and a brighter face can leave other parts of the frame looking different.
Keep automatic or manual settings consistent during the first physical comparison. If you later change exposure or another supported control, record that as a separate configuration. Do not assign a universal brightness percentage or color temperature to all rooms based on one setup.
The desk lamp placement guide covers a related paper-and-screen task. A ring light intended for the camera and a task lamp for reading can have different jobs. One should not be forced to do both if that creates reflections or leaves the work surface unsuitable.
Preserve the monitor and note area
Outline the light’s head, mount, cable exits, and control access. The ring may fit behind a screen while the support conflicts with a monitor arm or wall. Include any independent camera mount and the movement needed to use it.
Keep the screen readable in the chosen position. A light placed to improve the glasses reflection can still shine into the screen or occupy the space used by notes. Give displaced items a suitable destination rather than hiding them behind the light or balancing them on its base.
For paper shown during a call, the document-camera desk guide covers a separate capture state. Switching between face lighting and paper lighting may require a deliberate supported adjustment, not one permanent position assumed to serve every view.
Include normal movement and glasses changes
Check ordinary head turns, looking down at notes, and returning to the screen. A reflection that disappears only at one exact angle may be impractical for a real conversation. Keep your normal supported seating arrangement rather than holding an awkward pose to satisfy the camera.
If more than one person uses the desk, evaluate each person’s ordinary position and glasses separately. A height that works for one user can produce a different reflection for another. Agree on a simple documented adjustment and reset rather than assuming one fixed setting is universal.
Clean lenses and the camera only through their appropriate care methods if needed. Do not apply an improvised coating or alter eyewear to improve the preview. Keep equipment care separate from the light-position comparison so the observation remains understandable.
Worked example: dimming alone weakened the image
Imagine a hypothetical worker whose ring light creates a visible circle across the glasses. The first response is to reduce brightness substantially. The reflection becomes less conspicuous, but the face is now poorly exposed in the actual meeting application.
The worker restores a useful supported setting and compares height and side position individually. The mount’s permitted range, monitor access, and wall clearance are included. The camera remains in its normal supported position for each first comparison, so the worker can see what the light movement changes.
Ordinary speech and head movement are then checked. A position that works only while looking directly into the lens is not accepted if the worker spends most of the call reading the screen. If no supported ring position gives a practical result, another suitable lighting format is compared rather than continuing to dim the face indefinitely.
The hypothetical outcome is an arrangement that balances the whole camera image and desk use. It does not claim a measured glare reduction or recommend a specific light setting for every user. The useful sequence is identify the source, compare supported geometry, then assess brightness and exposure.

A second scenario: the window was the remaining reflection
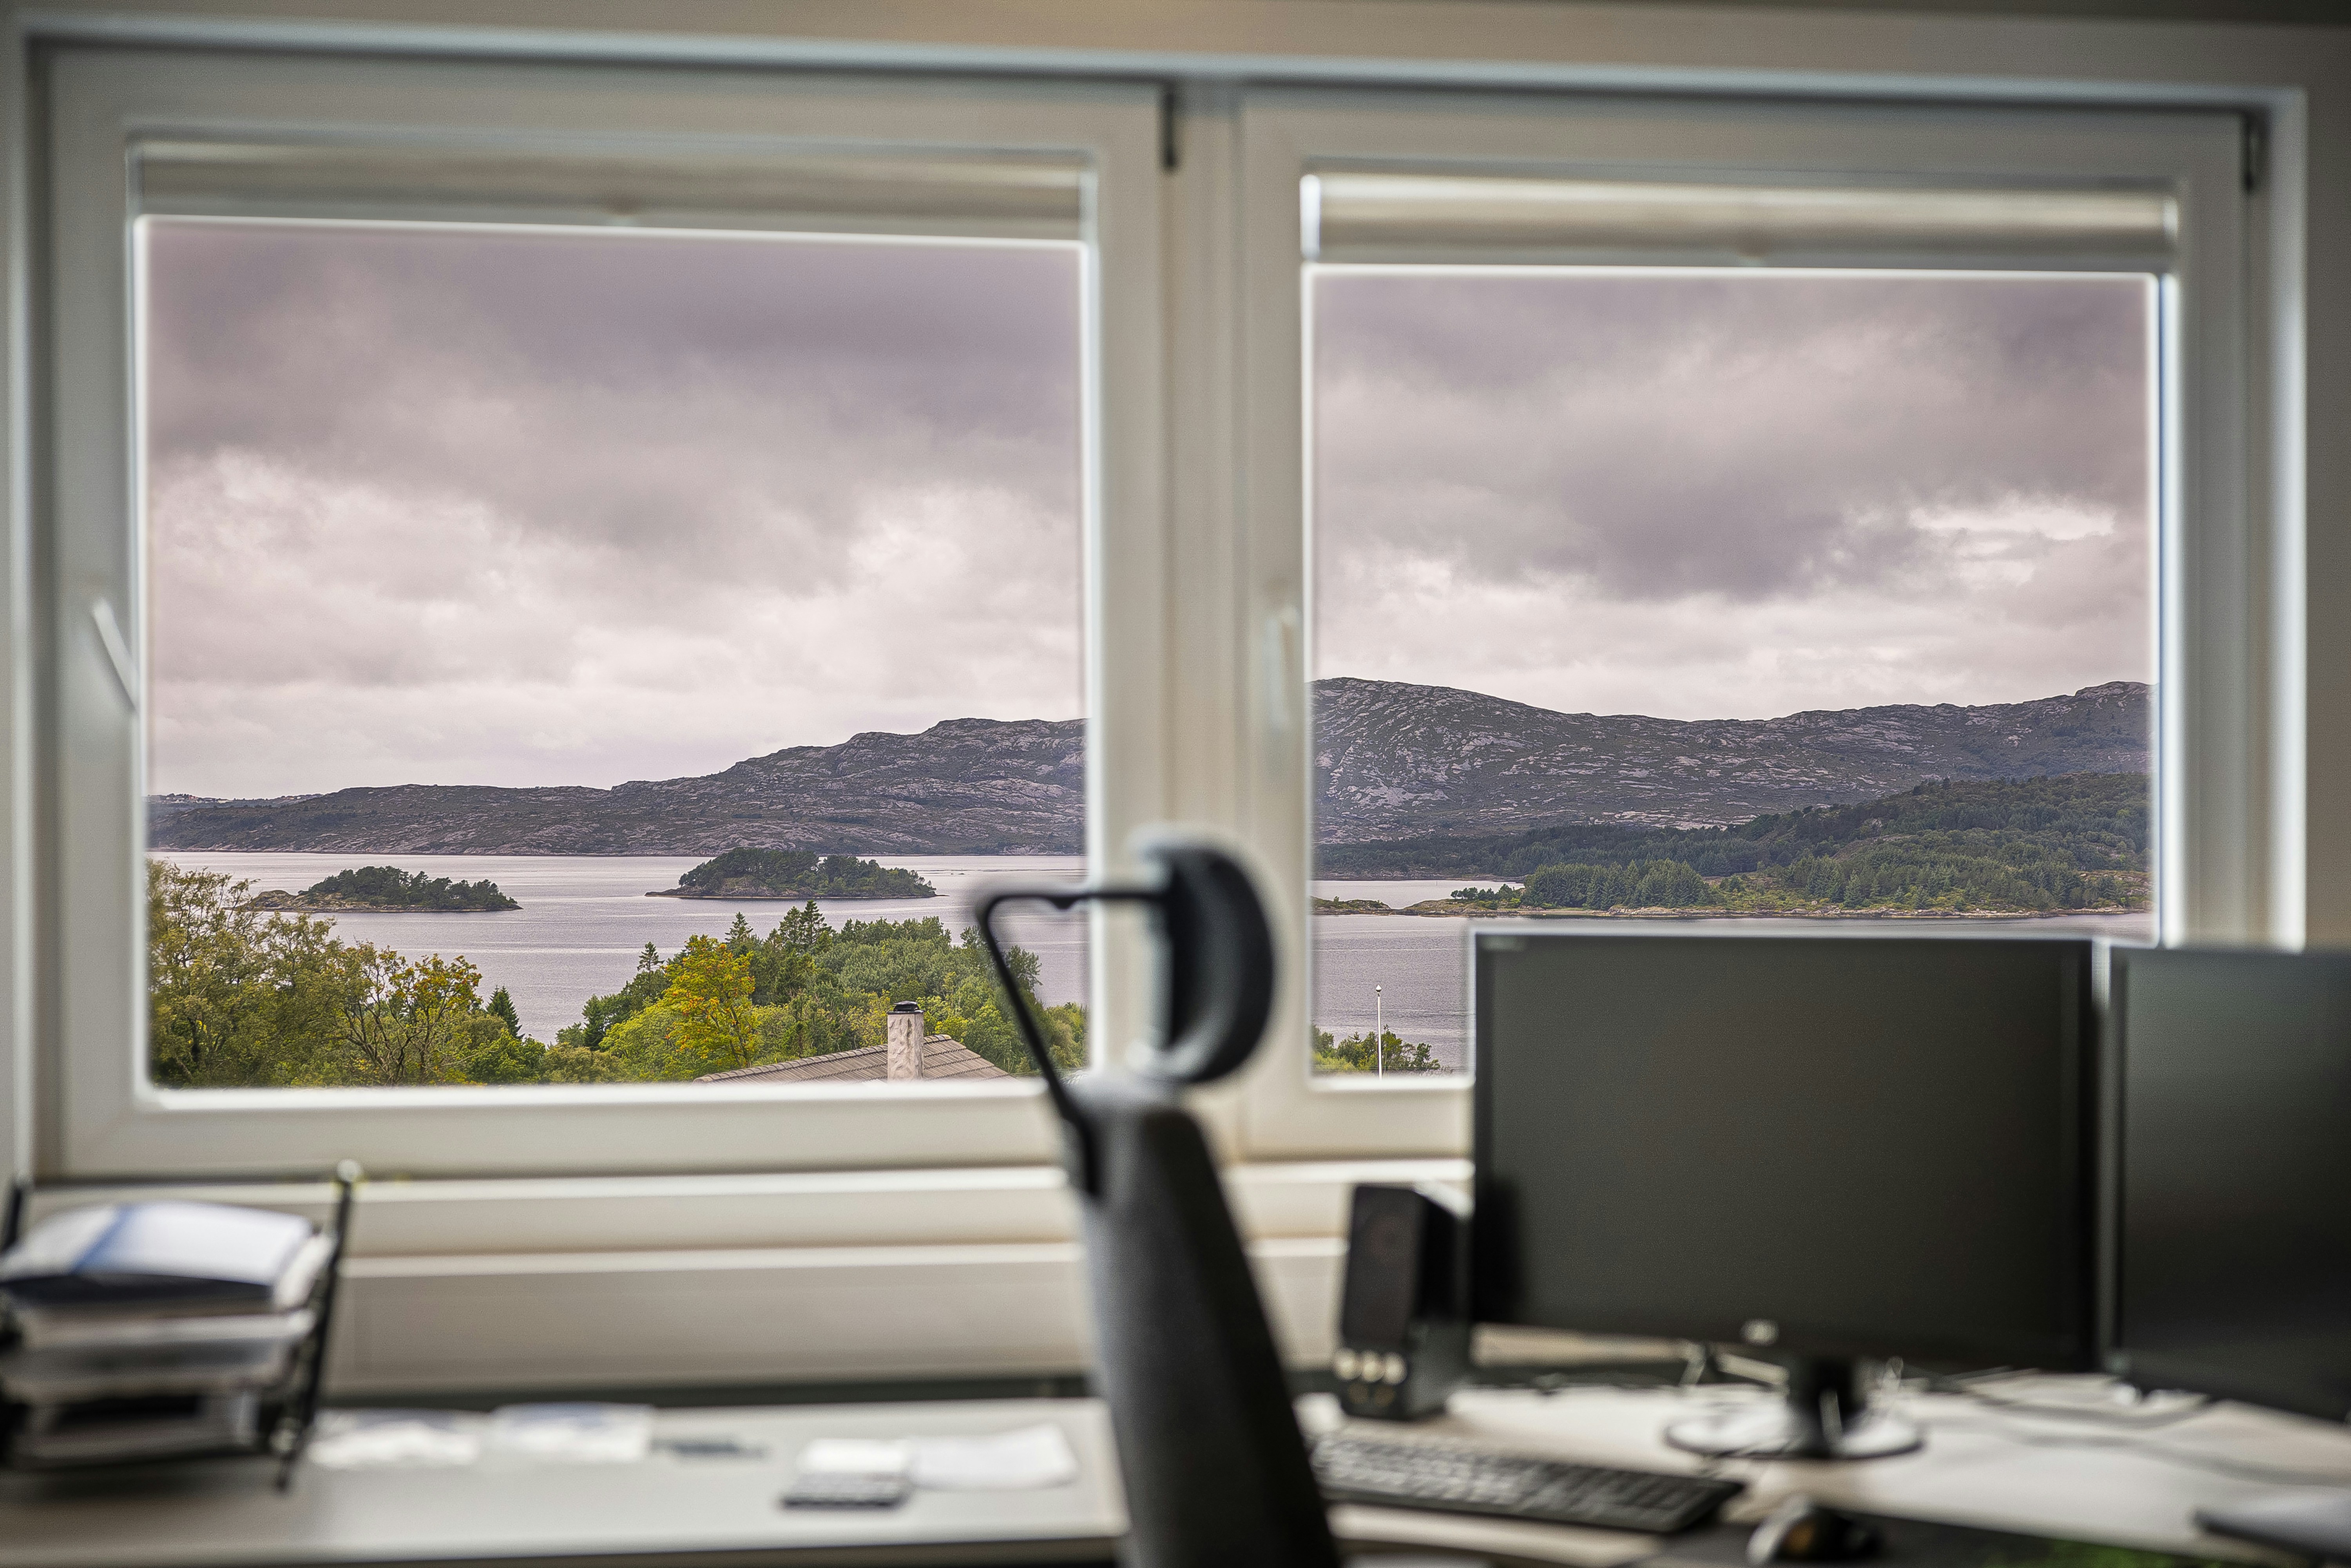
Consider a hypothetical user who moves the ring light and still sees a bright patch in the glasses. The user initially concludes that the light is unsuitable. A comparison with the light off shows that another reflection remains from a window or screen.
The user treats that source separately. A permitted change in desk orientation, ordinary room-light control, or supported camera framing may be compared. The light is not moved into an unsafe position to compensate for a different source, and a window covering is used only through its intended arrangement.
The real application preview is checked with ordinary screen content and head movement. If the monitor itself contributes, the user records that relationship rather than assuming a different ring diameter will solve it. The goal remains a practical call image, not a perfectly reflection-free lens under every possible movement.
The final hypothetical record names the camera, light position, room state, and relevant settings. That makes the arrangement recoverable after the desk is cleared. It also prevents a later change in daylight from being mistaken for a sudden hardware fault. No claim is made about the performance of a particular lens coating or camera sensor.
Compare a different light without starting over
Keep the same camera, application, and task when comparing another suitable light category. Outline its base or clamp, head, power supply, and supported positions. A smaller light can be easier to place but is not automatically better for reflections, while a larger source needs its own footprint and control check.
Include whether you can reach controls without leaving the call position. App control may be useful where supported, but it brings connection and software requirements. A physical button can be simpler in another routine. Choose around actual use rather than a feature list detached from the desk.
Retain the supported arrangement and return options while assessing the delivered product. Avoid improvised diffusion, covering, or mounting modifications. If the geometry is unsuitable, a different documented product or layout is a more useful answer than making a successful photograph depend on an unsupported setup.
Six checks for the final call arrangement
Reflection source
Compare the ordinary preview with each relevant light state while keeping other variables consistent. Distinguish the ring, window, monitor, and room lighting. A remaining bright patch is not proof that the ring-light adjustment failed if another source creates it. Record the source and visible effect before choosing another purchase.
Supported mounting
Check the complete head and support within the product’s permitted range. Include wall, monitor arm, and camera clearance. Do not extend, weight, or prop a mount outside instructions to reach a preferred angle. The camera image is only one acceptance point; the equipment must also be installed and operated through its documented method.
Ordinary movement
Look at the screen, glance at notes, speak, and return to the normal position. Judge whether the image remains useful through that routine. Do not define success around a rigid pose that would be difficult to maintain during a real call. If the desk is shared, repeat the relevant check for each user’s normal position.
Image balance
Check face exposure, glasses reflections, shadows, and background together. Keep settings consistent during a physical comparison, then evaluate supported software adjustments separately. A universal brightness number is less useful than a recorded configuration for the actual room and application. A cleaner lens reflection should not come at the cost of an unusable face image.
Desk access
Confirm readable screen placement, reachable controls, and a suitable note area. Include cable and power-supply routing. A light that solves one reflection can still block a monitor control or force papers into the mouse area. Compare the completed work state rather than the empty desk around a static camera portrait.
Repeatable reset
Keep a short private record of light and camera positions and relevant settings. Restore the supported arrangement after cleaning, travel, or another user’s session. Recheck when daylight or screen use changes. The useful result is a practical, recoverable setup for real calls, not a claim that one light position eliminates every reflection in every condition.
A simple position grid for a controlled comparison
Make a private planning sketch with the camera at its intended point and the light’s permitted candidate positions labeled A, B, and C. A might be the original central position, while B and C represent supported height or side changes available on the actual mount. These labels describe options, not a recommendation for a fixed angle or distance.
Keep the normal chair position and application settings unchanged during the first comparison. At each candidate, look at the screen, glance at notes, and speak normally. Note which part of the glasses shows a reflection and whether the face remains useful in the complete frame. Do not select a position solely because one still image hides the ring.
Then compare supported brightness or exposure changes separately if needed. A record that says B with one documented setting is clearer than remembering that the light was somewhere higher and dimmer. The point is to make the next session reproducible, not to create a universal lighting formula.
Decide whether the light shape is the real constraint
A ring can provide a particular catchlight and mounting format, but the desk may not allow enough supported movement to place its reflection acceptably. Another suitable light geometry may offer a different placement option. Compare it in the same camera task rather than assuming either category is inherently glare-free.
Include its base or clamp, power supply, controls, and permitted head movement. A panel that seems smaller from the front can need more practical depth or a different support. The completed layout remains the unit of comparison, including screen access and notes.
If only a window reflection remains, changing the ring shape may not address the primary source. If the ring is the dominant issue but another supported location works, a new purchase may be unnecessary. Use the source comparison to choose the next step instead of buying accessories in sequence without knowing what each should change.
Check a shared desk without chasing one perfect setting
Suppose two hypothetical users sit at different ordinary heights and wear different glasses. One setting may work for one person and create a reflection for the other. Record the documented adjustment needed for each and check whether it is simple enough for the handover routine.
Do not move the camera, light, monitor, and chair all at once for every user. Start from the supported positions needed by each task and identify which adjustment actually changes the image. A short position note can reduce repeated trial and error without implying that the equipment has an automatic user-specific feature.
If the required adjustment is beyond the mount’s range or makes the desk impractical, compare another supported lighting arrangement. The users should not need to hold a rigid pose or remove necessary glasses to satisfy a shared setup.
Interpret marketing claims within their scope
A manufacturer may describe diffusion, adjustability, or a particular lighting architecture. Those are not a guarantee that every lens, room, and camera angle will be reflection-free. Keep the product’s documented controls separate from the result you observe in your own preview.
Likewise, avoid turning an acceptable face image into a claim about eye comfort, skin appearance, or health. The article’s practical criterion is that the required expression and eyes remain visible during ordinary supported use. If a lighting preference is shared with another person, state the configuration and task rather than presenting it as the correct setting for all callers.
Sources and scope
- Elgato Ring Light design documentation - Documented adjustment example. The current page identifies this product as discontinued; it is not a current buying recommendation or a glare-free guarantee.
Editorial note: This is a research-based planning guide, not a hands-on product review. All worked scenarios are hypothetical. Measurements and compatibility must be confirmed for the exact equipment. Photography supplies context, not proof of a tested arrangement.
Photos are illustrative and come from free-license libraries such as Unsplash; diagrams are original to DeskFinds.