
How to Measure Under-Bed Storage Clearance Correctly
Affiliate Disclosure: We may earn a small commission on qualifying Amazon purchases at no extra cost to you. Full disclosure →
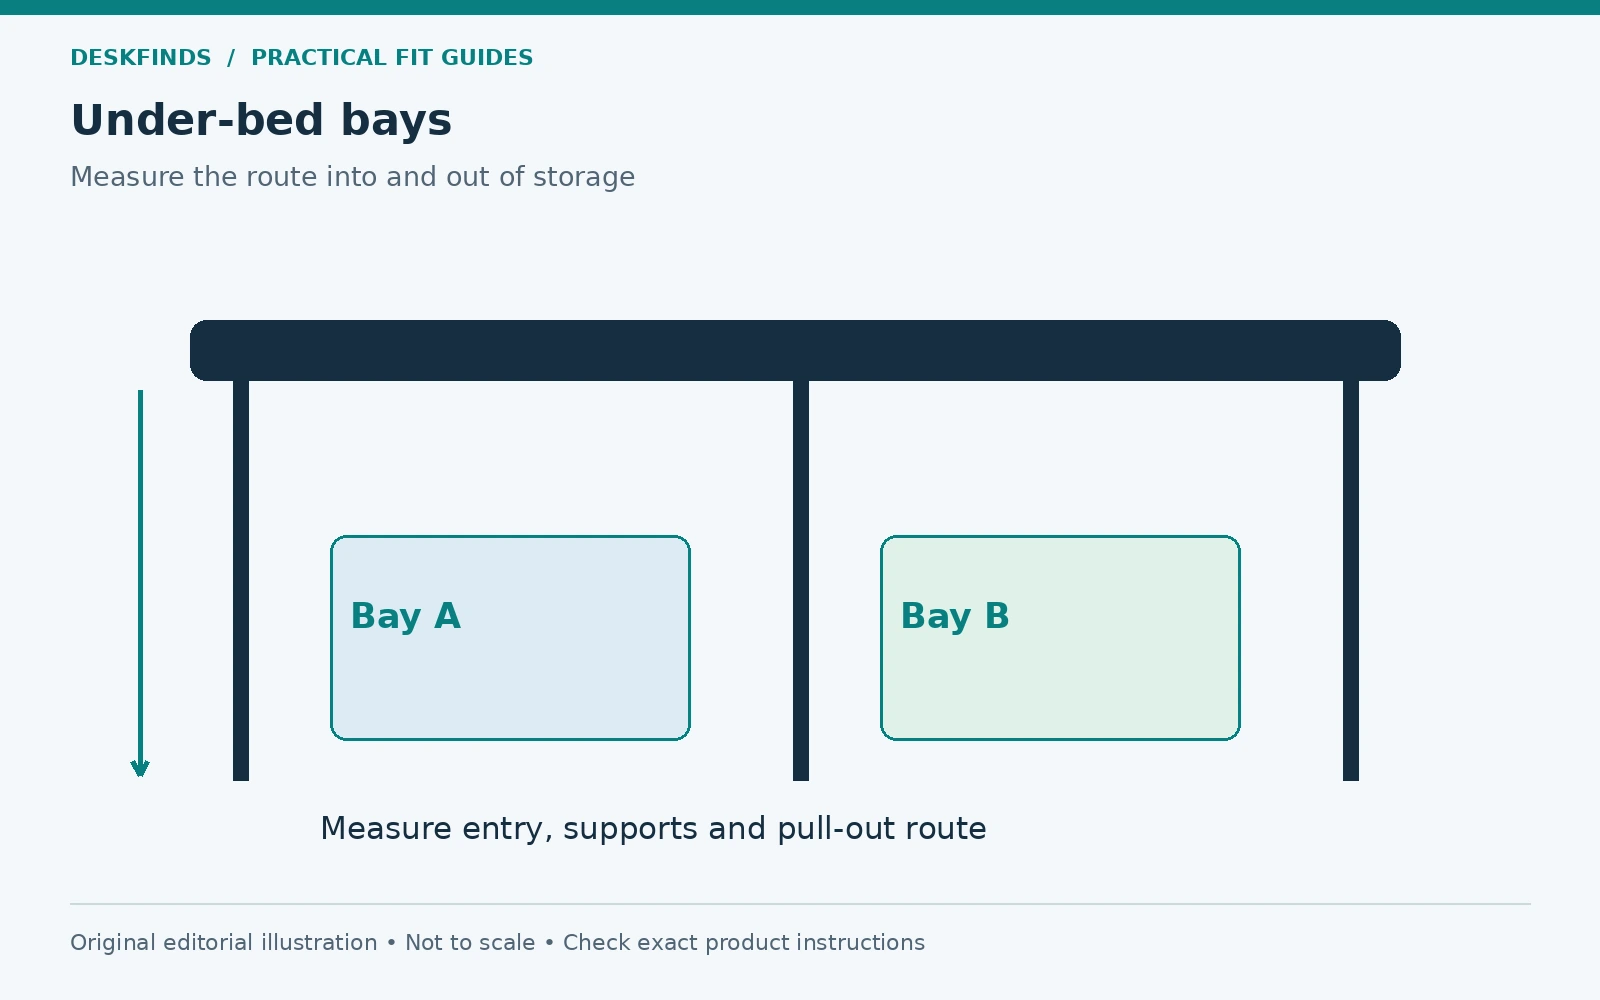
The empty space beneath a bed is not one simple rectangular compartment. Side rails, center supports, slats, carpet, and the route into the room can all limit what fits. A storage box that is shorter than the bed's advertised clearance may still stop at the first rail or become impossible to pull out beside a nightstand.
Quick answer: Measure the lowest opening along the entry route, the usable floor area between supports, and the space needed to pull out and open the container. Compare those measurements with the container's complete external dimensions, including lid, handles, wheels, and a realistic loaded shape. Do not choose by storage volume alone.
This guide helps you make a fit map before buying. For product types, see our under-bed storage guide. All sample measurements below are hypothetical examples, not standard bed or container sizes.
Choose the access side first
Decide where you will reach the storage from. A bed against a wall may offer access from only one side and the foot. A nightstand, desk, or wardrobe can block part of an otherwise open side. Draw the bed and surrounding furniture before measuring containers; the best storage zone is the one you can actually reach.
Consider how often you need the contents. Seasonal bedding can go farther under the bed than daily shoes or exercise equipment. If retrieval requires moving a chair and a nightstand every time, it is not practical everyday storage. Divide the available area into frequent-access and occasional-access zones.
Do not assume you can move the bed to gain access once it is loaded. Some frames are heavy, awkward, or unsuitable to drag. Plan a route that works with the furniture in its normal position. A slightly smaller container with a clear path is often more useful than a large box that fills the whole theoretical space.
Measure the lowest entry opening
Measure from the floor surface to the lowest part of the frame along the route the container must pass. Check several points, including brackets, side rails, and any sagging fabric cover. The visible gap near a corner may be higher than the opening farther along the side.
If the room has carpet, measure from the actual carpet surface and recognize that loaded wheels or feet may behave differently from an empty box. Do not count on compressing the carpet or forcing a soft lid against the frame. Leave enough practical clearance for insertion without rubbing, using the product and bed instructions where applicable.
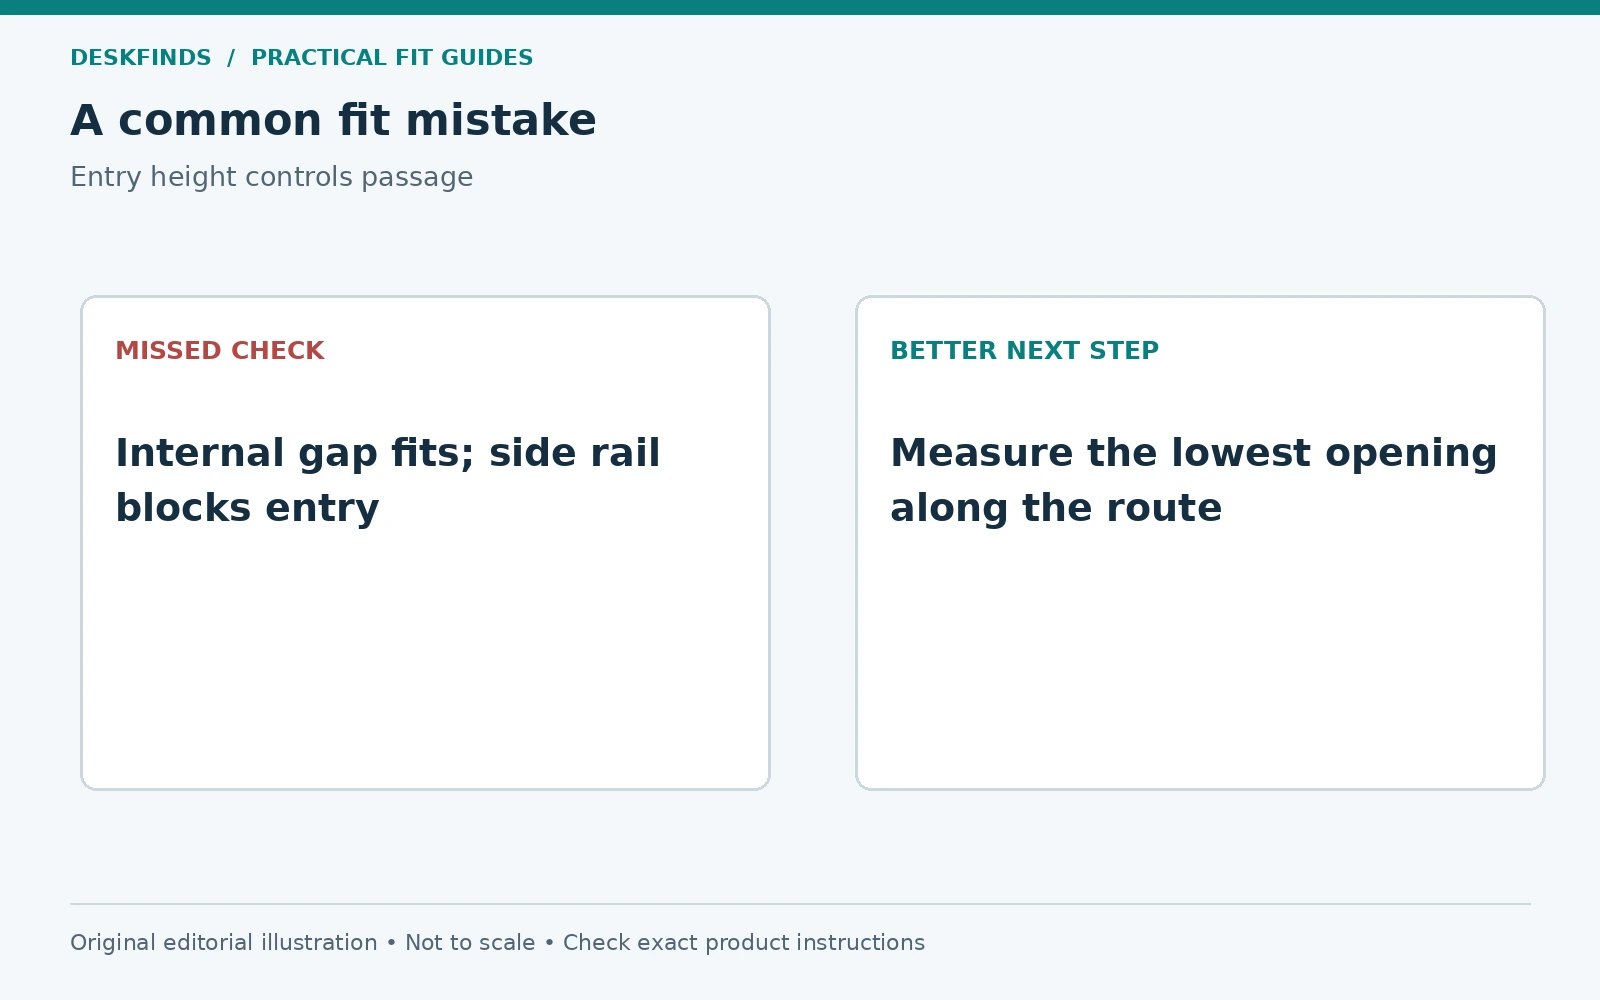
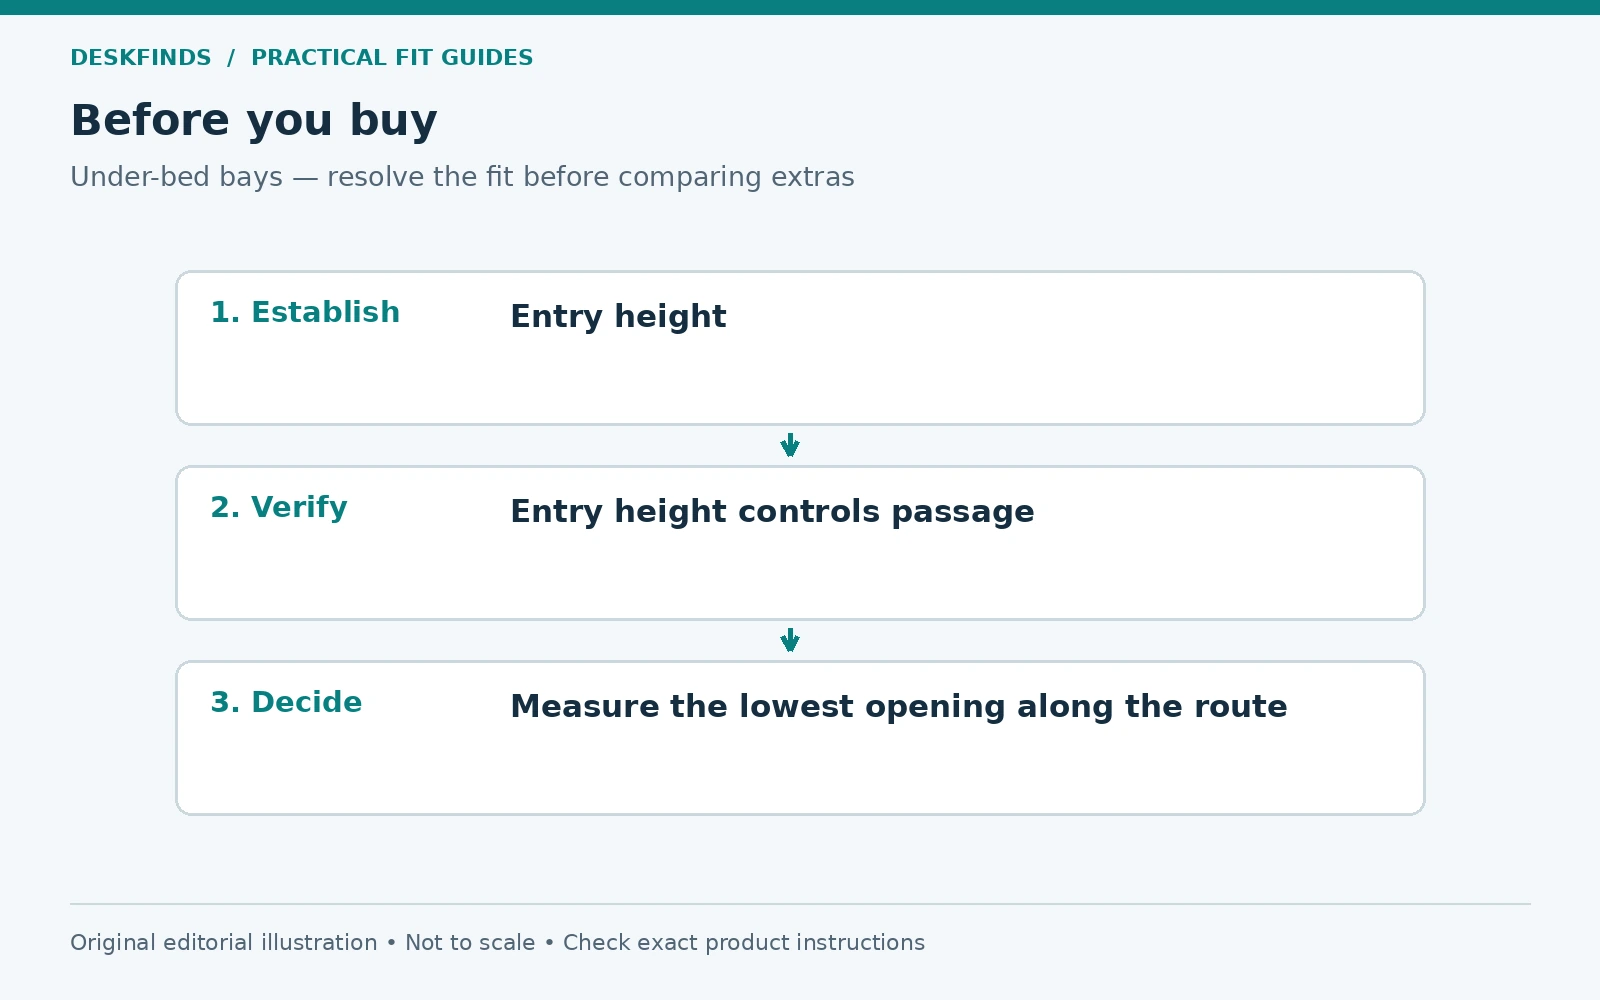
Record the minimum measured opening rather than averaging the figures. The lowest obstacle controls passage. A container can fit once beyond the rail yet be unable to pass through the entrance. This is why a measurement taken at the center under the mattress can be misleading when the side rail is lower.
Map the supports and usable floor area
Look beneath the bed with a light and identify center legs, crossbars, diagonal braces, and other supports. Do not remove a support to make storage fit. Those components belong to the bed's structure, and changing them can affect its intended use. Refer to the assembly instructions if you are unsure what a part does.
Measure each usable bay separately. A center rail can divide the space into two narrow lanes; a leg can interrupt the path halfway in. Record the width and depth available in each lane, including the route needed to turn or slide a container. A large total floor area does not guarantee one large box will fit.
Mark any cables, heating outlets, or other room features that need to remain clear. Under-bed storage should not cover a floor vent or create a hidden cable pinch point. Keep the installation and room requirements in mind instead of treating every square inch as a storage opportunity.
Compare complete external dimensions
A container's volume describes capacity, not fit. Find its overall length, width, and height, including the lid and protruding parts. Wheels may be included in one product's stated height and listed separately on another. Handles can add width or fold outward during retrieval. Confirm how the exact manufacturer defines the dimensions.
For a soft bag, consider the loaded shape. Bulky bedding can make the top bulge above the nominal height or spread the sides beyond the empty footprint. Do not plan around compressing the bag tightly against the bed frame. A zipper that closes only under strain is also a sign the contents and bag are poorly matched.
For a rigid box, check corners and lid clips. A raised latch can be the first part to hit the frame. A container that fits without its lid may not fit as a complete product. Keep the complete assembly in the comparison rather than subtracting parts that are needed for normal use.
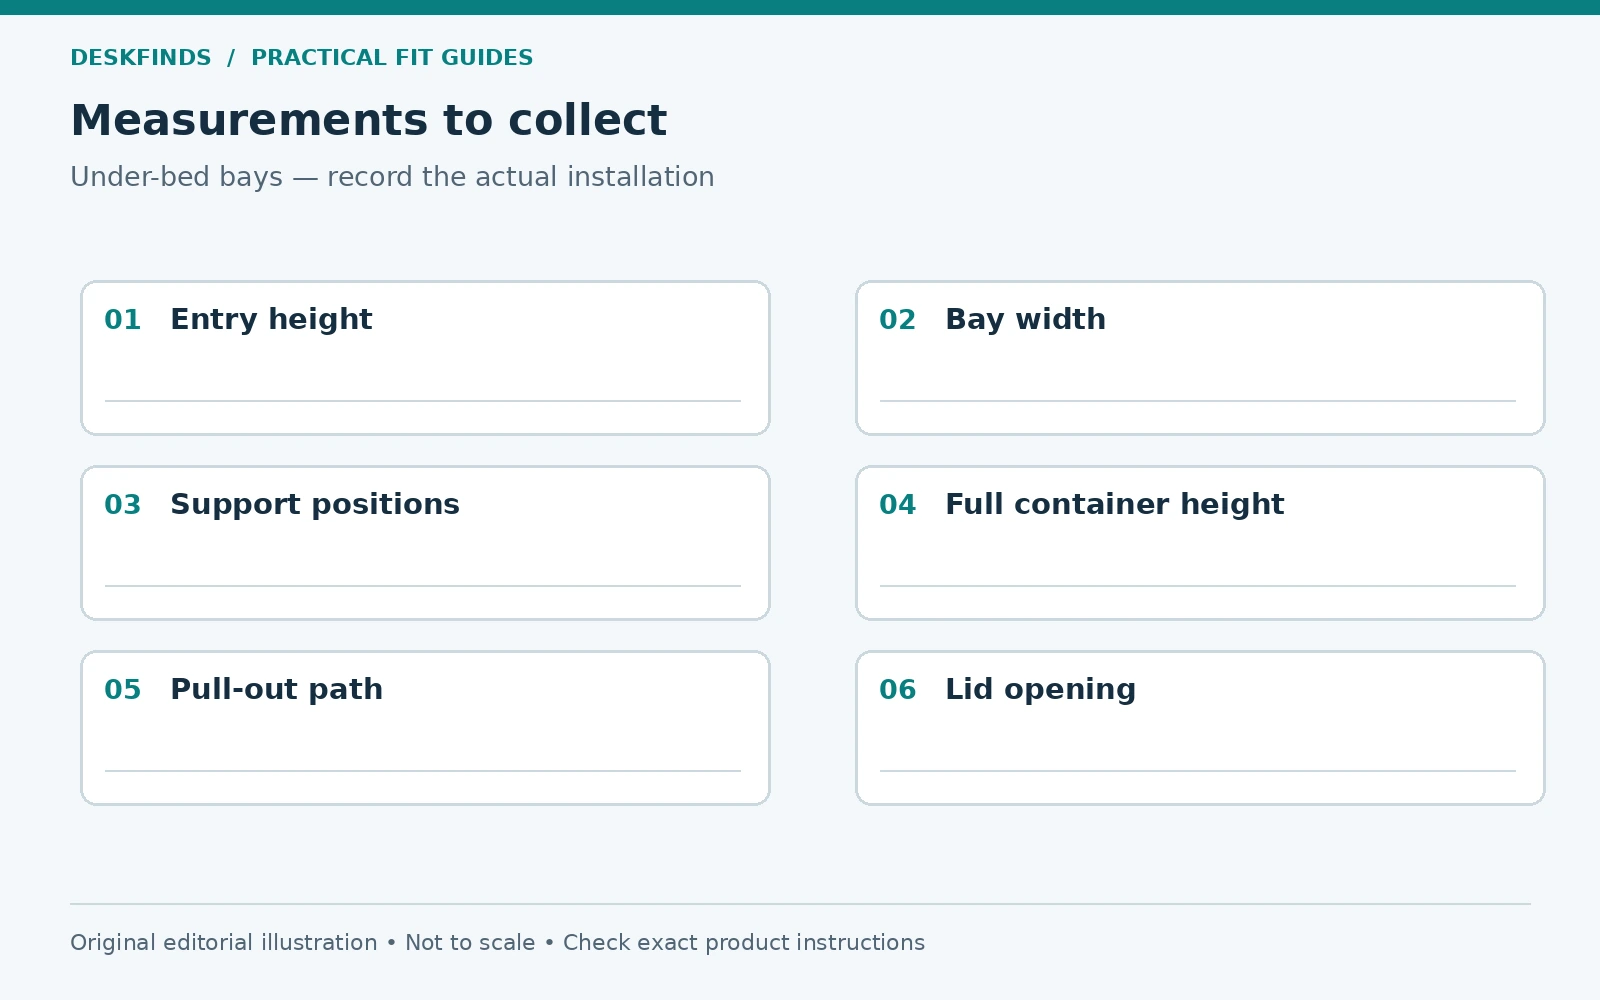
| Measurement | Include |
|---|---|
| Entry height | Lowest rail, bracket or obstruction along the route |
| Bay width | Space between legs, rails and surrounding obstacles |
| Usable depth | Distance before the next support or unreachable zone |
| Container height | Lid, wheels, latches and loaded bulge where relevant |
| Retrieval space | Room outside the bed to pull and handle the container |
| Opening space | Lid lift, zipper access or removable cover clearance |
Account for the pull-out path
Measure from the bed edge to the nearest obstacle in the direction you will pull. A long container may need to come most of the way out before its lid can open or its contents can be reached. A narrow aisle can make that impossible even when the box fits perfectly underneath.
A wheeled container also needs a route that the wheels can follow. Thick rugs, thresholds, and furniture legs can stop or tilt it. Check how you will grasp the handle without scraping your hand against the frame. A handle facing the wrong direction can make a good-size box inconvenient.
If the route requires turning the container, simulate the turn with a paper or cardboard outline. Do not assume a rectangle can rotate in a gap barely wider than itself. A shorter box may provide more accessible storage overall because it can be removed without moving furniture.
Make a full-size clearance gauge
Cut a cardboard panel to the candidate container's maximum width and height. Use it to check the entry opening without forcing anything. Add a floor outline for the full length. This simple gauge can expose a low bracket or narrow support gap before you buy a heavy storage unit.
For a rigid container, a lightweight box mock-up is even more informative. Move it along the intended route and check the opening position. For a soft bag, mark the maximum acceptable loaded height on the template so you know how much bulging the space can tolerate. Keep the mock-up clear of structural supports and cables.
Do not lift or prop up the bed improvisationally for the test. If the frame needs inspection or adjustment, follow its instructions and obtain appropriate help. The measurement process should work around the bed as intended, not depend on temporary changes that disappear after the storage is loaded.
Example: the clearance label is not the entry clearance
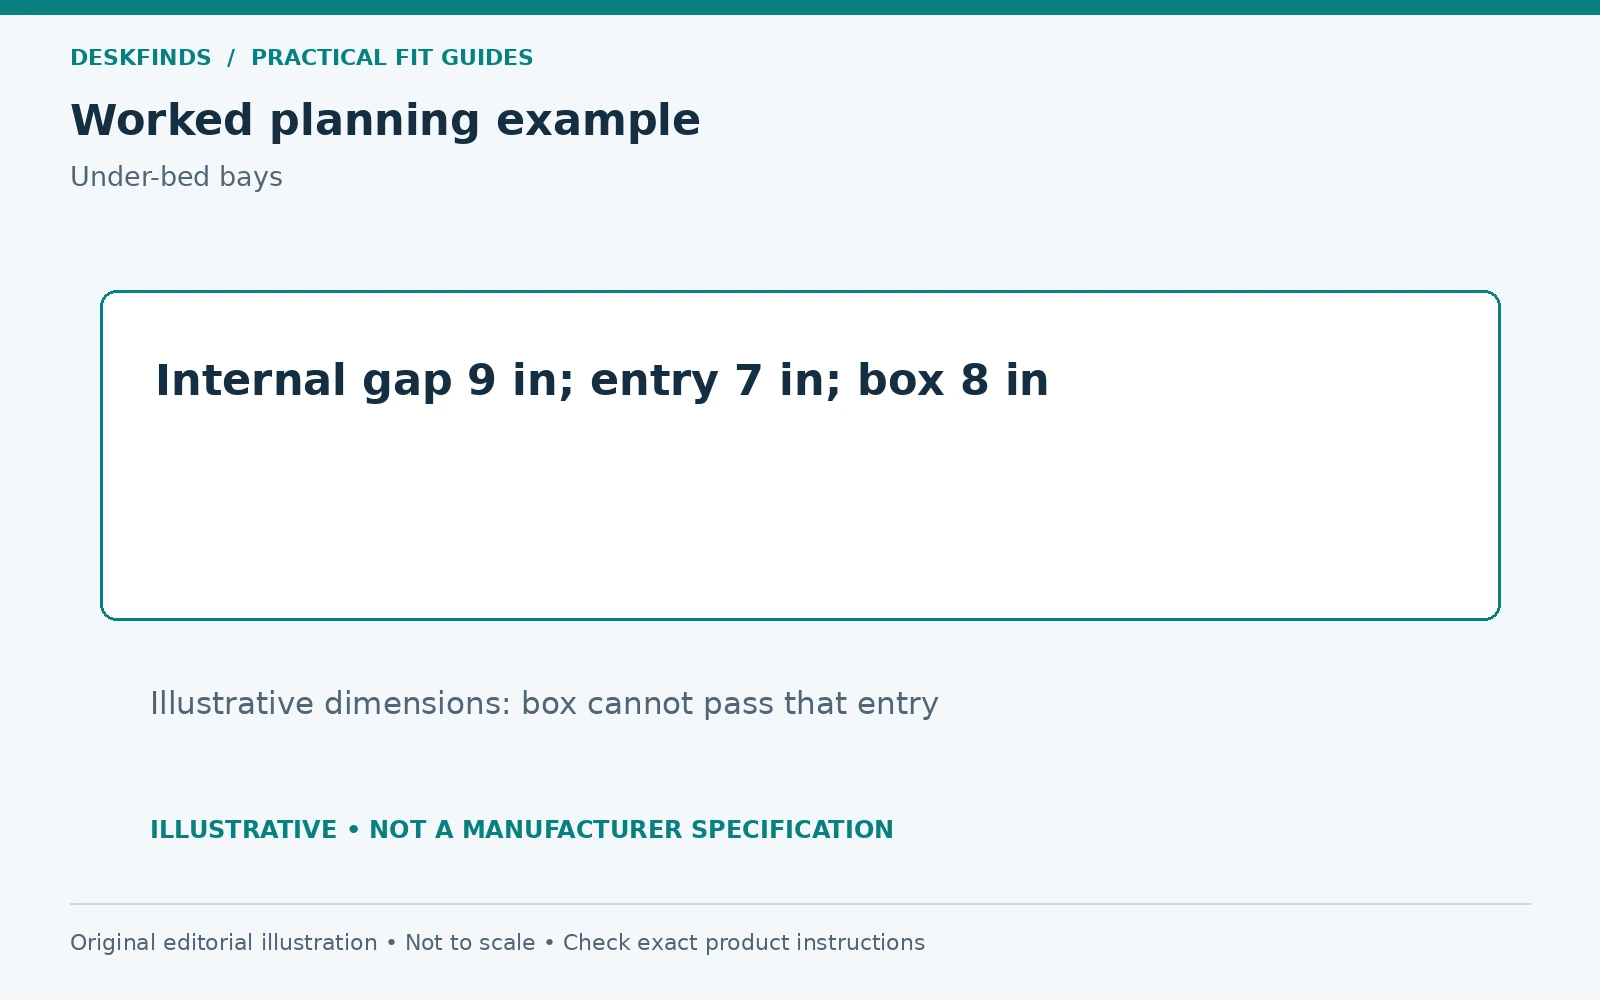
A buyer measures nine inches beneath the slats near the middle of a bed and chooses an eight-inch-high container. At the side, however, the lower rail leaves only seven inches of passage. The container's height is below the first measurement but above the route's limiting measurement. It cannot enter from that side.
The buyer maps the frame and discovers that foot-end access is also blocked by a structural member. The suitable choice is a lower container for the available route, not a taller box pushed against the rail. The frame's supports remain in place. Measuring the opening first would have prevented the mismatch.
The exact figures are illustrative. The principle applies to any bed with rails lower than the internal space. Keep entry height and internal height as separate lines in your worksheet so a generous internal measurement does not hide a smaller opening.
Example: the box fits, but daily access fails
A second buyer has a clear under-bed bay large enough for a long rolling container. The aisle beside the bed is much shorter than the container, and a wardrobe blocks further movement. The lid cannot open while the box is partly beneath the frame, so retrieval requires moving other furniture.
Two shorter containers use slightly less total volume but can be removed independently. Daily shoes go in the nearest box; seasonal bedding goes farther back. The smaller units make better use of the room because their contents remain accessible. Nominal capacity alone would have favored the less practical choice.
Before ordering, the buyer tests the outlines with the wardrobe door open too. This reveals another conflict between retrieval and normal room use. Storage should be evaluated with doors, drawers, and walkways in operation, not only with all furniture closed for a photograph.
Match the container to the contents
Rigid boxes protect shape and can be easier to organize, but their fixed dimensions make clearance less forgiving. Soft bags can suit textiles but may bulge and be harder to pull when heavily loaded. Wheeled units reduce sliding effort on suitable surfaces but add height and hardware that must clear the frame.
Consider dust protection, cleanability, and the storage instructions for the contents. Do not store damp textiles and expect a sealed container to solve the moisture problem. Let items dry appropriately and inspect the area periodically. Under-bed storage can conceal conditions you would notice sooner on an open shelf.
Avoid making a container too heavy to retrieve comfortably. A handle and wheels do not establish that every load is practical for every person. Divide heavy items into manageable units and respect the product's stated limits. The best container is one you can move, open, and return without disturbing the bed structure.
Treat bed risers as a separate compatibility decision
Raising the bed can increase storage clearance, but risers are not a universal fix for a box that does not fit. Check whether the bed manufacturer permits them, the leg shape and dimensions, total supported load, floor surface, and any center supports. Raising only selected points can leave the frame improperly supported.
The higher bed also changes getting in and out, bedside reach, and the room's layout. Check those effects before choosing a storage system that depends on added height. In a dorm or rental, furniture rules may prohibit the change. Our bed frame riser guide is a comparison resource after those conditions are resolved.
Do not stack improvised blocks or combine riser systems without explicit approval. A storage purchase should not trigger an unverified structural modification. If the existing opening is too low, lower-profile storage or another location may be the more straightforward option.
Label and maintain the usable zones
Keep a simple map of the under-bed bays if several containers are involved. Label contents on the accessible side and place frequently used items where they can be reached without moving everything else. Leave structural legs visible enough to avoid striking them during retrieval. Do not wedge boxes tightly around supports.
When cleaning, inspect wheels, handles, fabric seams, and the frame area. Remove dust using methods suitable for the bed and floor. After changing rugs or moving furniture, repeat the pull-out check. A room update can eliminate the retrieval space even though the under-bed bay itself has not changed.
Use our small-room storage guide to compare alternatives if under-bed access remains awkward. The aim is accessible storage that fits the room's daily routine. The most useful measurements describe the entire route from resting place to open container, not just the gap visible in a product photograph.
Use a bay-by-bay worksheet
Give each accessible under-bed section a name, such as left front, left rear, or foot end. Record its entry height, width between supports, depth, and pull-out space. This prevents a container selected for one bay from being assumed to fit all of them. Center legs and room furniture often make apparently symmetrical spaces different.
Add the intended contents and access frequency to each row. Daily shoes should not be assigned to the most difficult rear position simply because their box fits there. Seasonal bedding can tolerate less frequent retrieval, provided it remains appropriately stored and inspectable. The worksheet connects room geometry with actual use.
Keep the narrowest measurement and any uncertain point visible. If a soft bag is involved, note the maximum loaded profile you can accommodate rather than only its empty dimensions. If a container has wheels, state whether the advertised height includes them. These small notes prevent the same ambiguity returning during shopping.
Check lid access before choosing the opening style
A hinged lid needs room to rotate, and a removable lid needs somewhere to go. A zipper bag may allow partial access while still under the bed, but only if the opening is reachable and the contents can be removed without forcing the frame. Compare the actual action, not just the presence of a lid or zipper.
Use a cardboard flap to represent the opening movement. Pull the template to the position the room allows and see whether the flap clears the bed rail and surrounding furniture. Then try lifting an object of similar size to the intended contents. This reveals access restrictions that a closed-box outline cannot show.
For a box that must be removed completely, reserve a stable place to open it. Avoid a routine that depends on balancing a loaded container on the bed edge or blocking the room's route for an extended period. Shorter containers can be easier to handle even if several are needed to use the same overall bay.
Decide what should not live under the bed
Items needed urgently or very frequently may belong in a more accessible location. Heavy objects that are difficult to pull from floor level can also be poor candidates, even when the container is rated for them. Match the storage location to the person using it rather than treating capacity as the only goal.
Keep items that require particular environmental conditions within their own storage instructions. Under-bed placement does not solve dampness, heat, dust, or pest concerns. Inspect the room conditions and contents periodically, and avoid filling the area so tightly that it cannot be cleaned or checked.
If the bed's structure or room layout prevents a sensible route, use another storage zone. A narrow cart, closet shelf, or accessible drawer may provide less nominal volume but more useful capacity. The purpose of measuring is partly to identify when an attractive unused space is not the right place for the items you want to store.
If under-bed access fails, compare a rolling cart with a measured retrieval route.
Sources and scope
- IKEA VARDÖ underbed storage - example of complete product dimensions and intended storage use.
- IKEA MALM storage box - example of a bed-specific storage system.
The fit map, gauges and cases are original editorial planning tools. They do not establish a universal clearance margin or approval to alter a bed frame.