
How to Choose a Cable Sleeve When Desk Cables Need to Branch Out
Affiliate Disclosure: We may earn a small commission on qualifying Amazon purchases at no extra cost to you. Full disclosure →
A cable sleeve looks simplest when all leads travel together from one end to the other. Real desks often have a monitor, lamp, dock, and phone cable leaving the bundle at different points. Plan those branches before buying a long sleeve, or the neat central tube can make ordinary access harder.
Quick answer: Map the shared cable route and each device’s branch point, then choose a sleeve documented for the bundle size, installation method, and required access. Keep connectors and necessary movement outside an unsuitable enclosed section. Do not cut openings, pack in extra cables, or wrap powered equipment unless the product instructions permit that arrangement. A sleeve organizes a route; it does not create cable capability or strain relief automatically.
Draw destinations before measuring the bundle
Name both ends of each cable and note which sections move. Separate permanent monitor and network leads from a laptop host cable or phone lead that leaves daily. A single sleeve may not be the best way to group all of them.
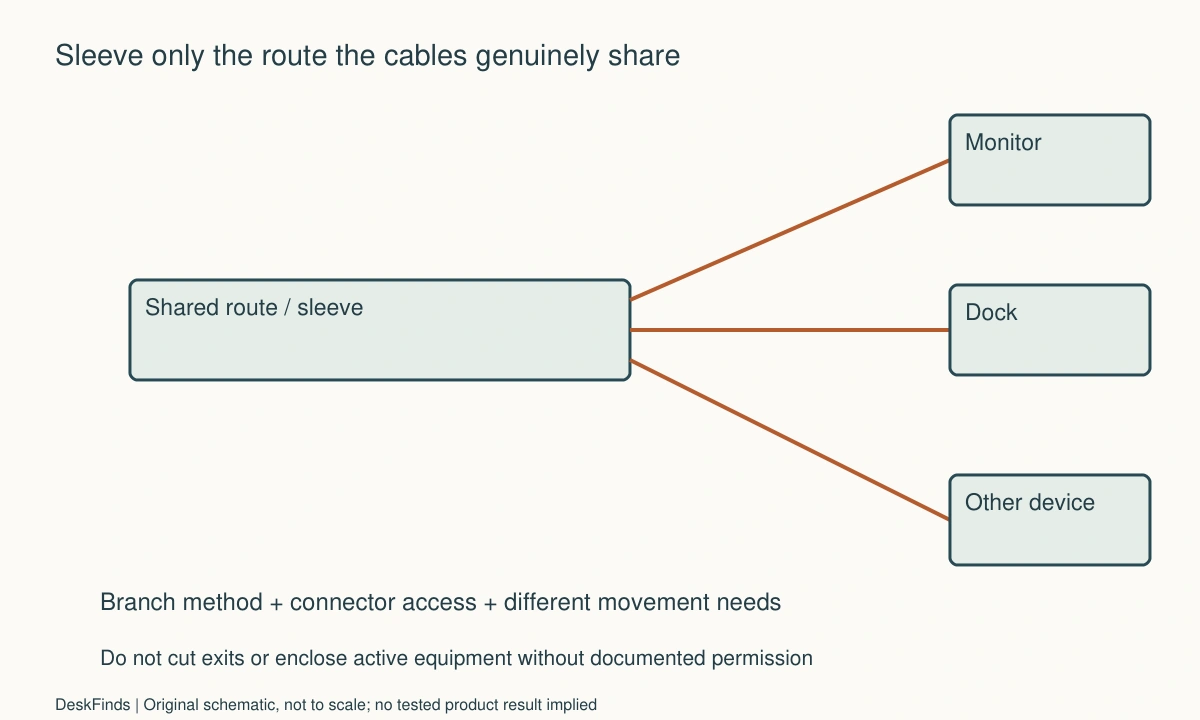
Mark the route shared by several leads, then mark where each leaves for a device or outlet. Use actual supported equipment positions rather than the shortest line between them. A branch near the top of the desk can need access even when the rest of the bundle stays behind furniture.
The cable-management types guide helps distinguish sleeves from channels, clips, and trays. The thick-cable keeper guide addresses accessible cable ends, which may remain outside the sleeve by design.
Choose an installation style for the connectors
A wrap-around or split product can be installed around suitable existing leads, while another design may need cables threaded through it. Check the actual method. Large HDMI, USB, or power connector bodies can determine installation access even when the jackets form a small bundle.
HellermannTyton’s sleeving information distinguishes product types and applications. Use that category context without transferring industrial material ratings or environmental claims to an ordinary desk sleeve. The selected product must describe its own intended use and installation.
Do not disconnect or alter a cable end to make it fit an organizer. Follow equipment shutdown and disconnection instructions when rearranging leads. If a product requires threading a connector that cannot pass through, compare another suitable sleeve rather than modifying the electrical cable.
Measure the intended bundle without compression
Group only the cables that genuinely share the route and observe their natural combined shape. Include braid, flat leads, and different stiffness. Follow the sleeve maker’s sizing method rather than calculating fit from one thin sample cable or pressing everything into the smallest possible diameter.
Leave any required space and use conditions stated by the relevant products. Do not assume a sleeve is suitable for every power lead or environment merely because it fits physically. Keep power supplies, active electronics, and connectors outside a wrap unless their use in that arrangement is explicitly supported.
The cable sleeve size chart provides sizing terminology. A nominal diameter is a shortlist aid, not proof that an irregular bundle, large connectors, and several branches can be installed and serviced as intended.
Place branch points deliberately
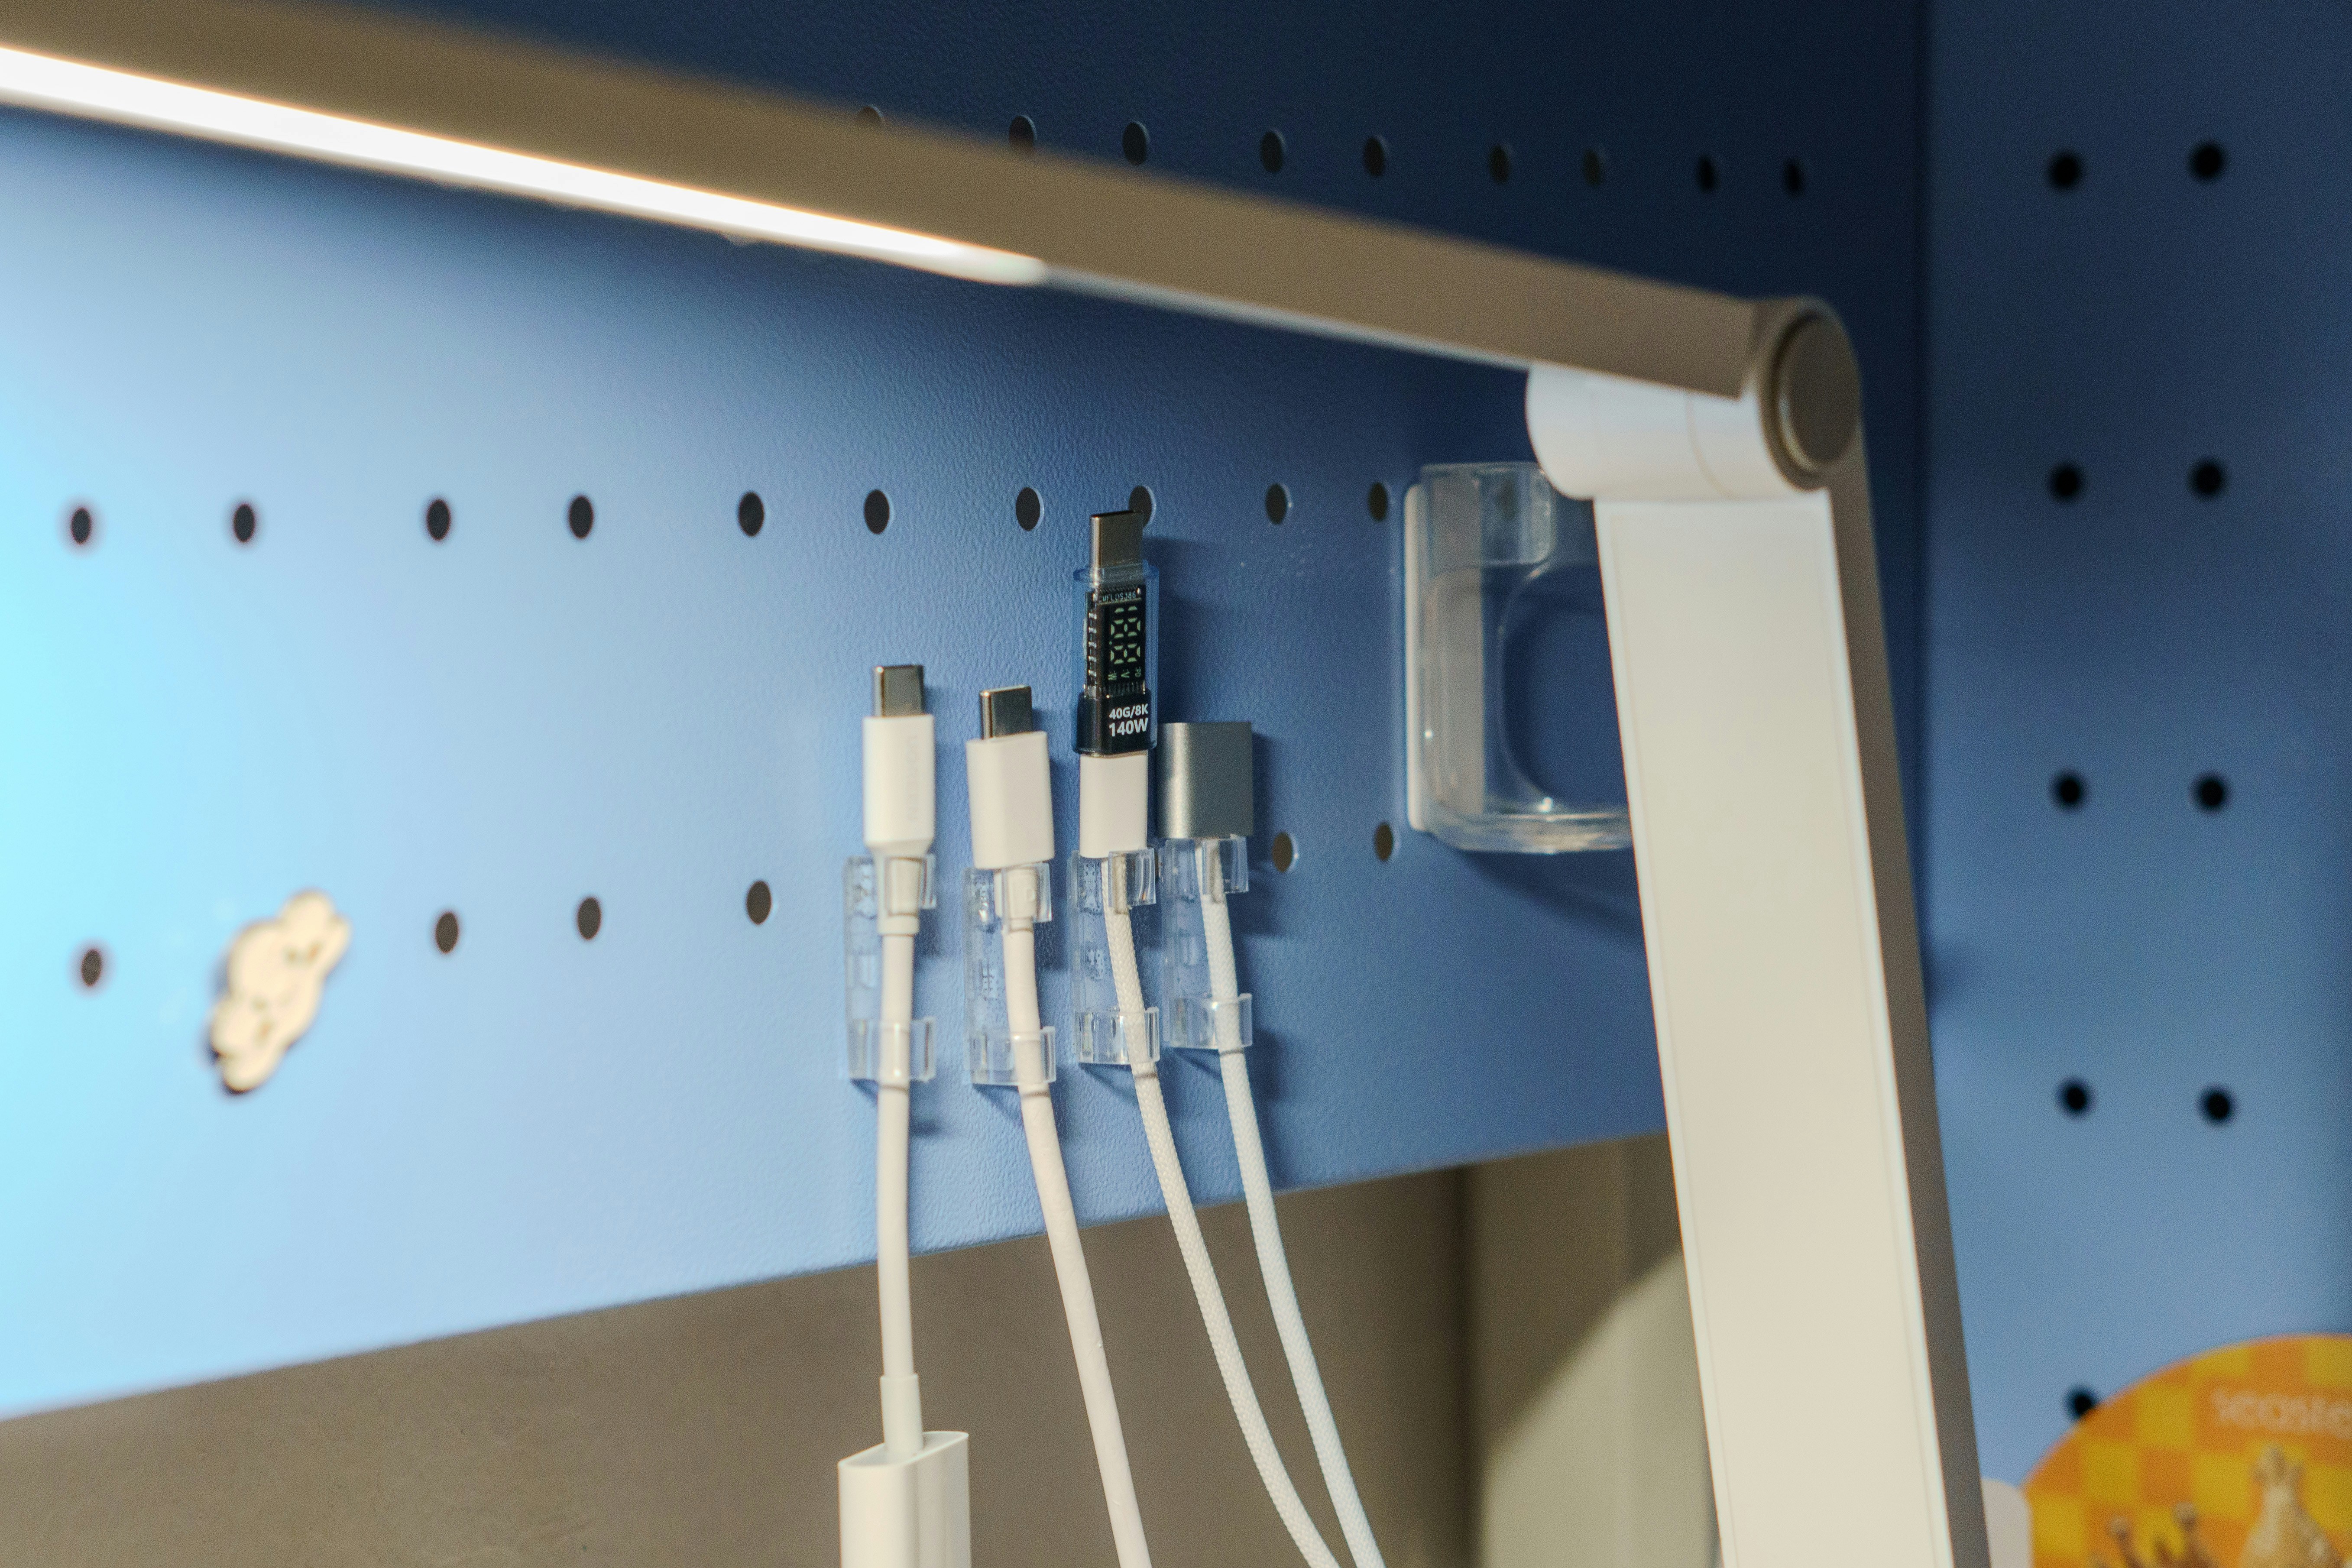
A branch should leave through the product’s intended opening or method. Check whether the sleeve supports repeated opening, a split seam, dedicated exits, or another documented arrangement. Do not cut arbitrary holes into a product that is not designed for modification.
Keep enough relaxed length between the branch and device for ordinary movement and plug access. A sleeve ending directly at a rigid connector can create an awkward bend or transfer pull to the port. The branch’s useful route matters more than hiding the last visible inch of cable.
If branches occur frequently, several shorter suitable sections may be easier to manage than one continuous cover. Compare the actual access and appearance rather than assuming the longest uninterrupted tube is the most organized result.
Separate moving and stationary groups
A monitor arm, standing desk, or daily-removal laptop can need movement that a fixed bundle does not. Trace the complete supported travel, including the outlet or host end. A sleeve can make a group move together, which may be useful in one section and restrictive in another.
The standing-desk cable guide covers the broader movement plan. Keep enough appropriate slack and preserve the equipment maker’s routing requirements. Do not use a sleeve as a rigid anchor or assume it provides strain relief without a documented function.
A phone charging lead that leaves the desk daily may be better kept accessible outside the main bundle. Grouping every lead can make departure cumbersome and encourage pulling on cables. Choose the grouping around ownership and movement, not simply the fact that all leads are visible.
Preserve service access and identification
Name cable destinations before covering the route. Use appropriate labels at accessible ends without covering warnings or connector information. A sleeve can conceal which lead belongs to which device, making later troubleshooting slower if the plan is not recorded.
Check how one cable is replaced without dismantling the whole workstation. A frequently opened wrap can suit a changing desk if documented for that use. A more permanent cover may be appropriate elsewhere. The expected rate of equipment change belongs in the purchase decision.
If a dock is involved, the dock and USB hub comparison provides category context for the equipment at the ends of the route. Do not make the sleeve’s exit point a reason to hide the dock in an unsupported enclosed space.
Worked example: one long sleeve trapped the daily host cable
Imagine a hypothetical worker who sleeves monitor, keyboard, power, and laptop-host leads together behind the desk. The arrangement looks neat while everything is connected. Each morning, however, the laptop must leave, and its host lead is difficult to identify and retrieve from the fixed group.
The worker separates the stationary and daily-access requirements. A suitable sleeve remains on the shared stationary route, while the host lead receives an accessible supported path and keeper where appropriate. The worker does not shorten it under tension to make it disappear beside the bundle.
The branch and disconnect routine are checked with the real dock and laptop positions. Relevant storage is ejected before the host connection is removed. The cable organizer does not change those electronic steps, even though the equipment looks more permanent after wrapping.
The hypothetical result is a slightly less uniform but more practical route. No sleeve is claimed to improve electrical performance or prevent every cable fault. The example shows why grouping by daily movement can matter more than grouping everything that passes behind one monitor.
A second scenario: new equipment needed another branch
Consider a hypothetical student whose original sleeve serves a monitor and lamp. A phone charging station is added halfway along the route. The student initially plans to cut a new exit into the existing sleeve without checking its construction or instructions.
The student instead reviews the intended opening method and sizing. A compatible split or wrap arrangement may allow the branch, while another product may need replacement or shorter sections. The new cable’s supported route, power source, and connector access are checked independently.
The student updates the destination labels and private connection sketch. The power supply is not hidden inside the sleeve merely because the new lead is part of the group. The sleeve organizes jackets on a suitable route; it is not treated as a housing for active equipment.
The final hypothetical arrangement leaves the branch serviceable and the phone lead easy to replace. It does not assume that every sleeve can be cut, stretched, or opened repeatedly. The lesson is to plan for the actual device change through the product’s documented method rather than modifying the cover around an unexamined route.
Compare a sleeve with a less enclosed option
Reusable ties can organize a suitable stationary bundle while leaving branches visible. A raceway can define a route on an appropriate surface, and clips can keep selected ends accessible. Each has installation, movement, and surface conditions. Choose the tool that fits the section of route rather than one product for the entire desk.
The reusable ties and zip-tie comparison helps with that distinction. Avoid tightening any organizer so much that it damages a jacket or prevents required movement. Follow the relevant cable and accessory instructions instead of treating maximum compression as tidiness.
Include future service in the comparison. A cover that is easy to open may be worthwhile on a desk that changes often, while a stable section may need less frequent access. A useful organizing plan remains understandable when a cable must be removed, not just when every lead is first hidden.
Six checks for a branching sleeve
Shared route
Name the cable destinations and identify which sections genuinely travel together. Mark daily-removal and moving leads separately. Do not group cables solely because they are visible near each other. A route plan should preserve the tasks and transitions the devices need, including access to the host and outlet ends.
Installation method
Check whether the product wraps around the bundle, opens along a seam, or requires threading. Include the largest connector bodies and the required disconnection sequence. Do not alter electrical cable ends or force connectors through an unsuitable cover. Compare another documented product if the installation method does not suit the existing equipment.
Bundle sizing
Use the maker’s sizing method with the actual jackets, shapes, and natural grouping. Avoid compressing cables merely to select a smaller nominal size. Keep relevant operating and material restrictions in view. Physical fit does not establish that every power cable, environment, or active component belongs inside the same sleeve.
Branch exits
Use only the intended opening or modification method. Check relaxed length and plug access from each exit to its device. If branch points are frequent, compare shorter suitable sections rather than cutting undocumented holes. The neat central section should not create a sharp bend or inaccessible connector where an individual cable leaves it.
Movement and support
Trace ordinary monitor, desk, and device travel with the grouped route. Keep required slack and avoid using the sleeve as an assumed strain-relief device. Support heavy supplies independently. A group moving together can pull on a stationary branch, so check the complete route rather than only the portion visible behind the screen.
Service record
Label accessible ends appropriately and retain a simple destination sketch. Check how a single lead is removed or replaced through the product’s intended method. Revisit the grouping when equipment changes. A useful sleeve makes the supported cable route easier to manage without hiding the information needed to maintain it.
A branch-length worksheet
Consider a hypothetical rear route where four cables travel together for 650 mm, but one monitor lead leaves after 300 mm and a phone lead must remain independently accessible. Those invented lengths show why a single 650 mm sleeve may not be the best complete plan. They are not product recommendations or permitted cut points.
Draw a shared section only where the cables genuinely have the same route and movement. Mark the monitor branch and compare the product’s documented exit method. Keep the phone lead outside the fixed group if its daily task requires independent retrieval. A shorter visible branch can be a deliberate functional choice rather than unfinished organization.
Include connector and hand access at both ends. A 650 mm jacket route does not mean the sleeve should cover every millimeter up to the ports. The rigid plugs, strain relief, permitted bends, and service actions need their own space. Use the actual cable and sleeve instructions to decide where the cover begins and ends.

Compare changing and stable sections
A stable group behind a monitor may need little access once correctly arranged. A section serving a laptop, removable drive, or frequently replaced device can need regular opening. Choose the documented installation and access method for each part rather than assuming one sleeve style should cover the entire desk.
If a wrap is intended for repeated opening, check how the branch is returned afterward. If another design is more permanent, include the required disconnection and threading actions in service planning. Do not cut a new opening simply because an extra device appears halfway along the route.
Keep branch labels at accessible ends. A sleeve that hides cable identity can make troubleshooting slower if the destination map is missing. The goal is a readable organized system, not concealment that requires unplugging several devices to discover which lead serves one monitor.
Keep power equipment outside an assumed cable role
A sleeve intended for jackets is not automatically a housing for power supplies, active adapters, hubs, or connectors. Read the actual product conditions and the equipment’s operating requirements. Do not wrap a brick into the bundle merely because it appears to tidy a larger object.
Similarly, material descriptions such as braided, flexible, or protective do not establish every thermal, fire, or electrical application. Use the specific stated scope rather than transferring an industrial product’s rating to an unrelated desk organizer. This guide does not certify a cable grouping for an environment outside the documented use.
Support heavy items independently and preserve necessary movement. A bundle can look relaxed at the desktop while its lower section carries a hanging supply or becomes taut at the outlet. Trace the whole route, not only the visible sleeved portion.
Review the next device change before it happens
If a planned monitor or dock upgrade is realistic, check how its lead would enter or leave the existing route. Keep that as a question rather than buying an oversized sleeve for unspecified future equipment. Excess capacity alone does not create useful branch access or correct movement.
After a change, update the labels and private sketch, then follow the documented install and disconnect procedures. Confirm that the new grouping still serves every device’s ordinary position. A sleeve remains useful when it can be maintained through supported changes, rather than becoming a permanent obstacle around a once-neat set of cables.
Sources and scope
- HellermannTyton sleeving types - Distinguishes installation and application types; industrial ratings are not transferred to unrelated desk sleeves.
Editorial note: This is a research-based planning guide, not a hands-on product review. All worked scenarios are hypothetical. Measurements and compatibility must be confirmed for the exact equipment. Photography supplies context, not proof of a tested arrangement.
Photos are illustrative and come from free-license libraries such as Unsplash; diagrams are original to DeskFinds.